

ビクトリー大学へようこそ、ヴィア(@Via00Via)です。

このような悩みに応えていきます。
本記事の内容
- 注意すべき点
- 初期設定
- NFTの移行方法
- よくある質問
ウォレット盗まれました。
— ペスハム【声と絵のNFTで仕事やめる】 (@pess_ham) August 15, 2022
すべて自分の責任で、悔しさでいっぱいです。
被害はCNP5体、CNPJ5体。通貨は守れた。全体の保有数からすると、最小限ではすみました。が、ぐやじい。
なによりもコレクションが1ETH行って、それをまた一から。ホルダー様にももうしわけない。ぐやじい。
手口を書きます。 pic.twitter.com/lJzr9zkWzT
ペスハムさんほどの有名な方でも、ウォレットを盗まれる被害にあってます。
ですが、ツイートでもおっしゃってるように、すでにハードウェアウォレットも持ってたことで最小限で済んだようです。
ハードウェアウォレットは、やはり強い!!
ですので今から、自分の大切な資産(NFT)を守るための、ハードウェアウォレットの使い方について画像付きで解説していきます。
ボクが実際に設定した手順で進めていくので、安心してください!
ではでは、サクッと進めていきましょう。
この記事を書いた人


-

-
【要注意】レジャーナノ(Ledger Nano)の買い方|ここでは買うな
続きを見る
まずやっておくこと【注意点】
以下の内容を事前にチェックしておいてください。
- 未開封の状態か
- 指紋や傷はないか
万が一不備があれば、問い合わせて返品交換しましょう。
開封された形跡がある場合は、ウイルスが仕込まれてる可能性があるので絶対にNGですよ!!
問題なければ初期設定に進みます。
ハードウェアウォレット使い方①|初期設定
上記を参考にするのもありです!
ですが、ここでは画像つきでわかりやすく解説していきますね。
STEP①専用アプリをインストール
まず、Ledger Liveという専用のアプリを公式サイトからインストールします。
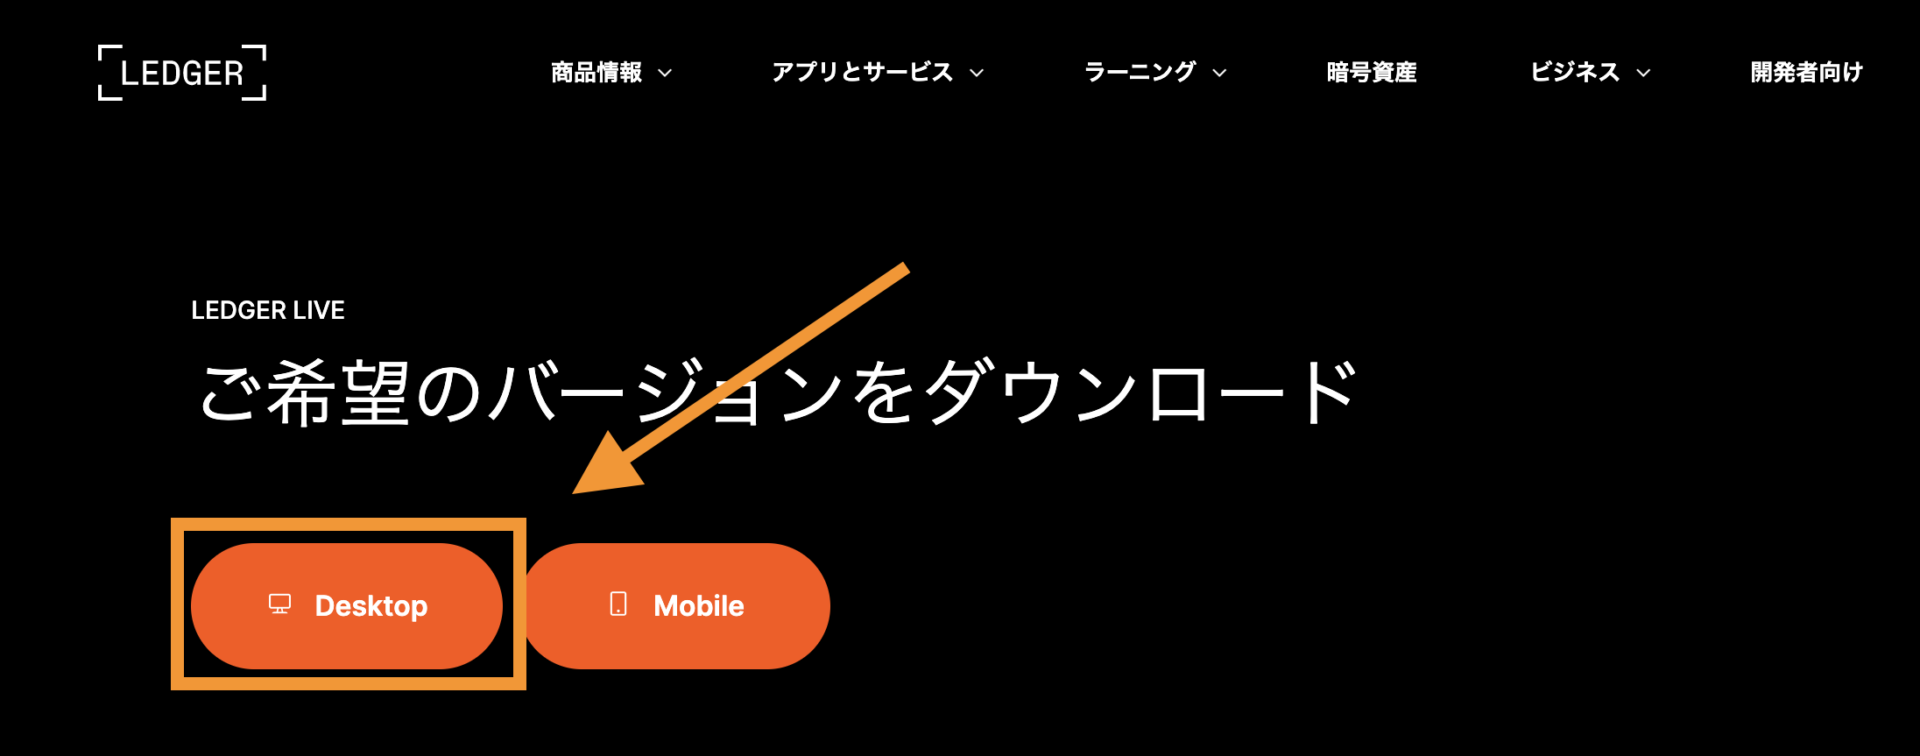
「Desktop」をクリック。
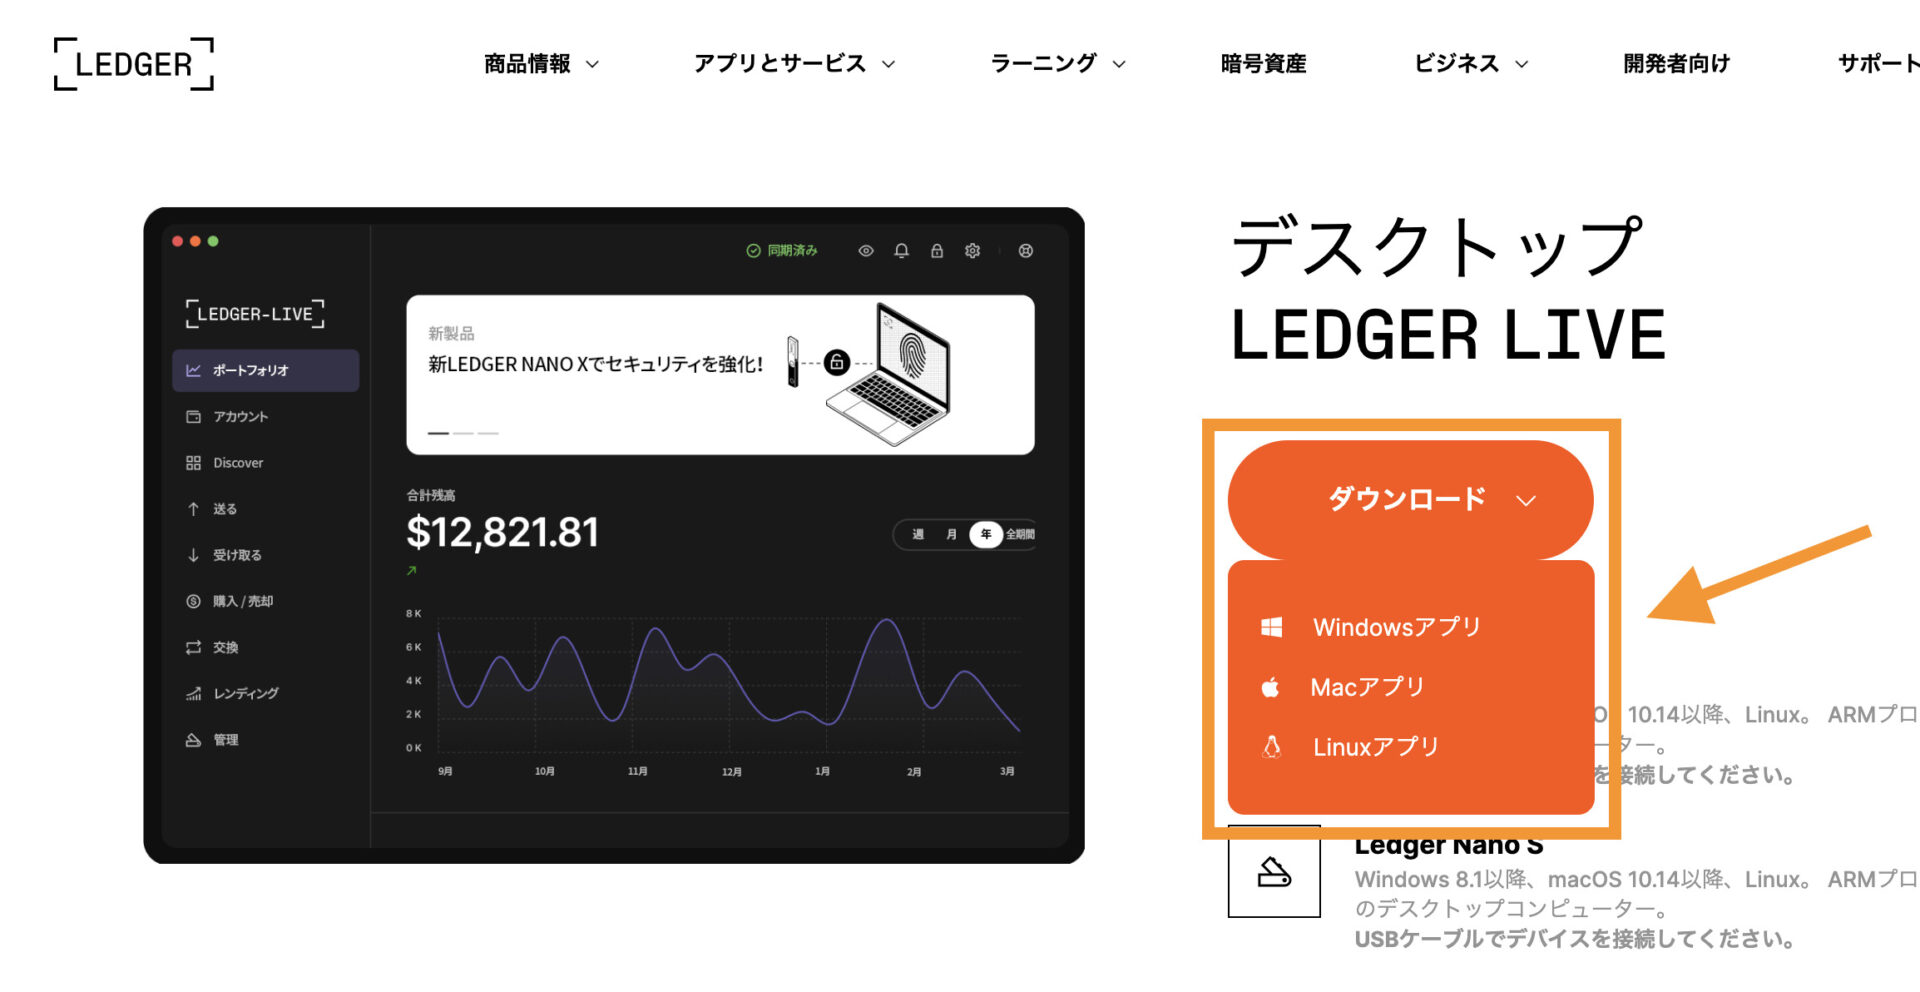
お使いのデバイスを選択してダウンロードします。

アプリを開いたら「はじめる」をクリック。
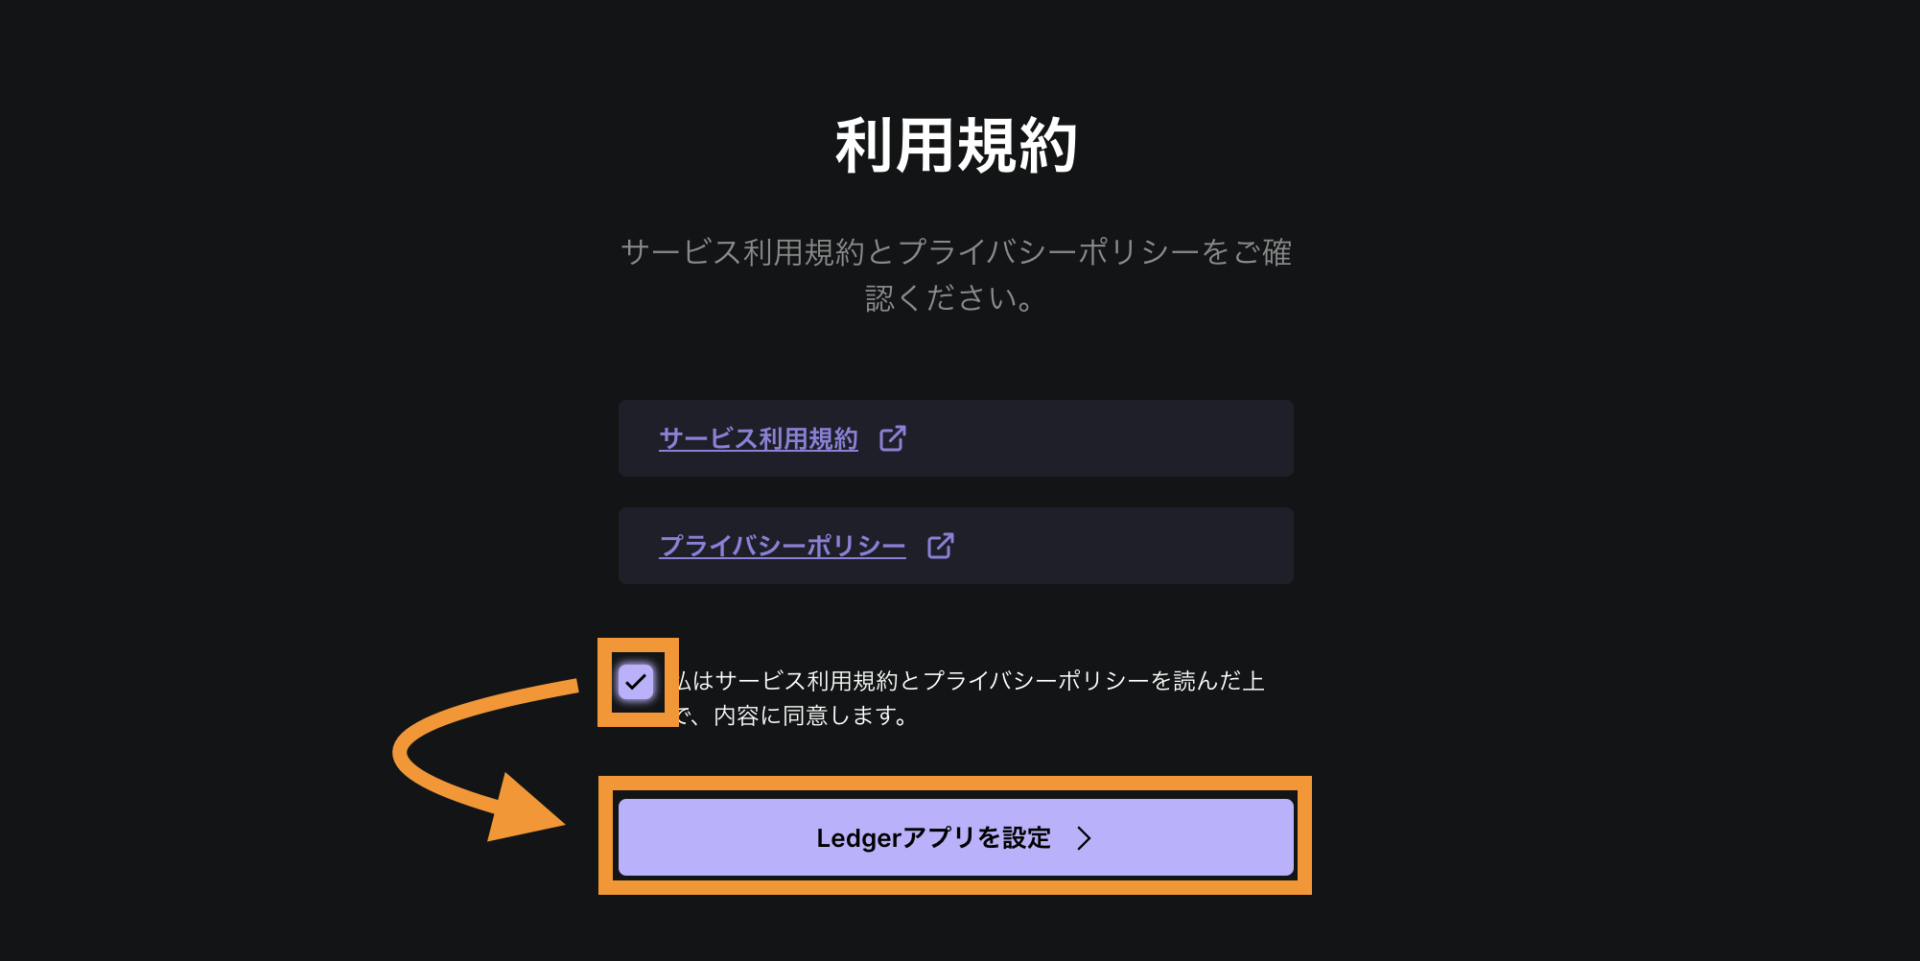
同意にチェックを入れて「Ledgerアプリを設定」をクリック。
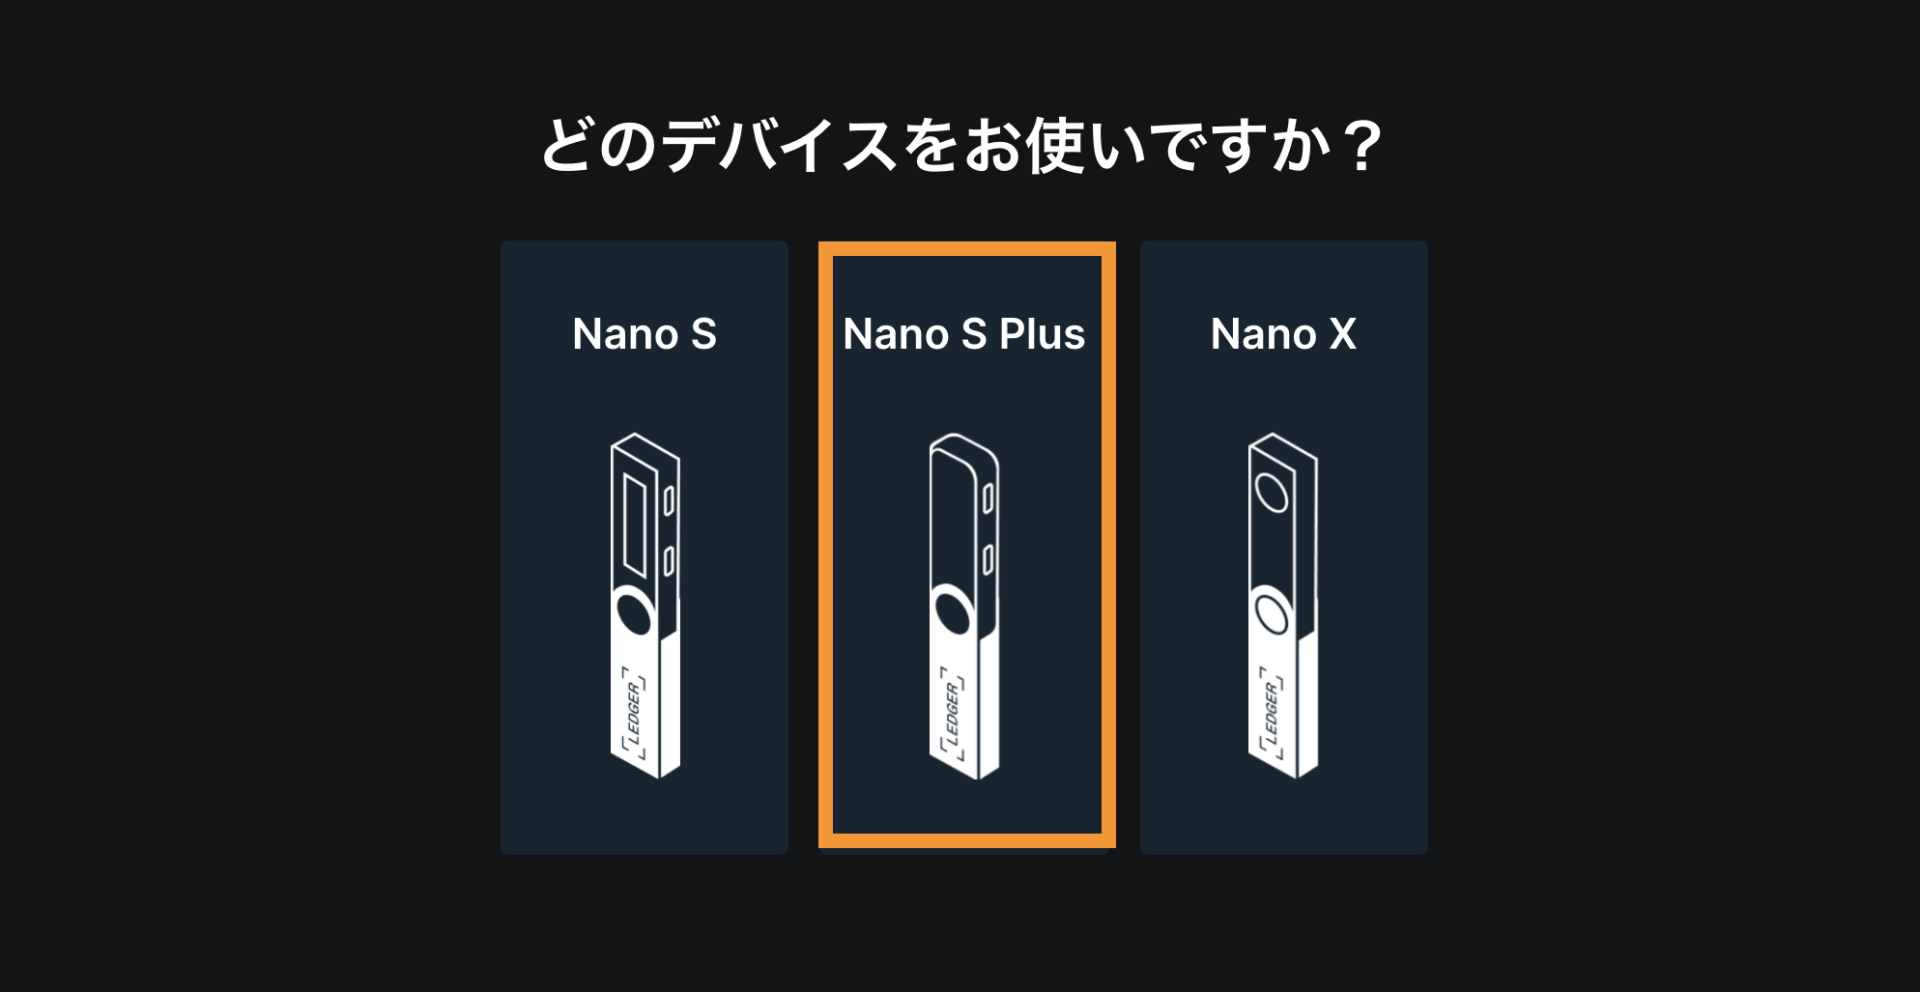
手元にあるデバイスを選択します。
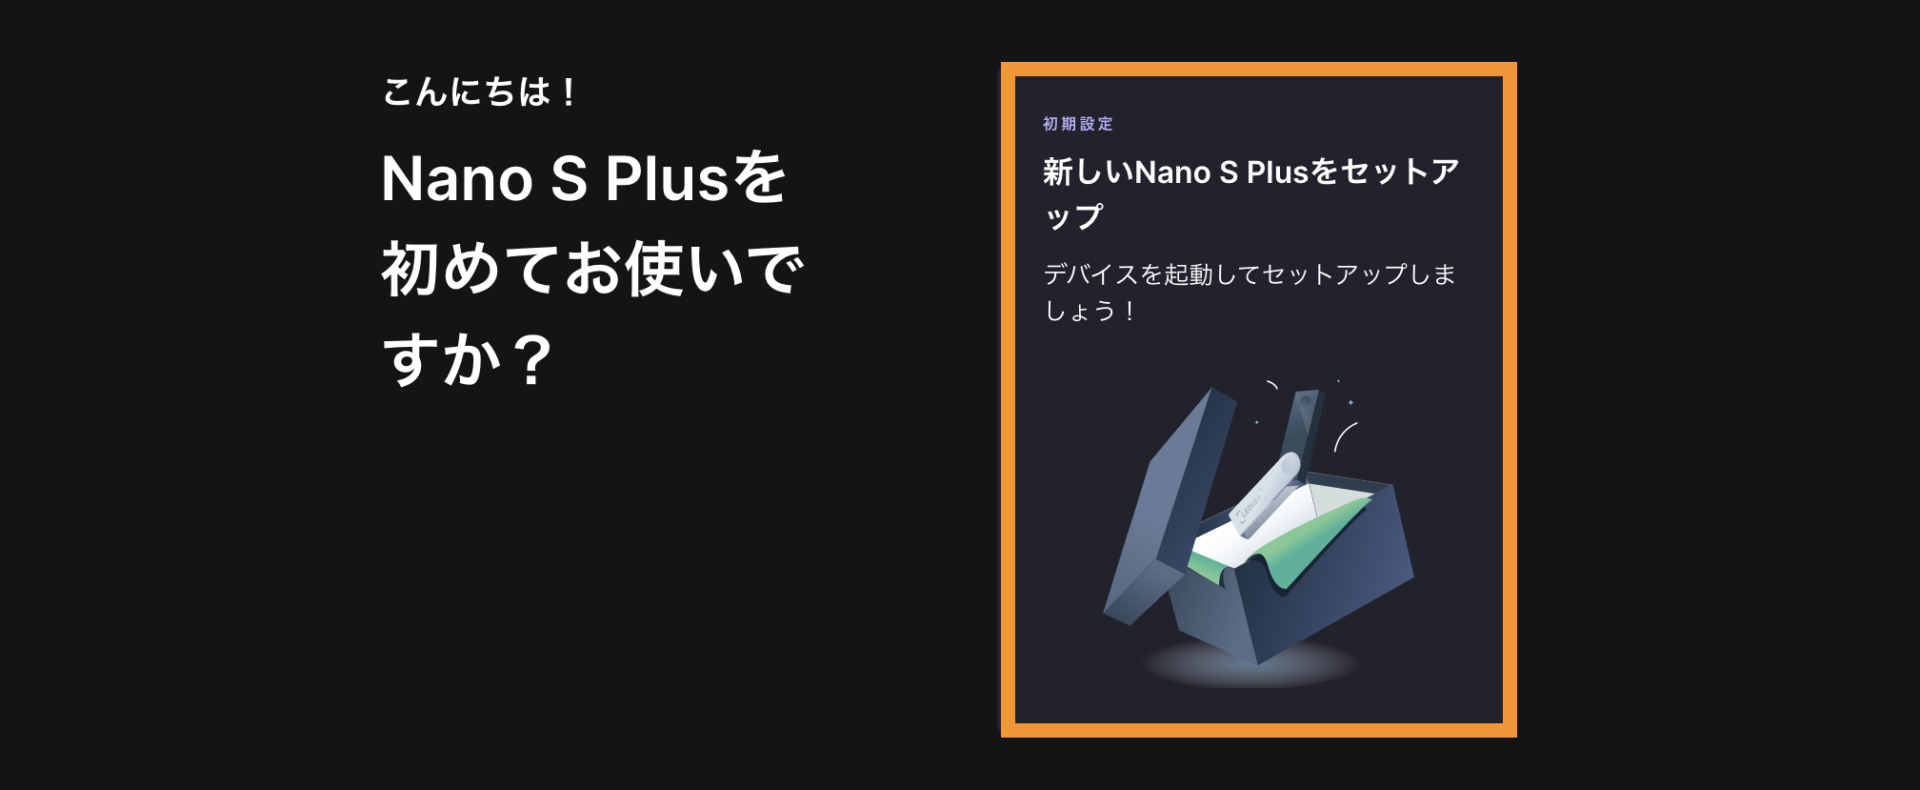
「新しい(デバイス)をセットアップ」をクリック。
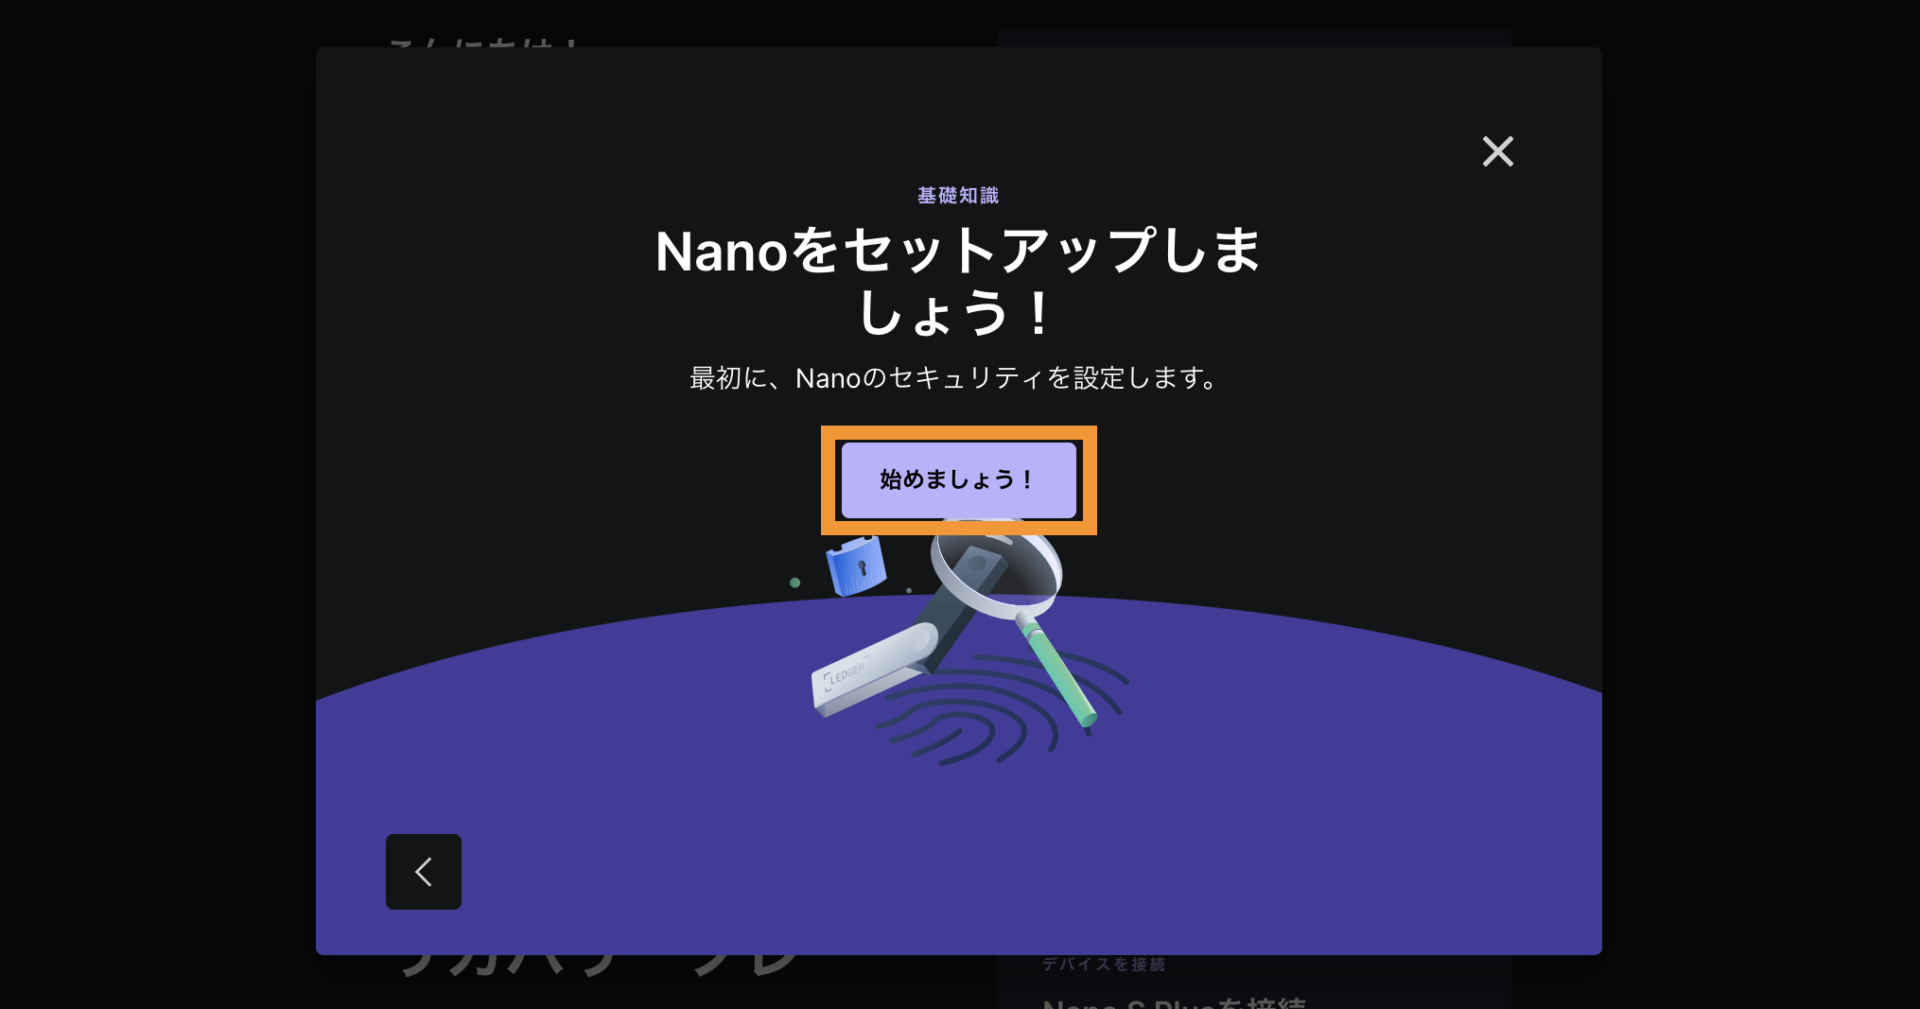
「始めましょう!」をクリック。
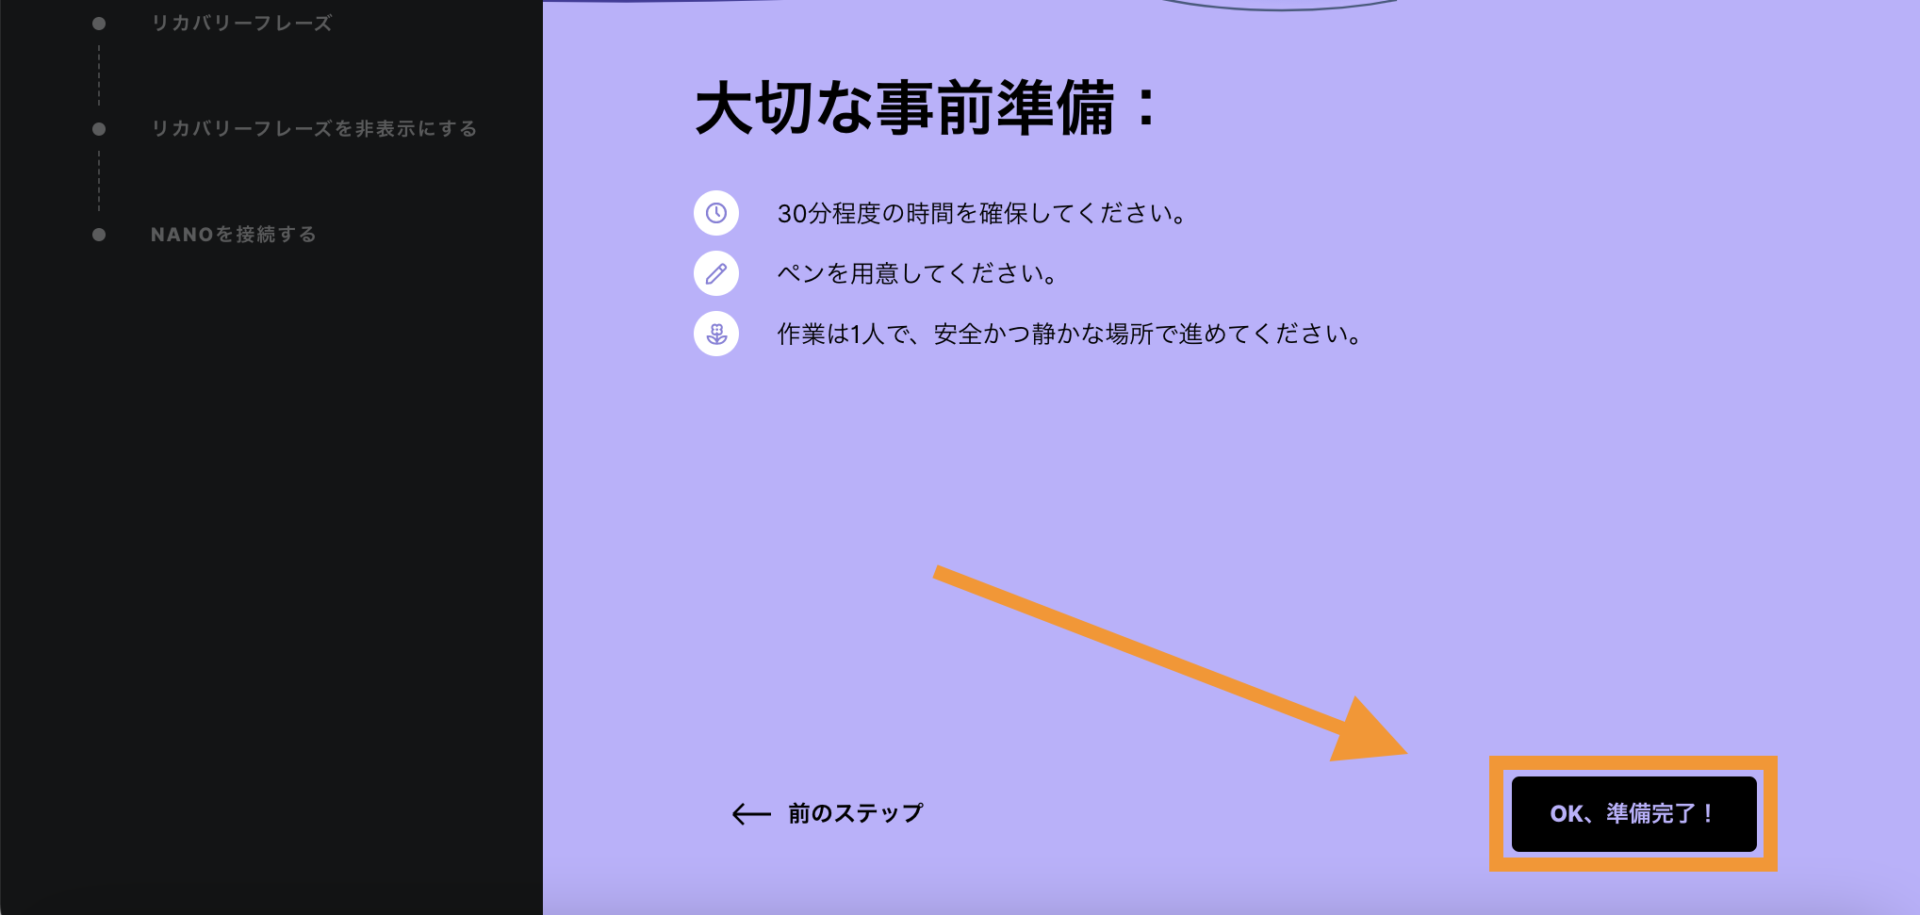
「OK、準備完了!」をクリック。
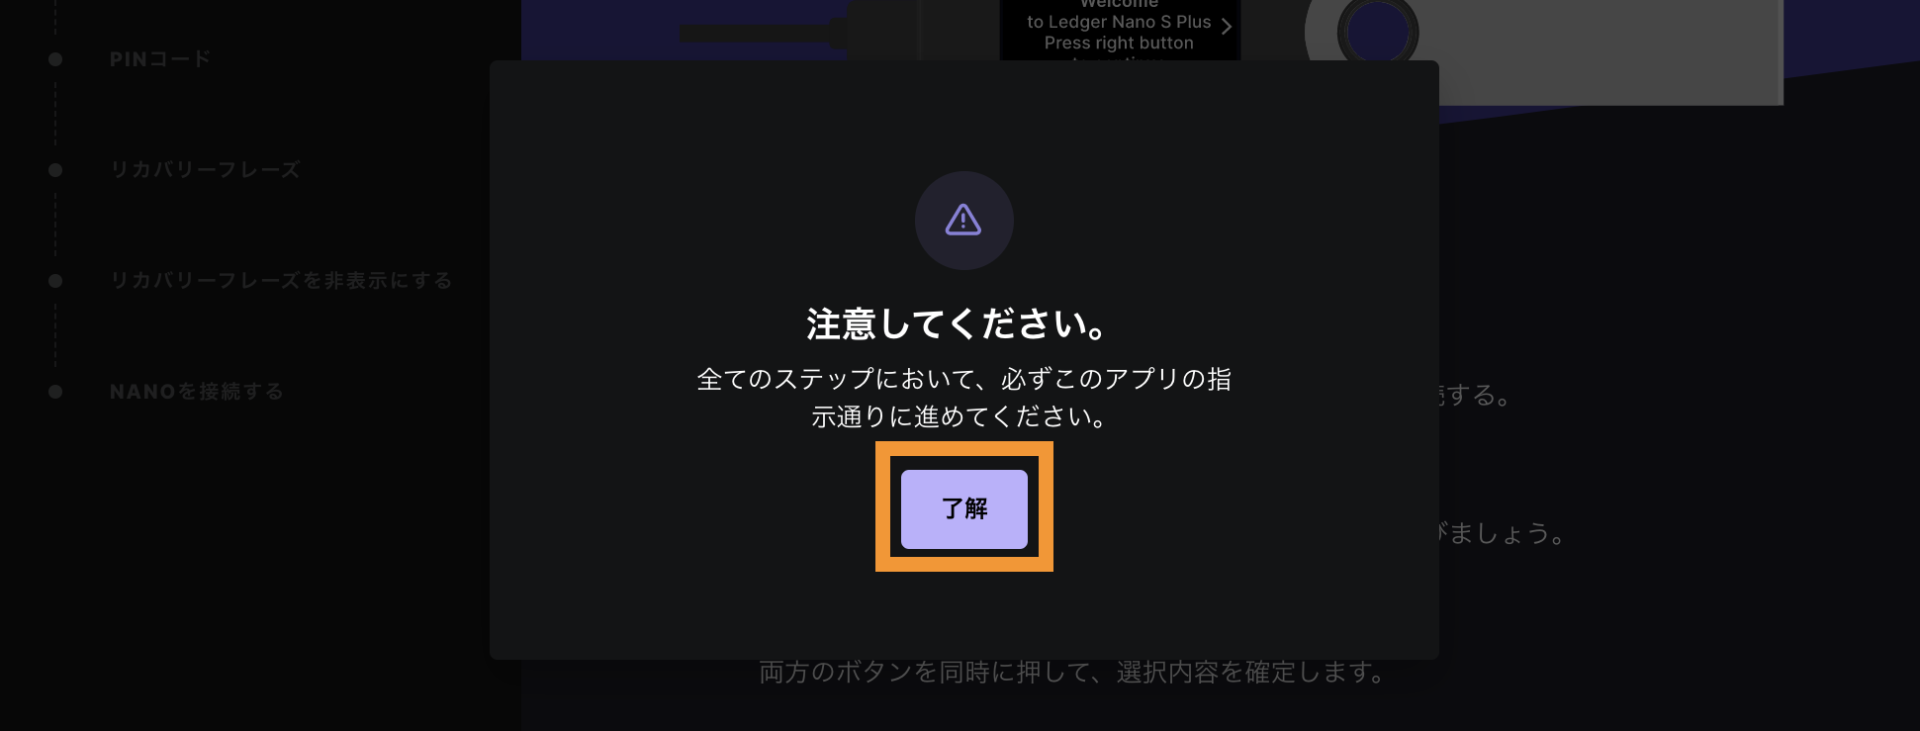
「了解」をクリックでSTEP①が完了です。
続いてUSBケーブルでデバイスを繋げましょう。
STEP②PINコード設定
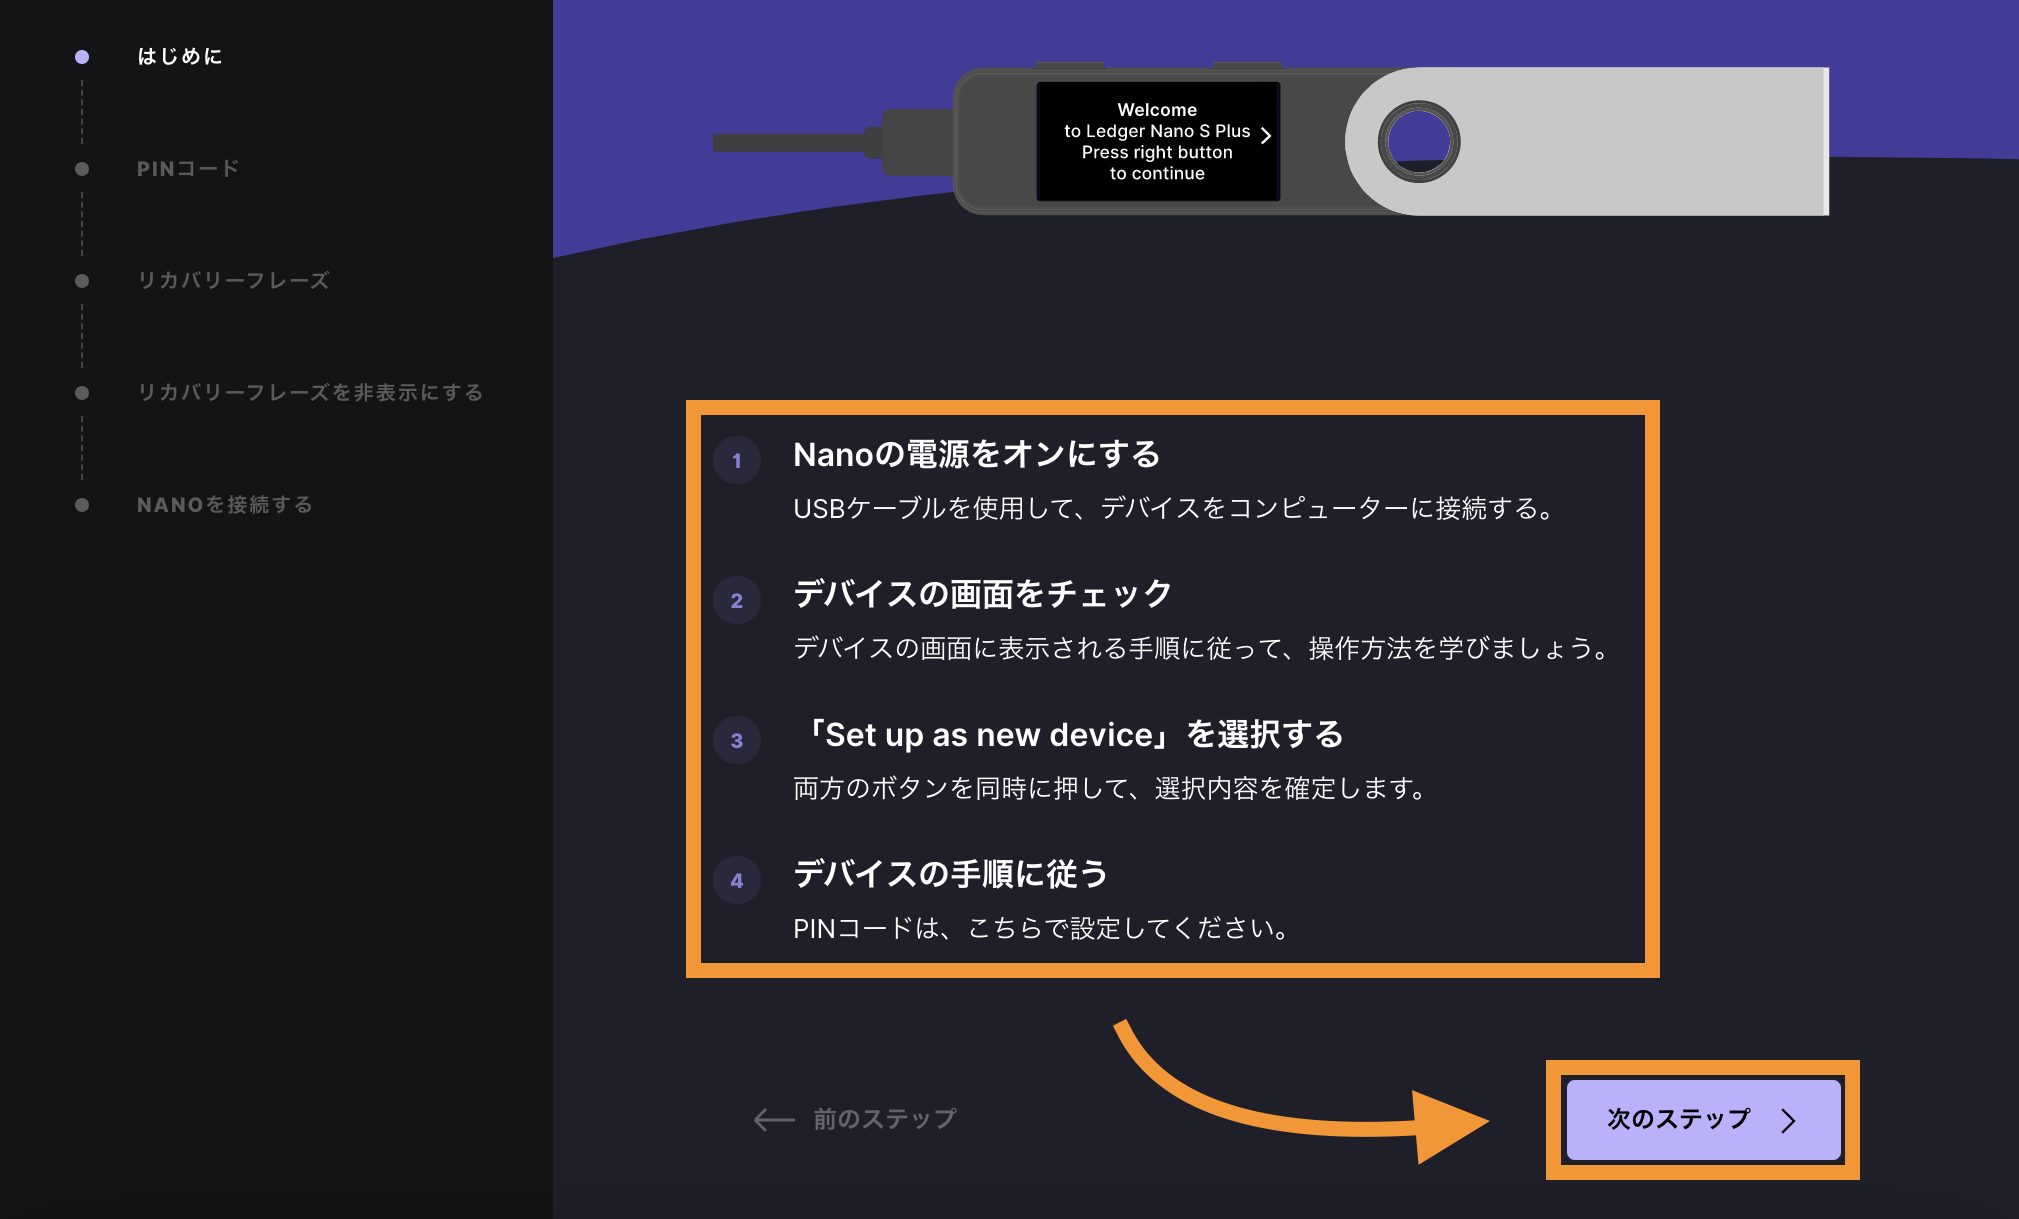
「次のステップ」をクリック。
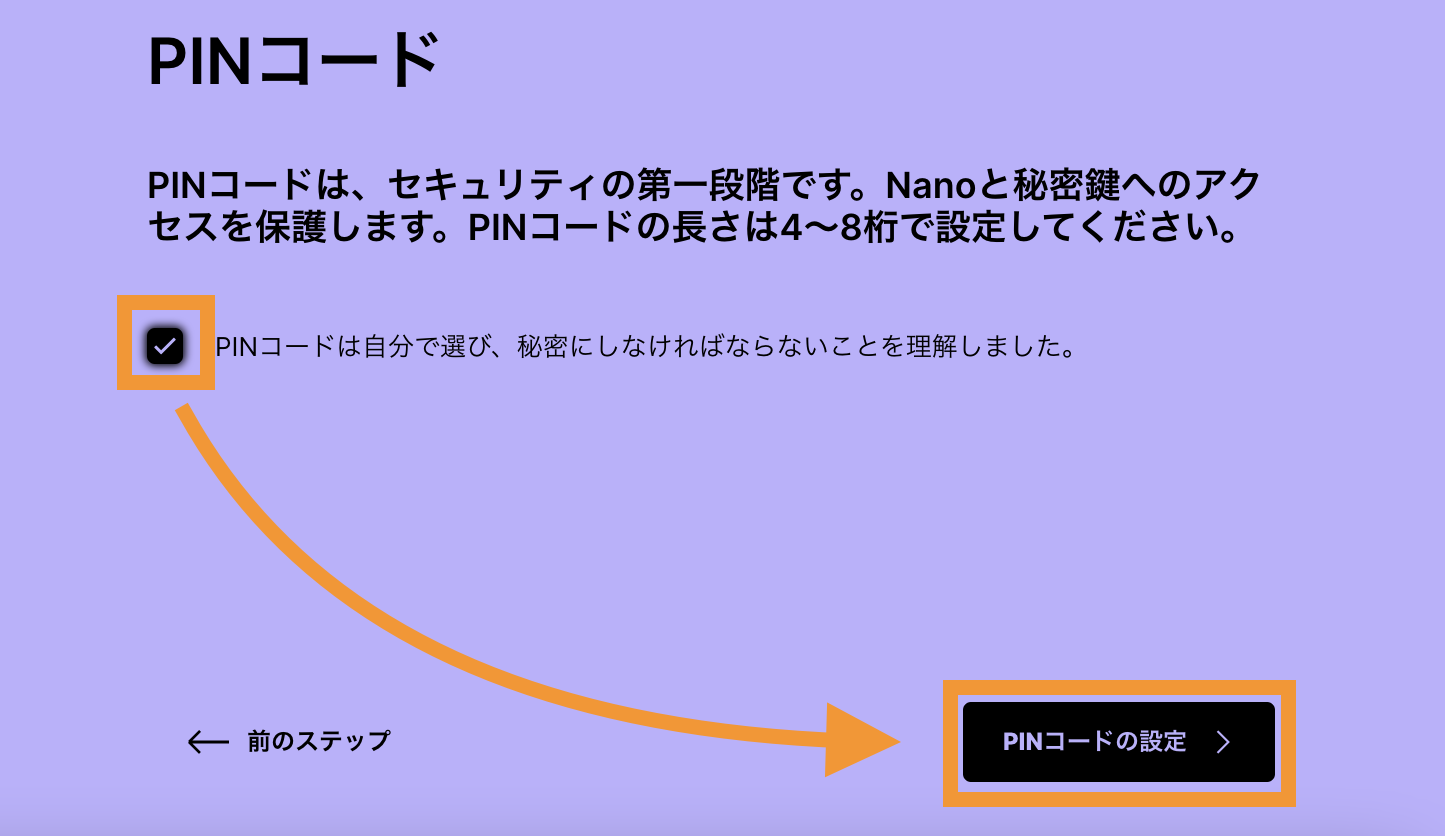
チェックを入れて「PINコードの設定」をクリック。

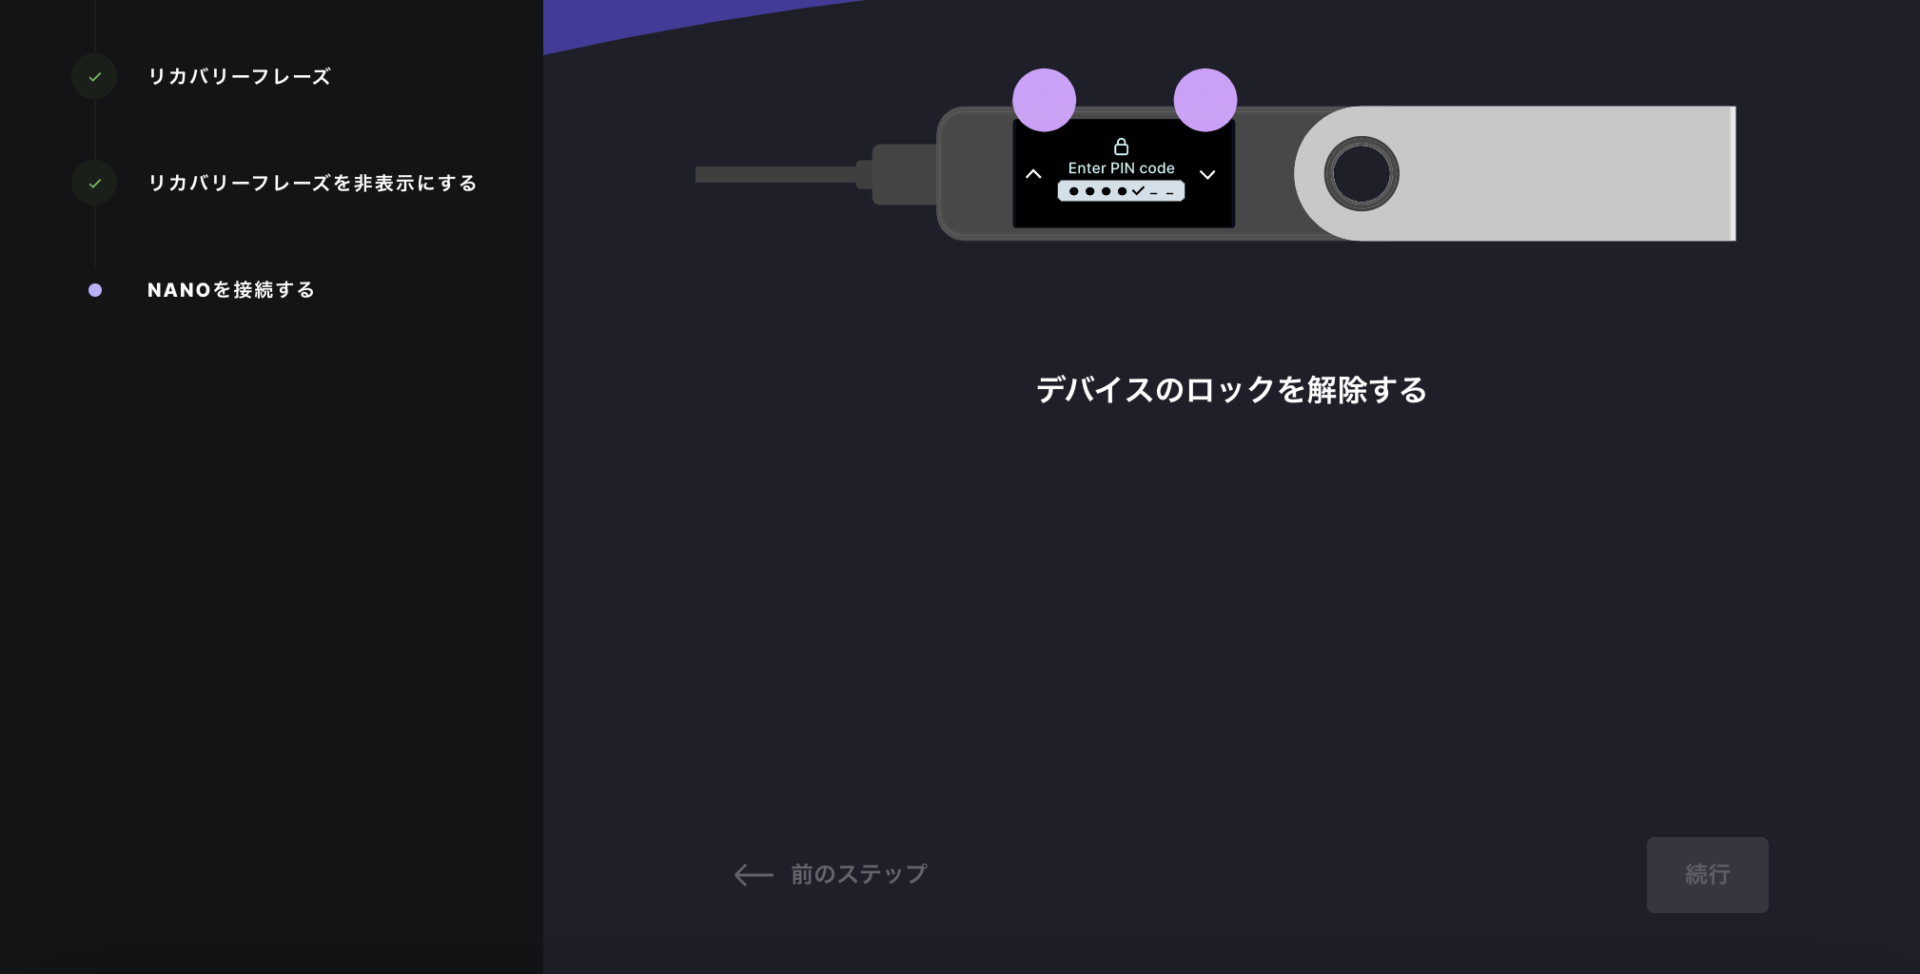
では、レジャーナノ本体を手に取って進めていきましょう。


これでPINコードの設定が完了です。
続いてリカバリーフレーズの設定について進めていきます。
STEP③リカバリーフレーズの設定
レジャーナノが故障したり紛失した際も、リカバリーフレーズがあれば引き継ぐことができます。
逆に、リカバリーフレーズを忘れてしまった場合、復旧ができないので必ず付属のメモ用紙に控えておきましょう。
では、進めていきます。
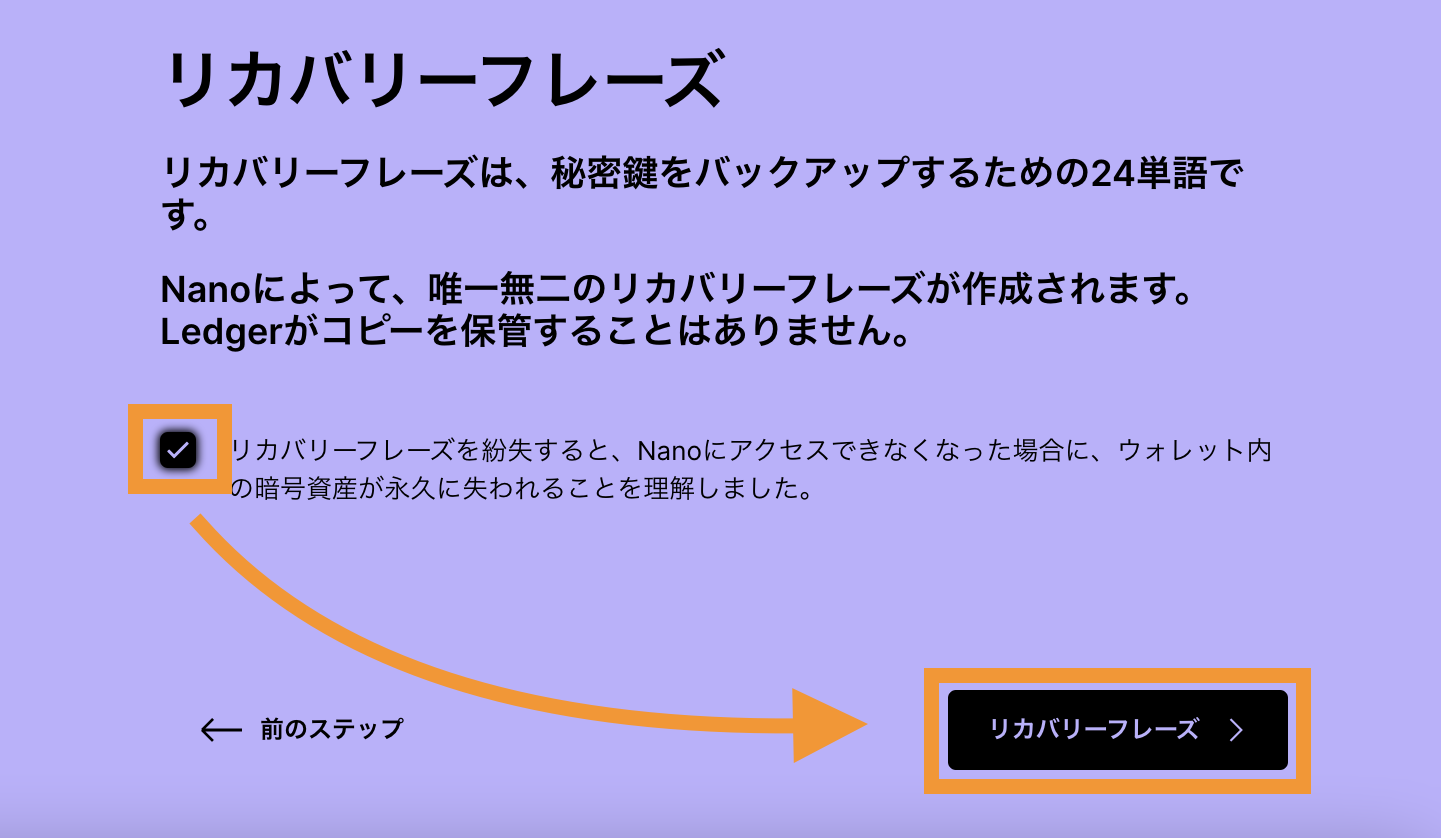
チェックを入れて「リカバリーフレーズ」をクリック。
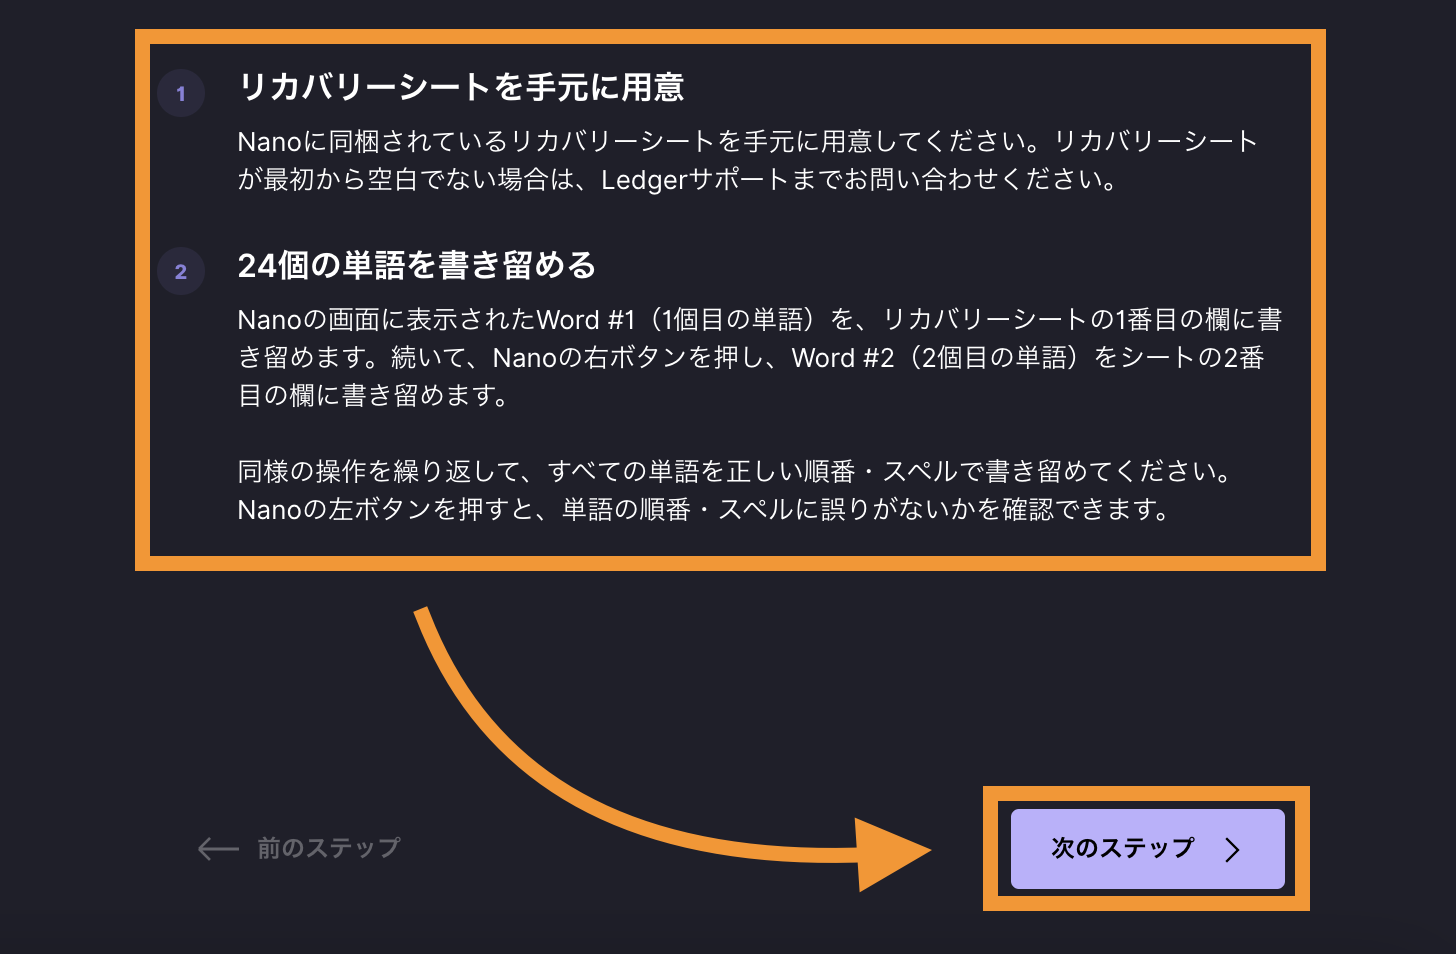
「次のステップ」をクリック。
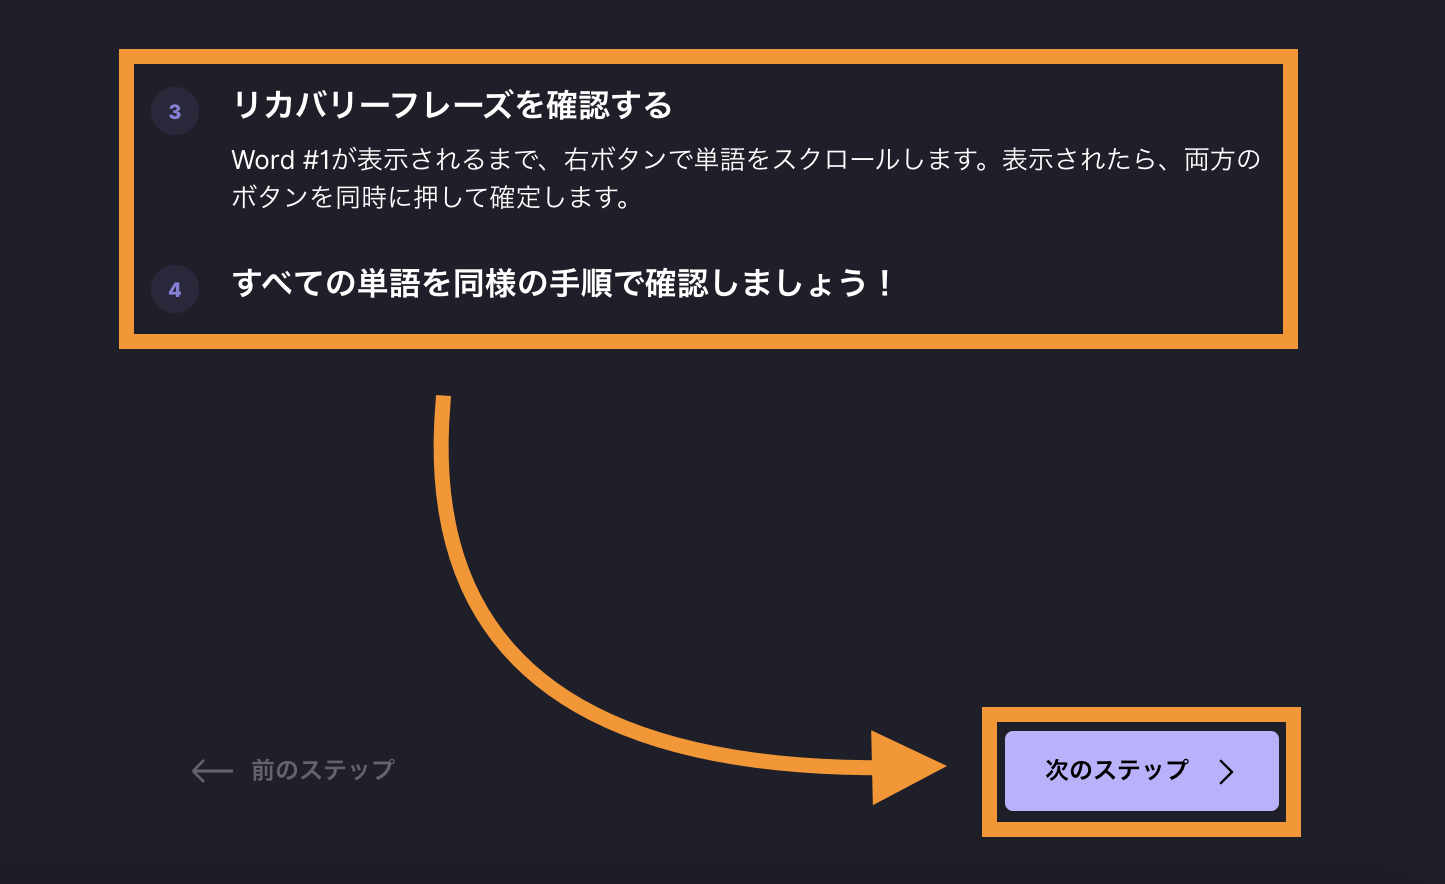
再度「次のステップ」をクリック。
次に、レジャーナノで設定していきます。


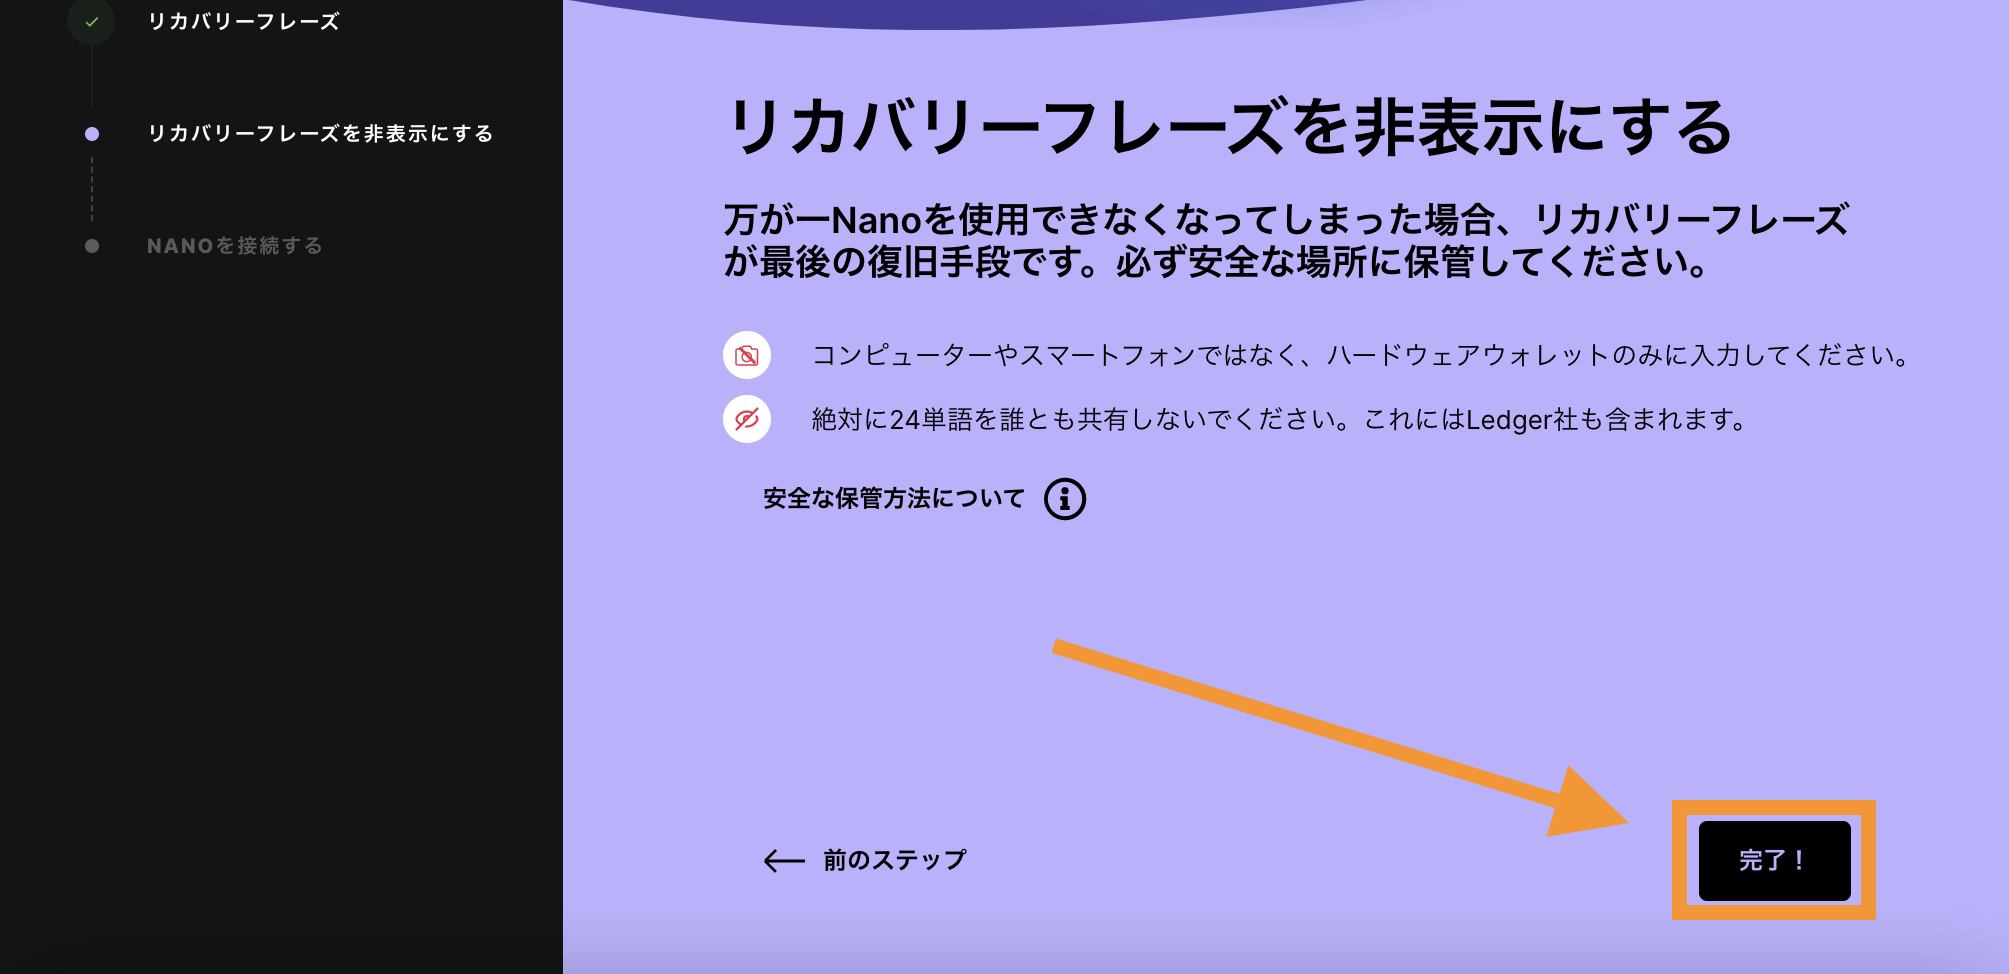
レジャーナノでの操作が完了したら、「完了」をクリック。
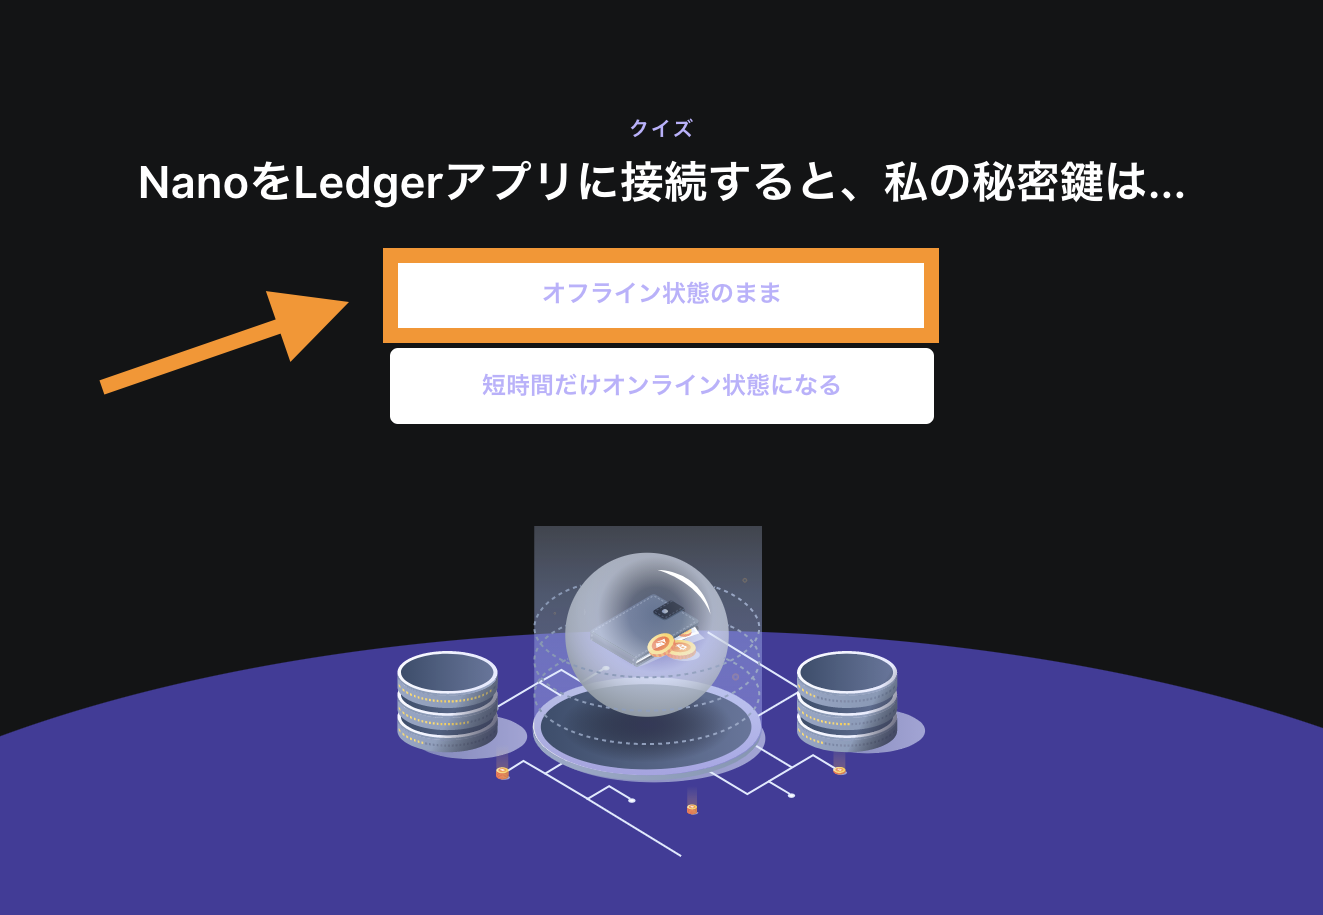
続いて、カンタンなクイズに答えていきます。
STEP④クイズに答える
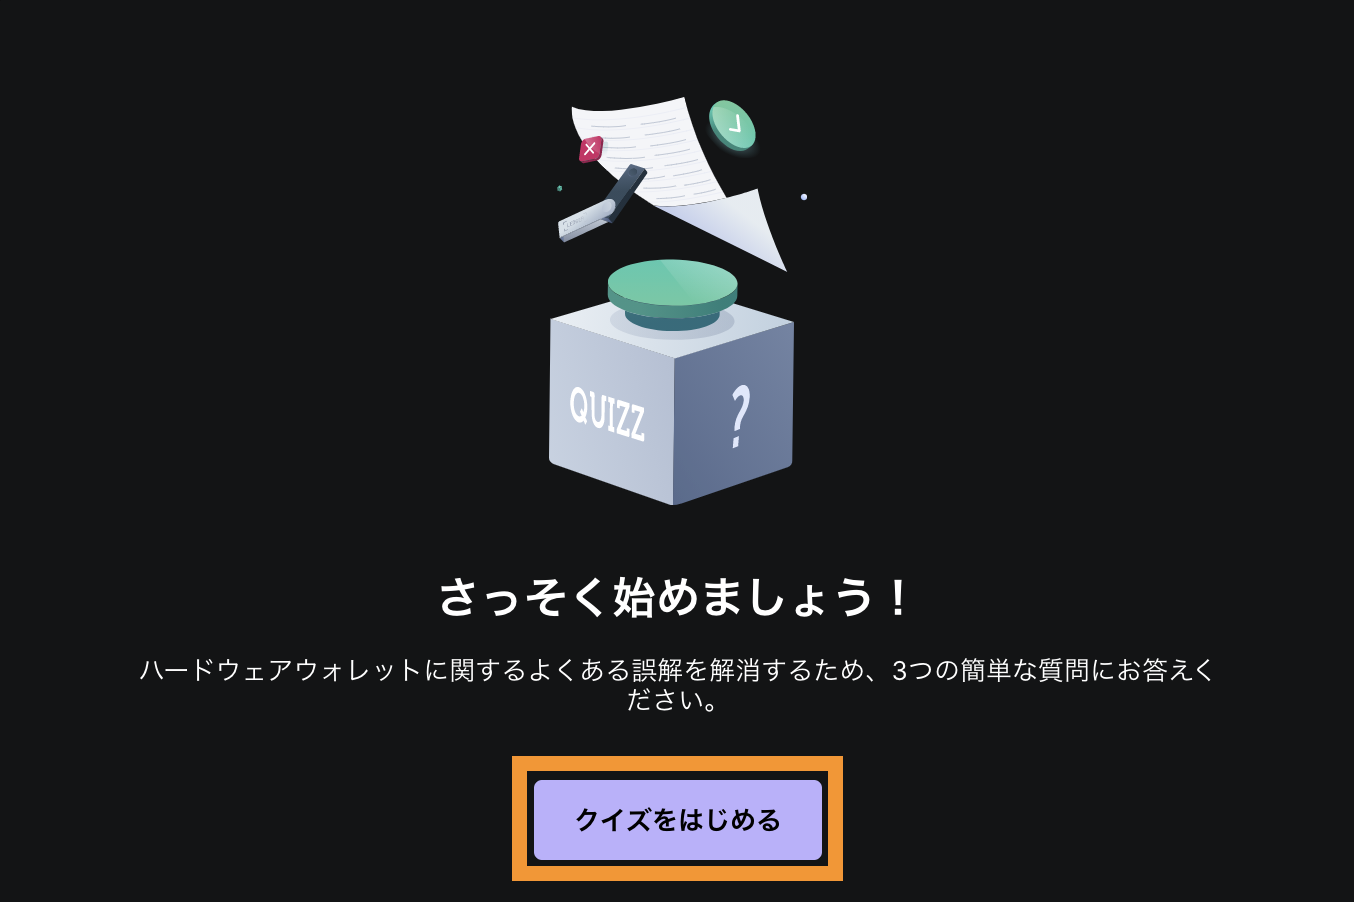
「クイズをはじめる」をクリックして、次の3問に答えていってください。
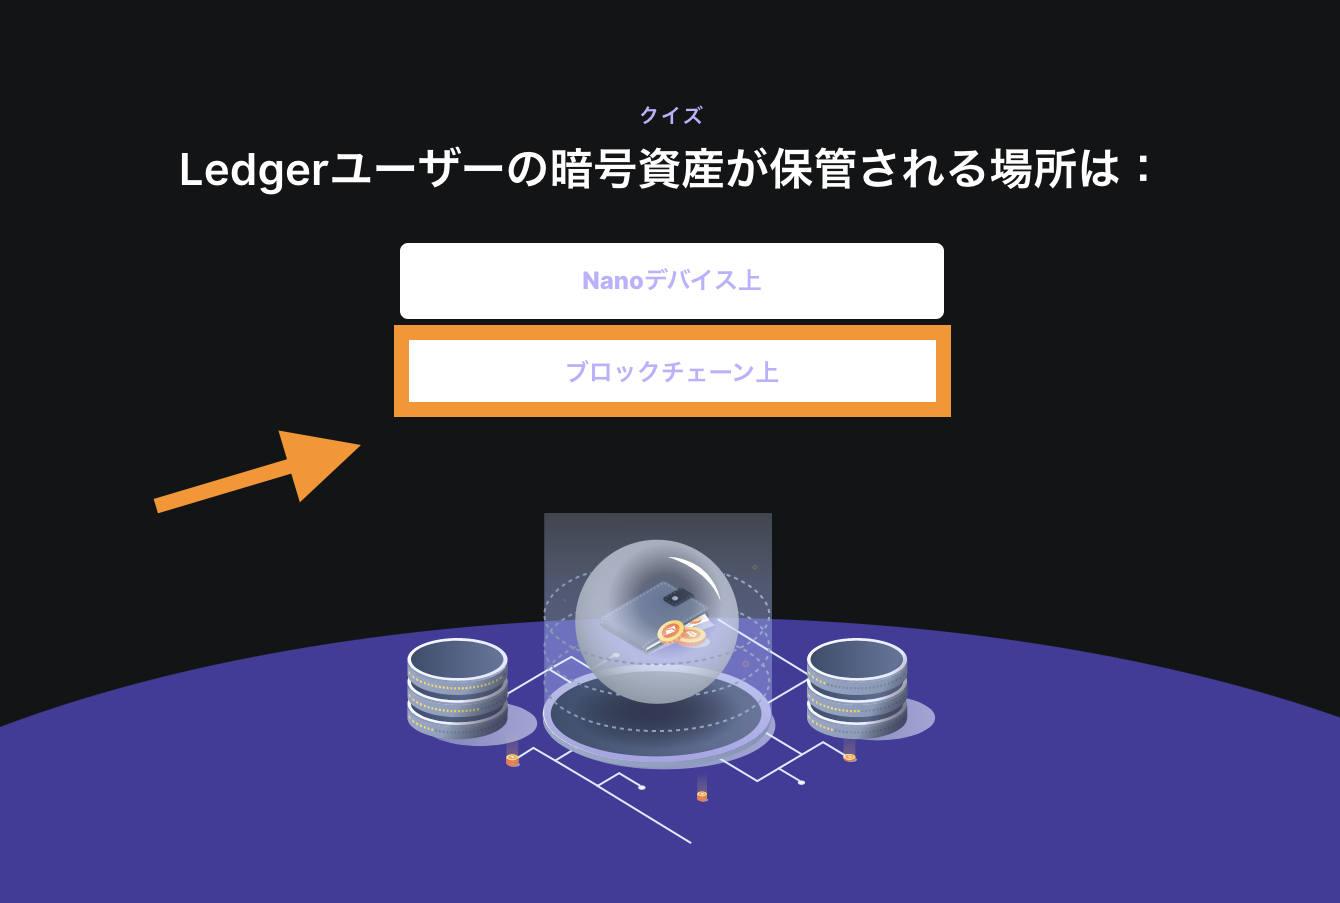

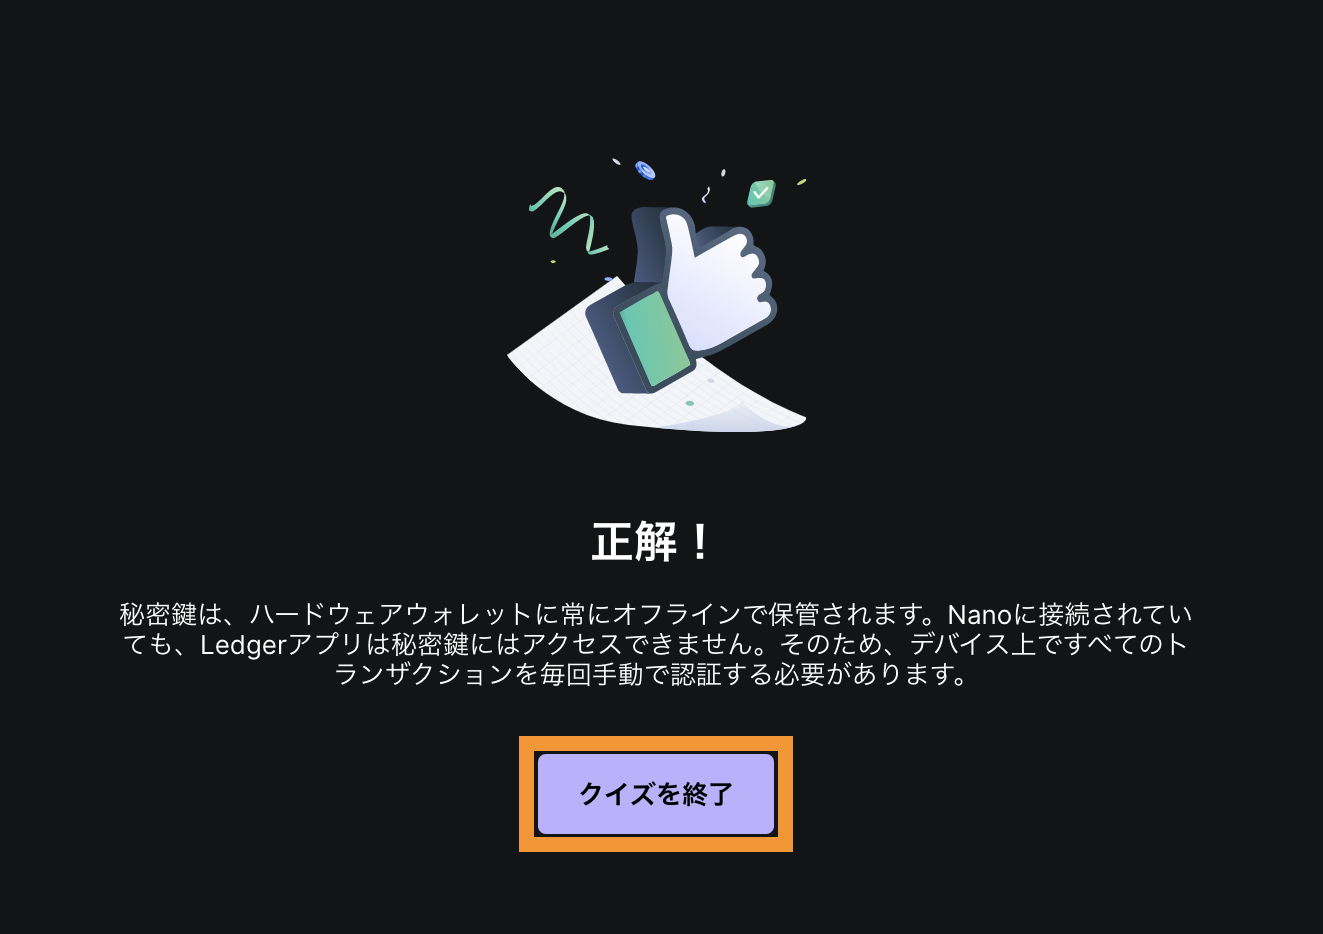
「クイズを終了」をクリック。
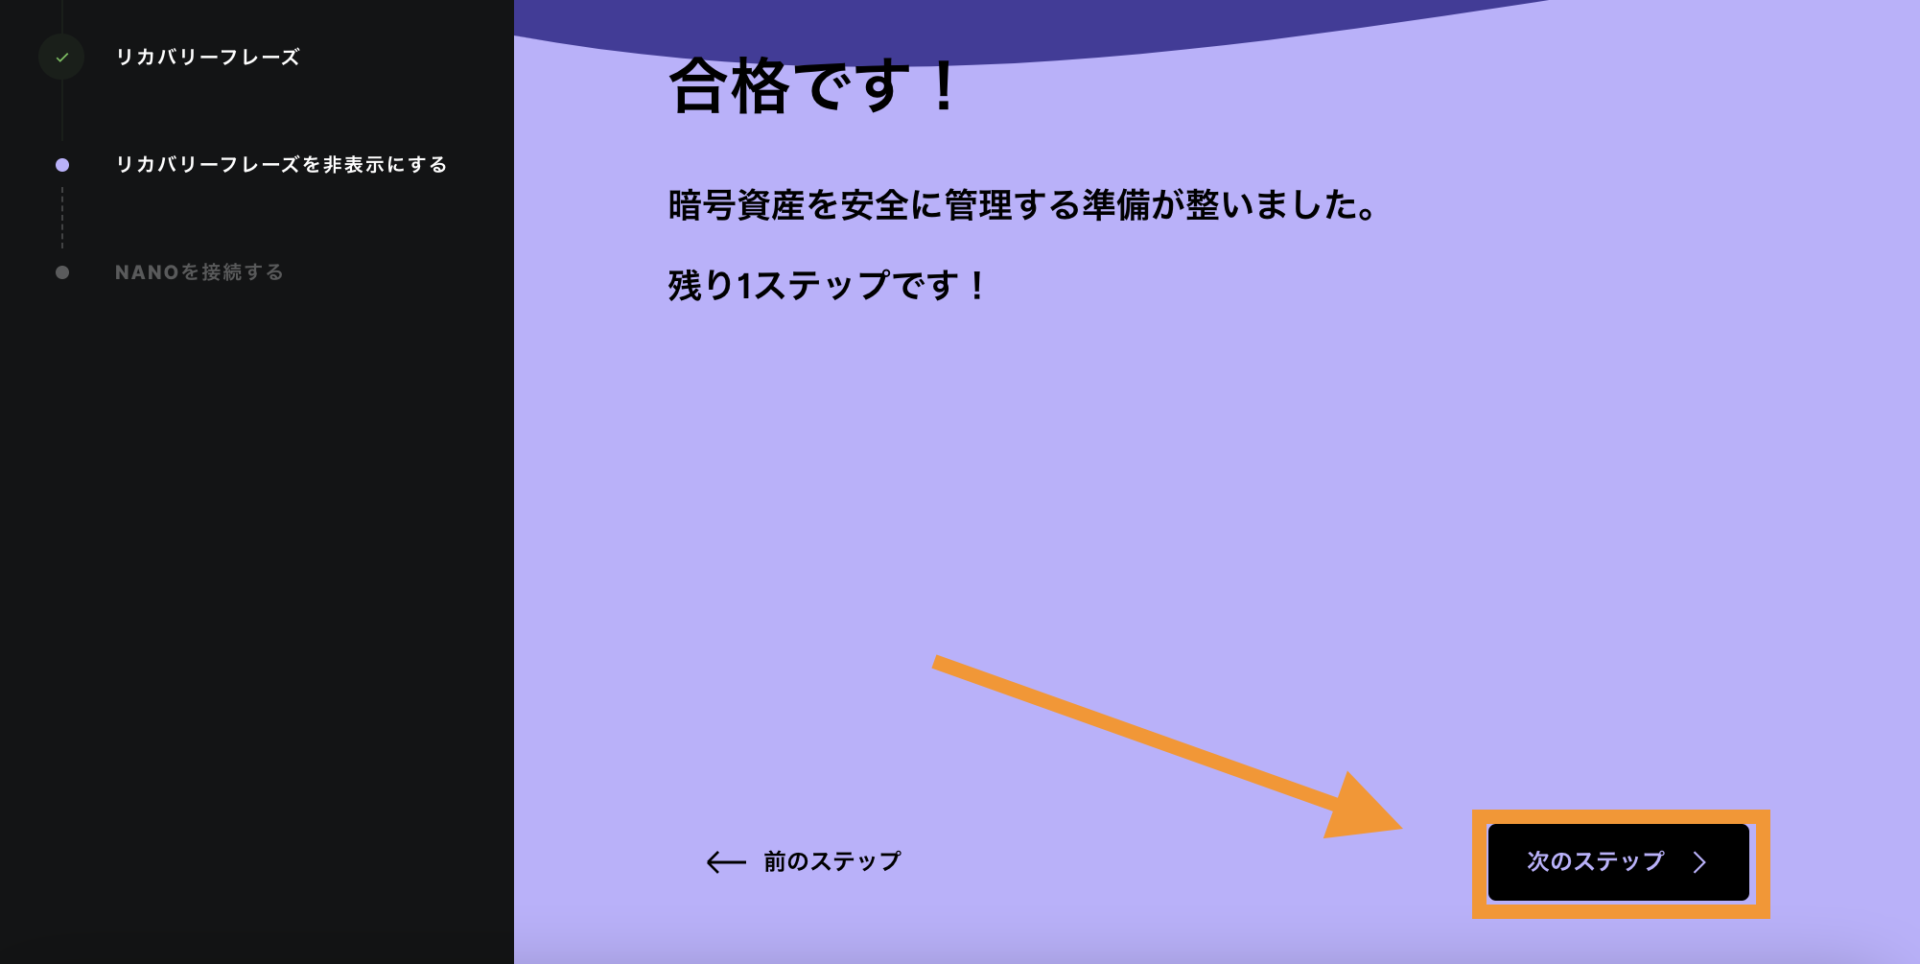
「次のステップ」をクリック。
STEP⑤正規品チェック
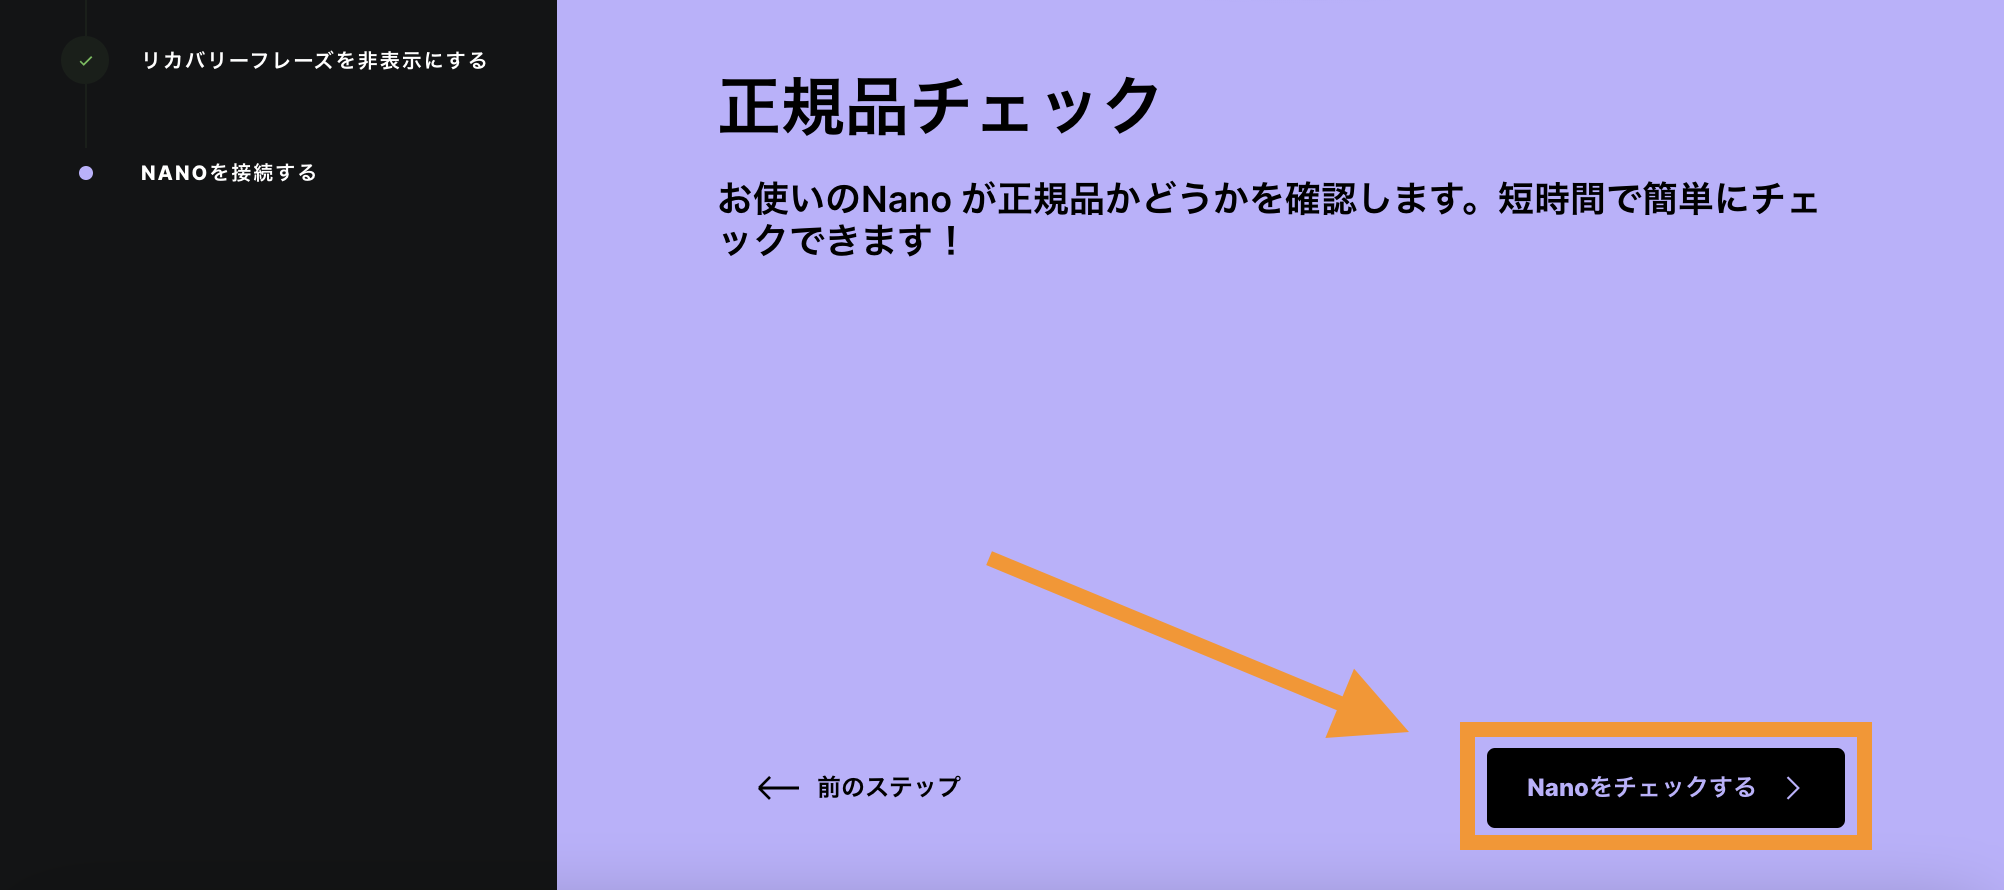
「Nanoをチェックする」をクリック。
レジャーナノ本体の両ボタンでロックを解除して、「続行」をクリック。
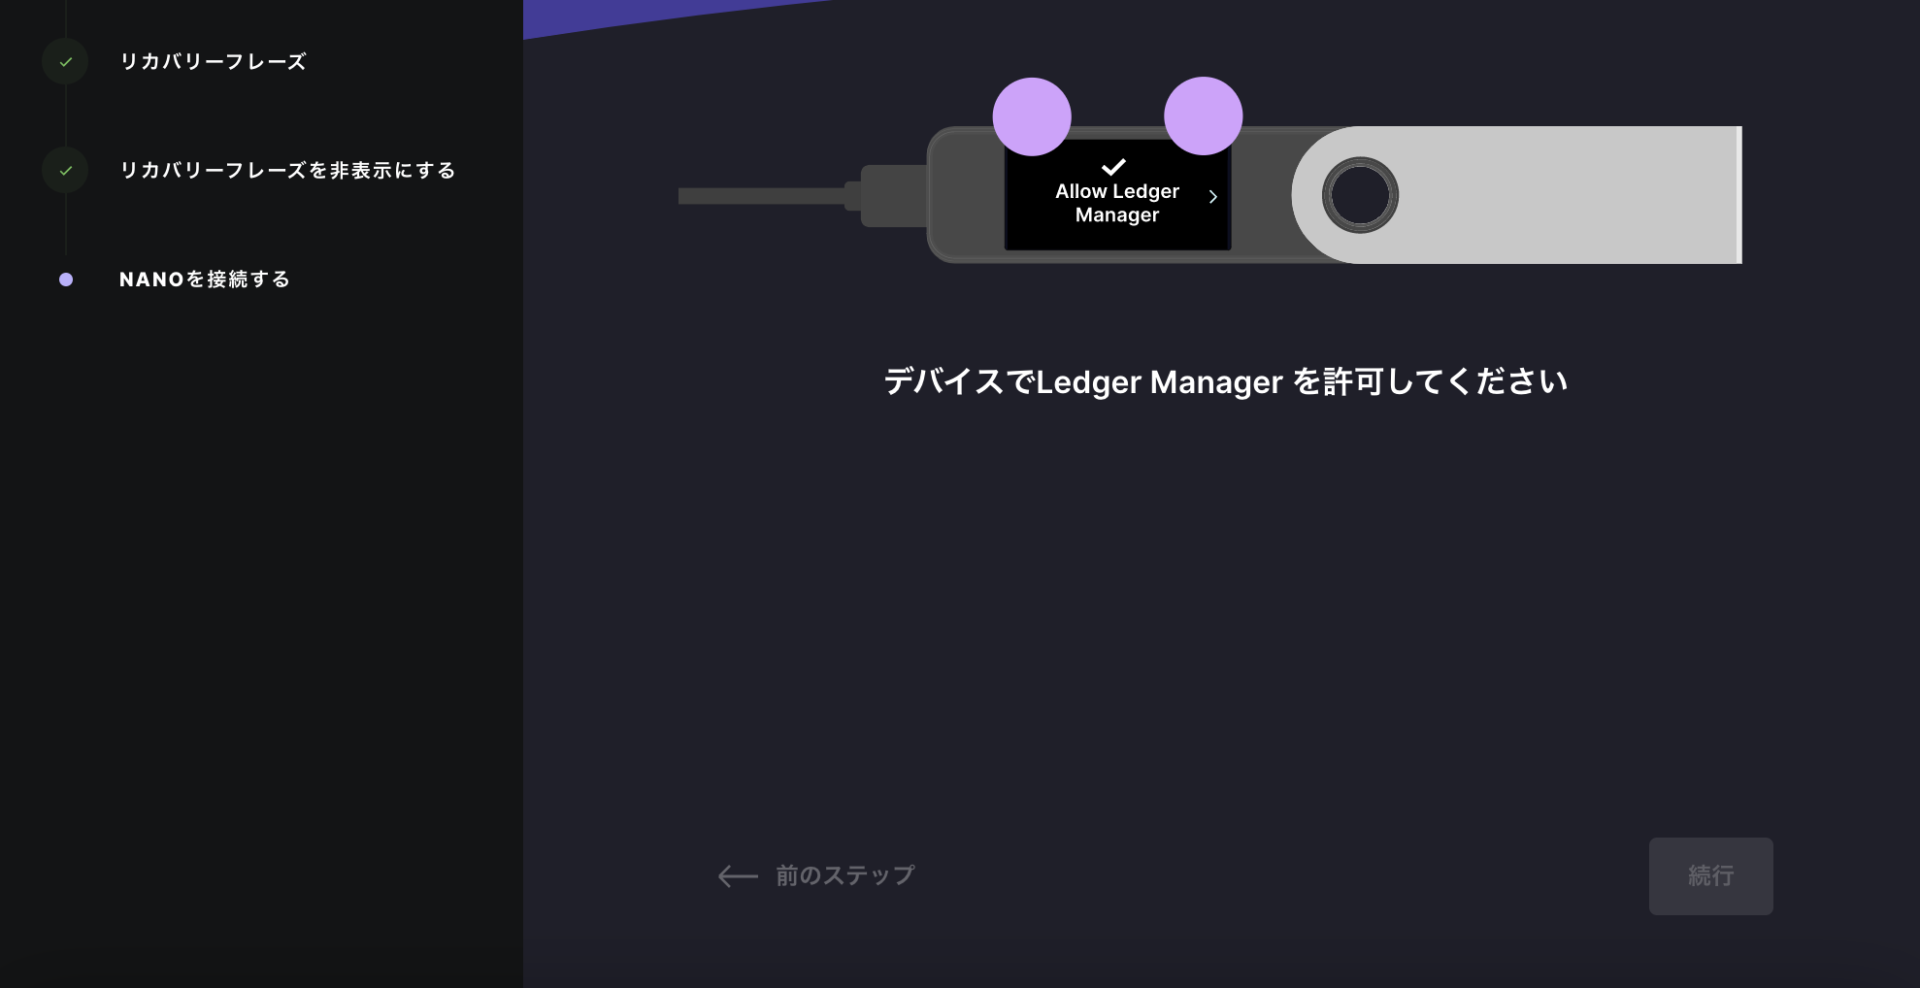
再度、本体の両ボタンを押して、「続行」をクリック。
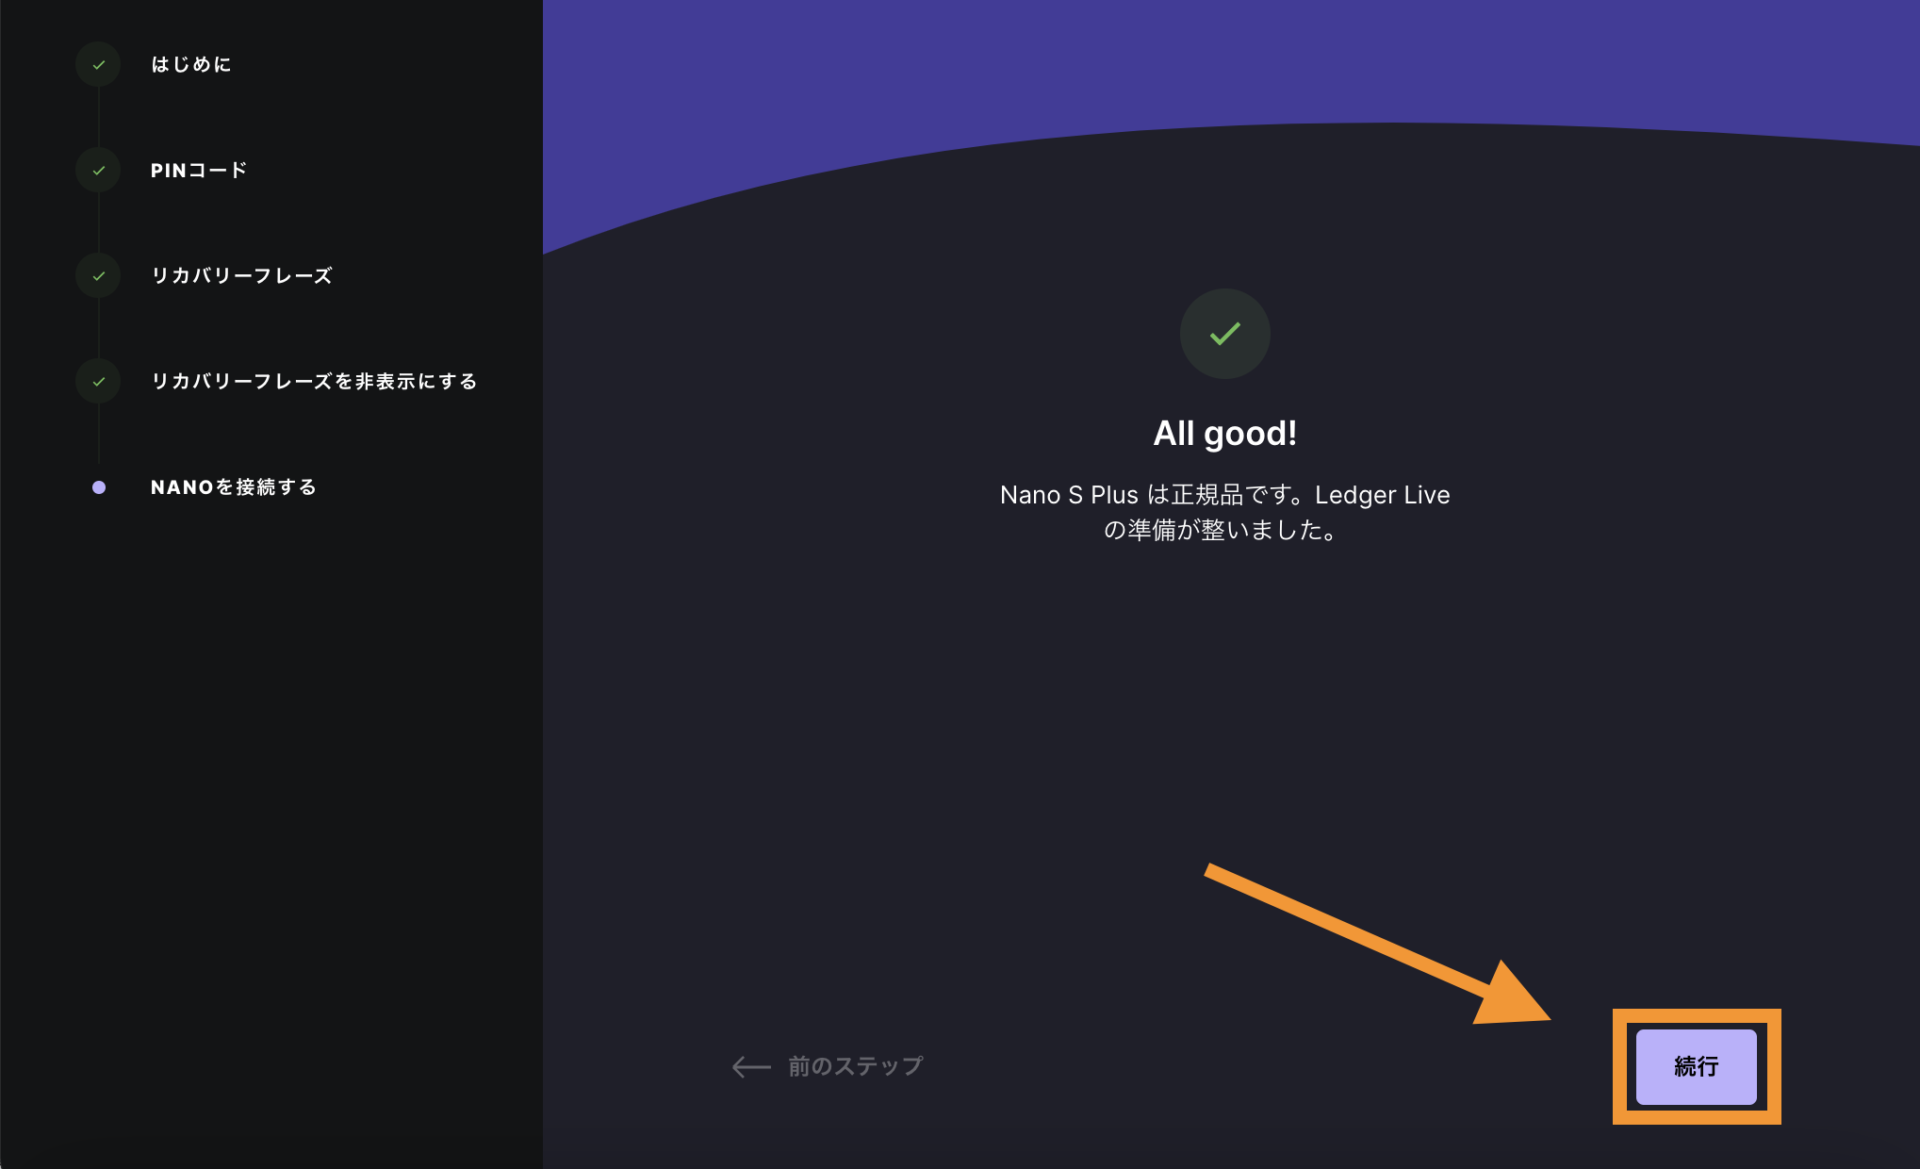
正規品のチェックが完了したので、「続行」をクリックします。あと少しです!!
STEP⑥アカウントを追加
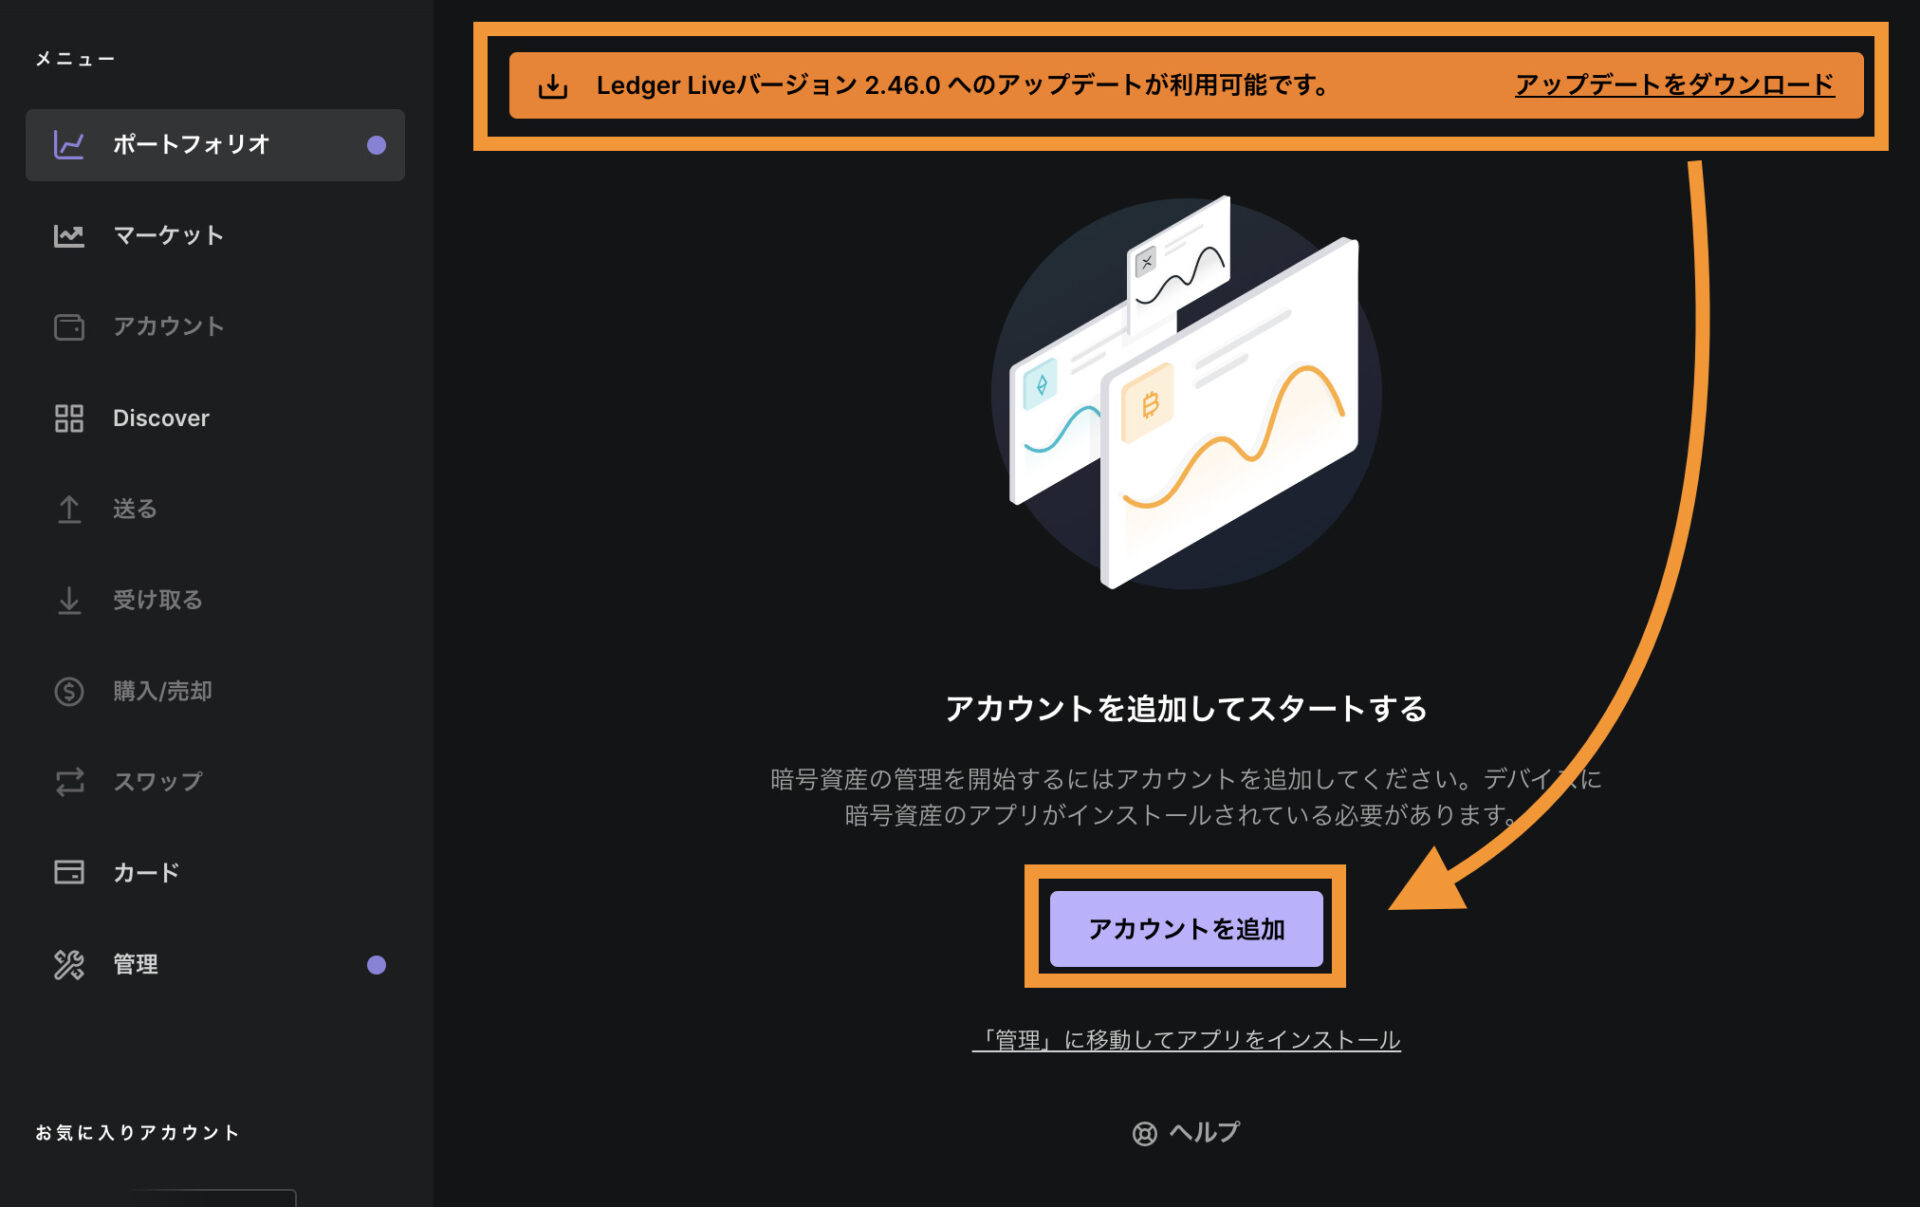
アップロードの表示が出ている場合は、先に済ませてから「アカウント追加」をクリック。
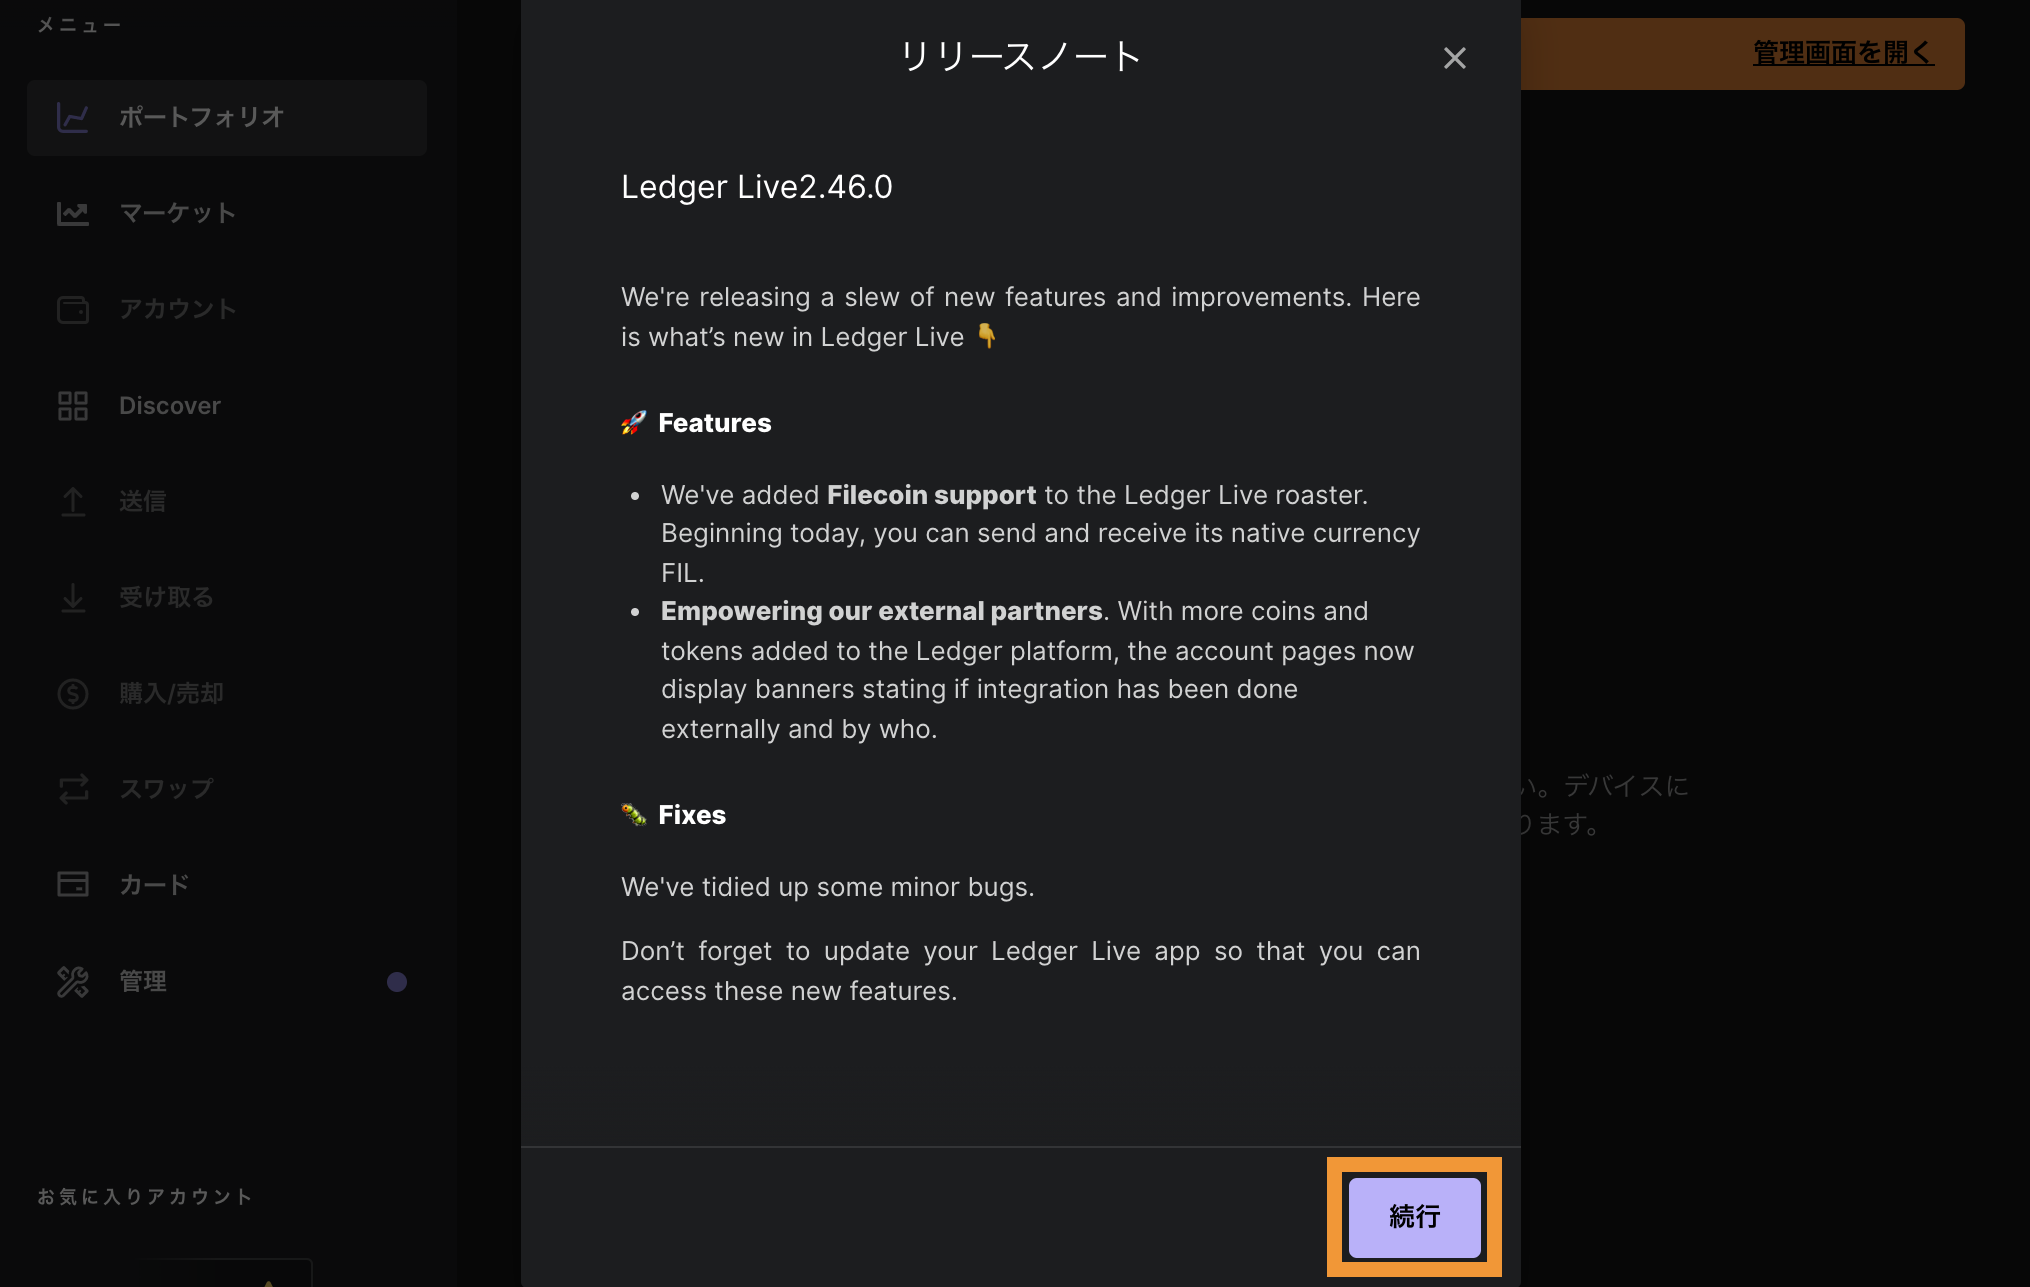
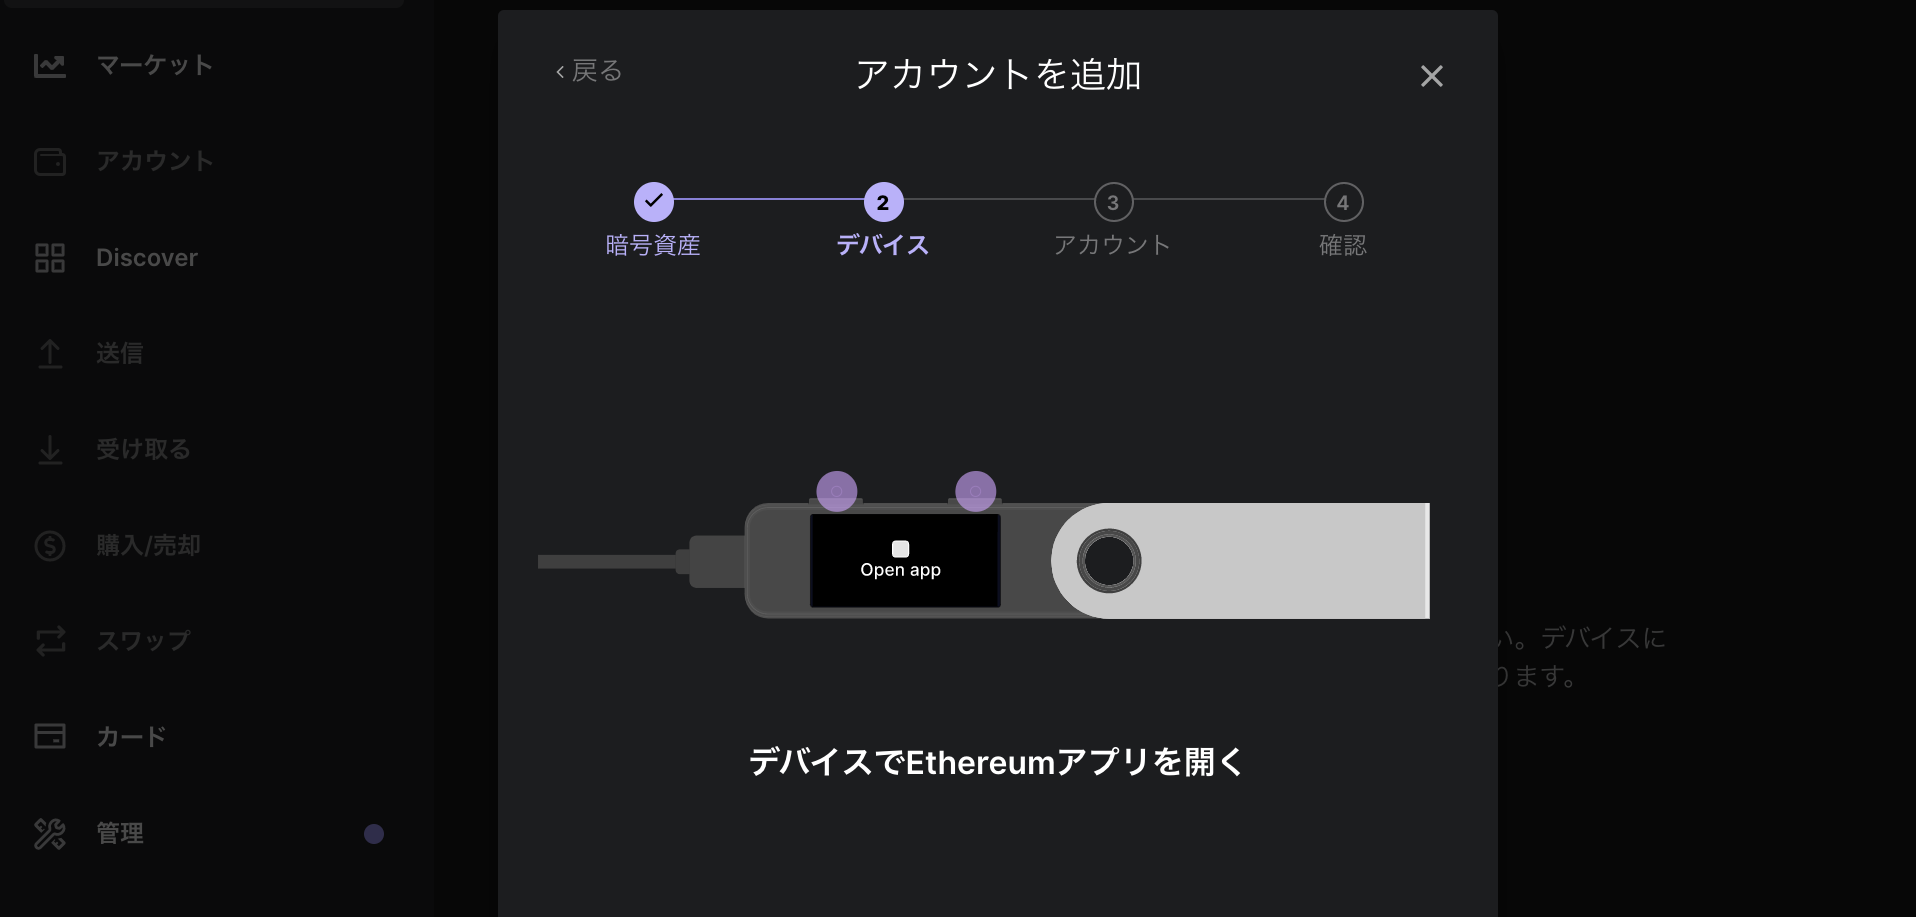
「続行」をクリック。
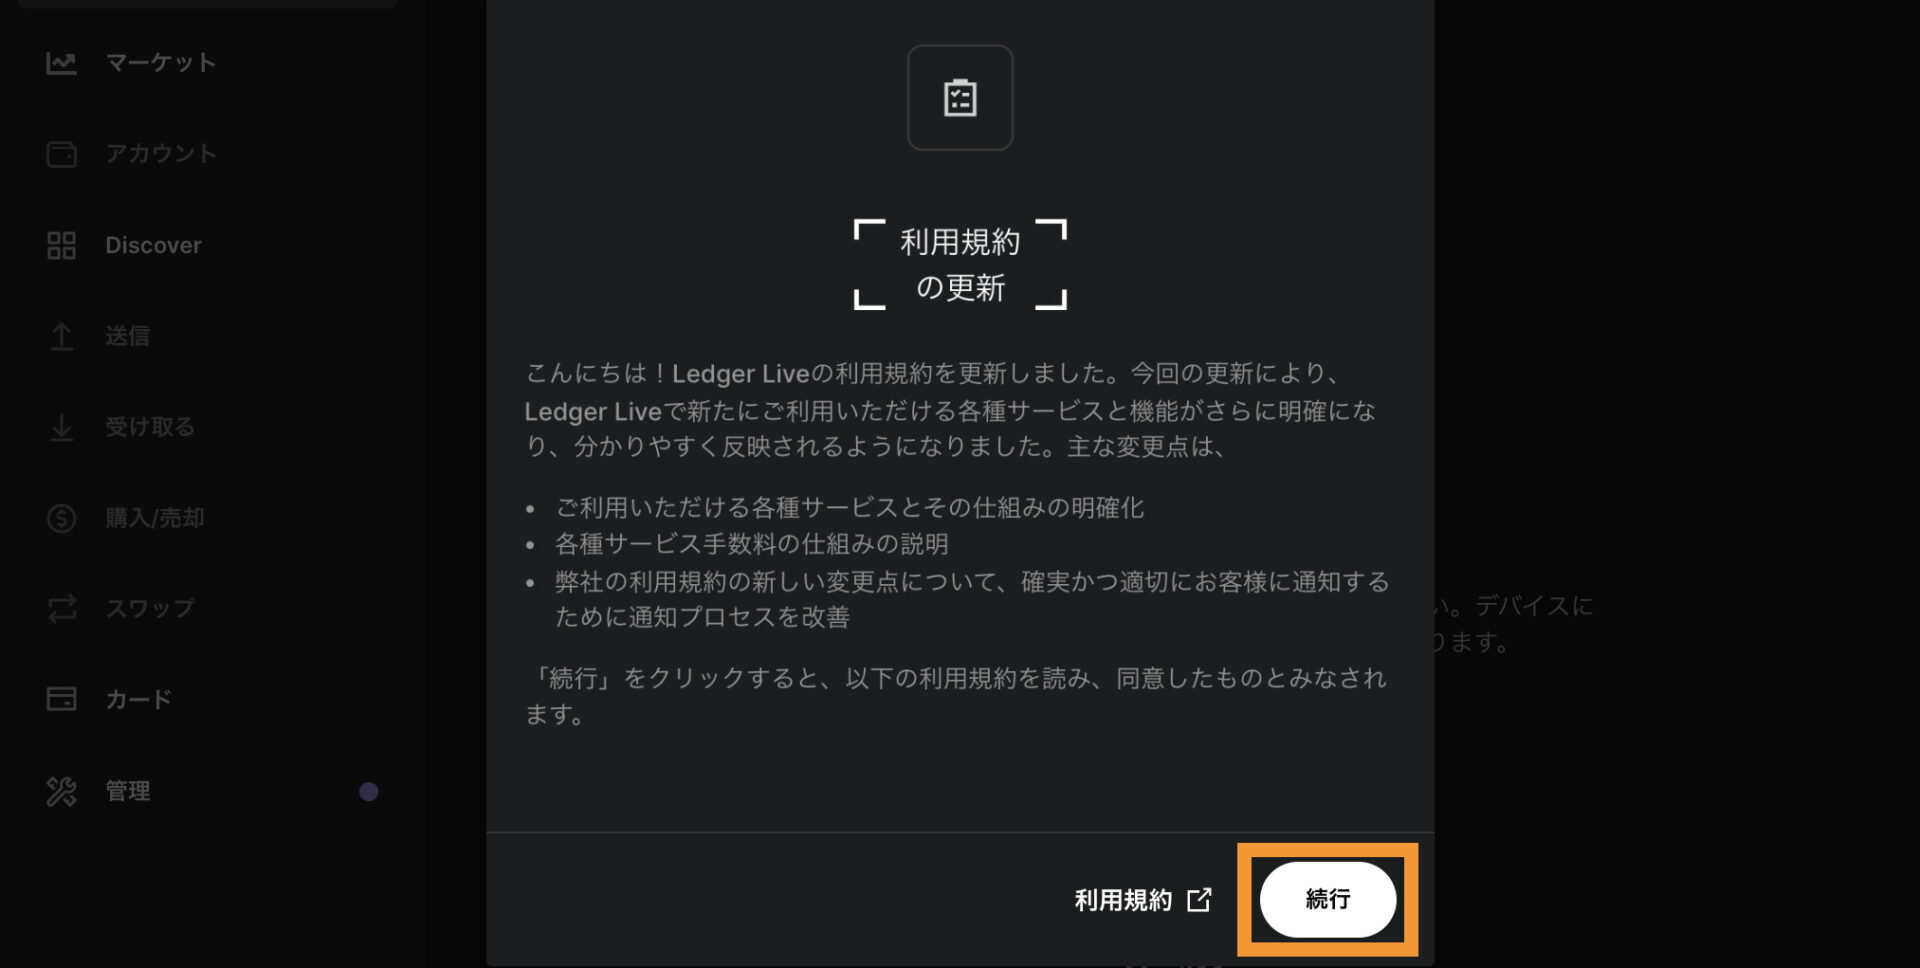
再度、「続行」をクリック。
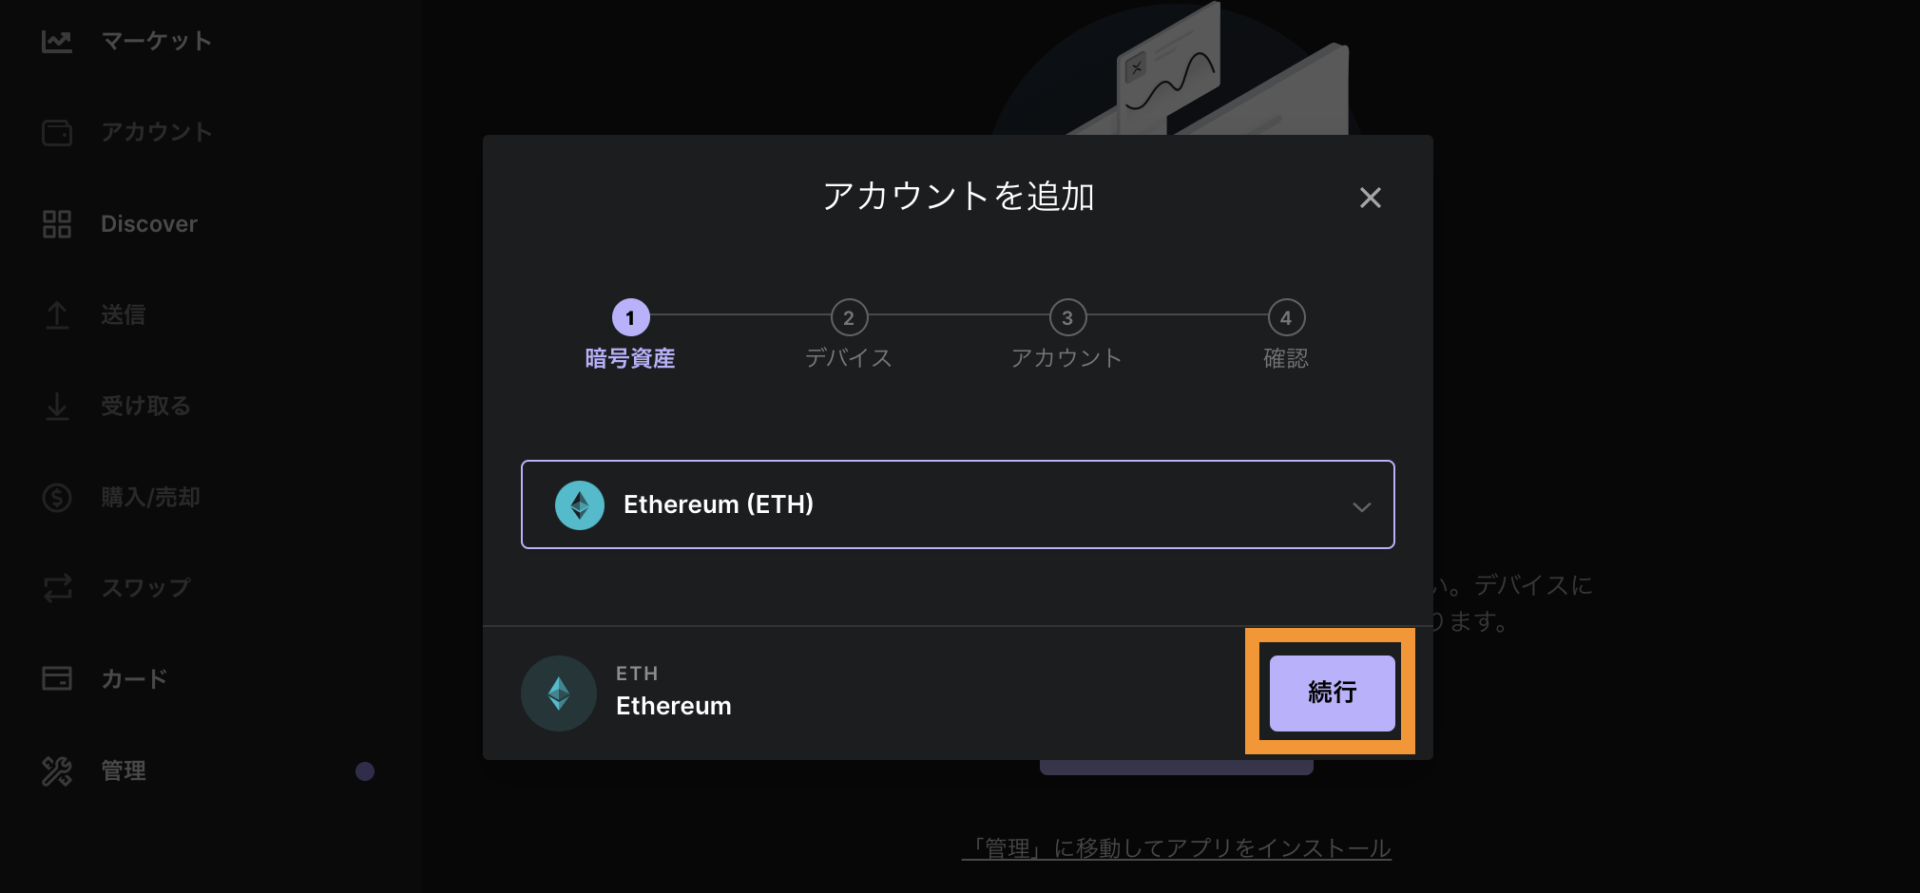
追加したいアカウントを選んで「続行」をクリック。
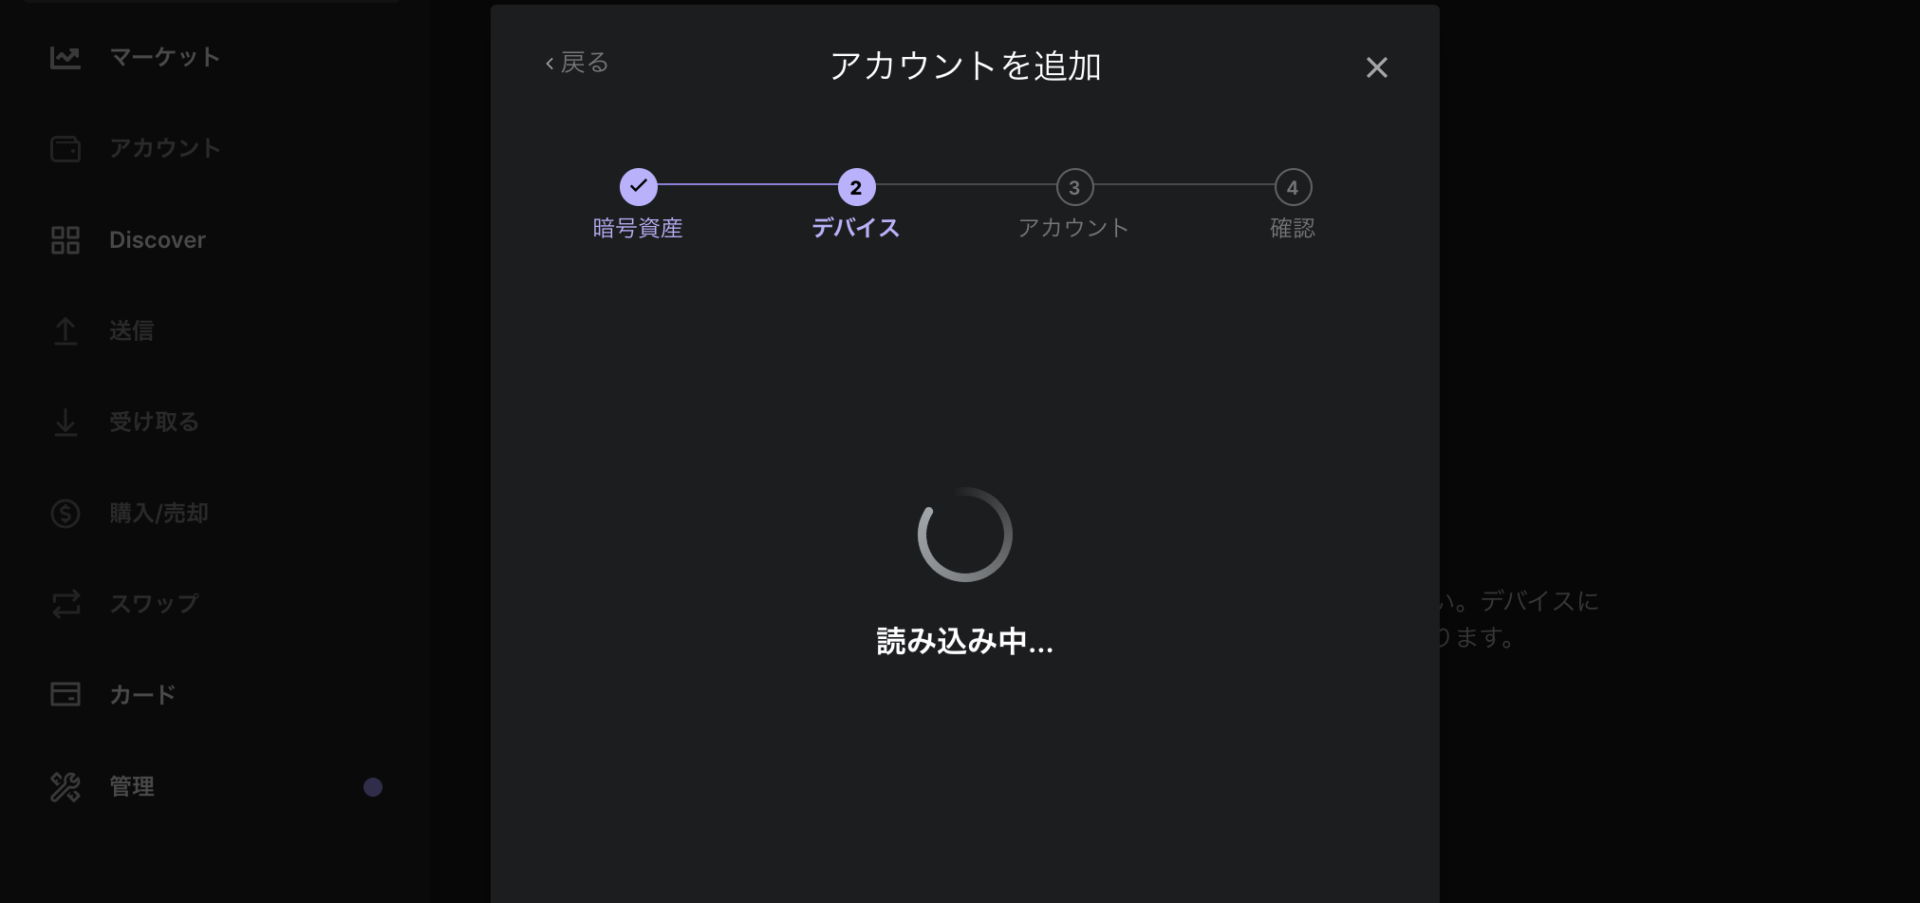
※操作に時間がかかると、再度PIN入力の指示が出てる場合があります。
レジャーナノの両ボタンを押します。
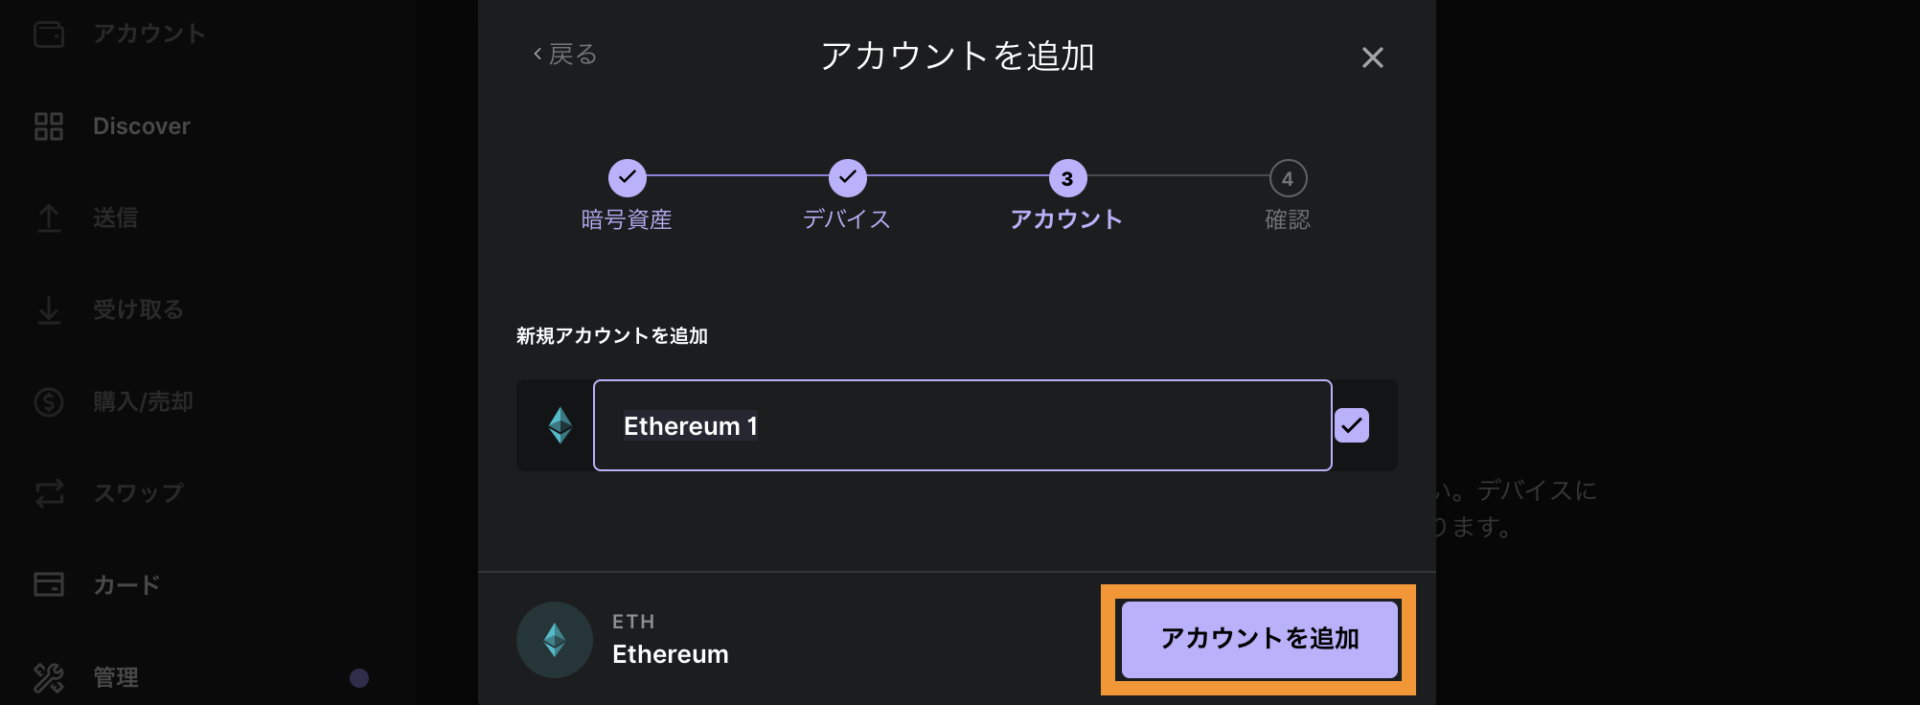
「アカウントを追加」をクリック。
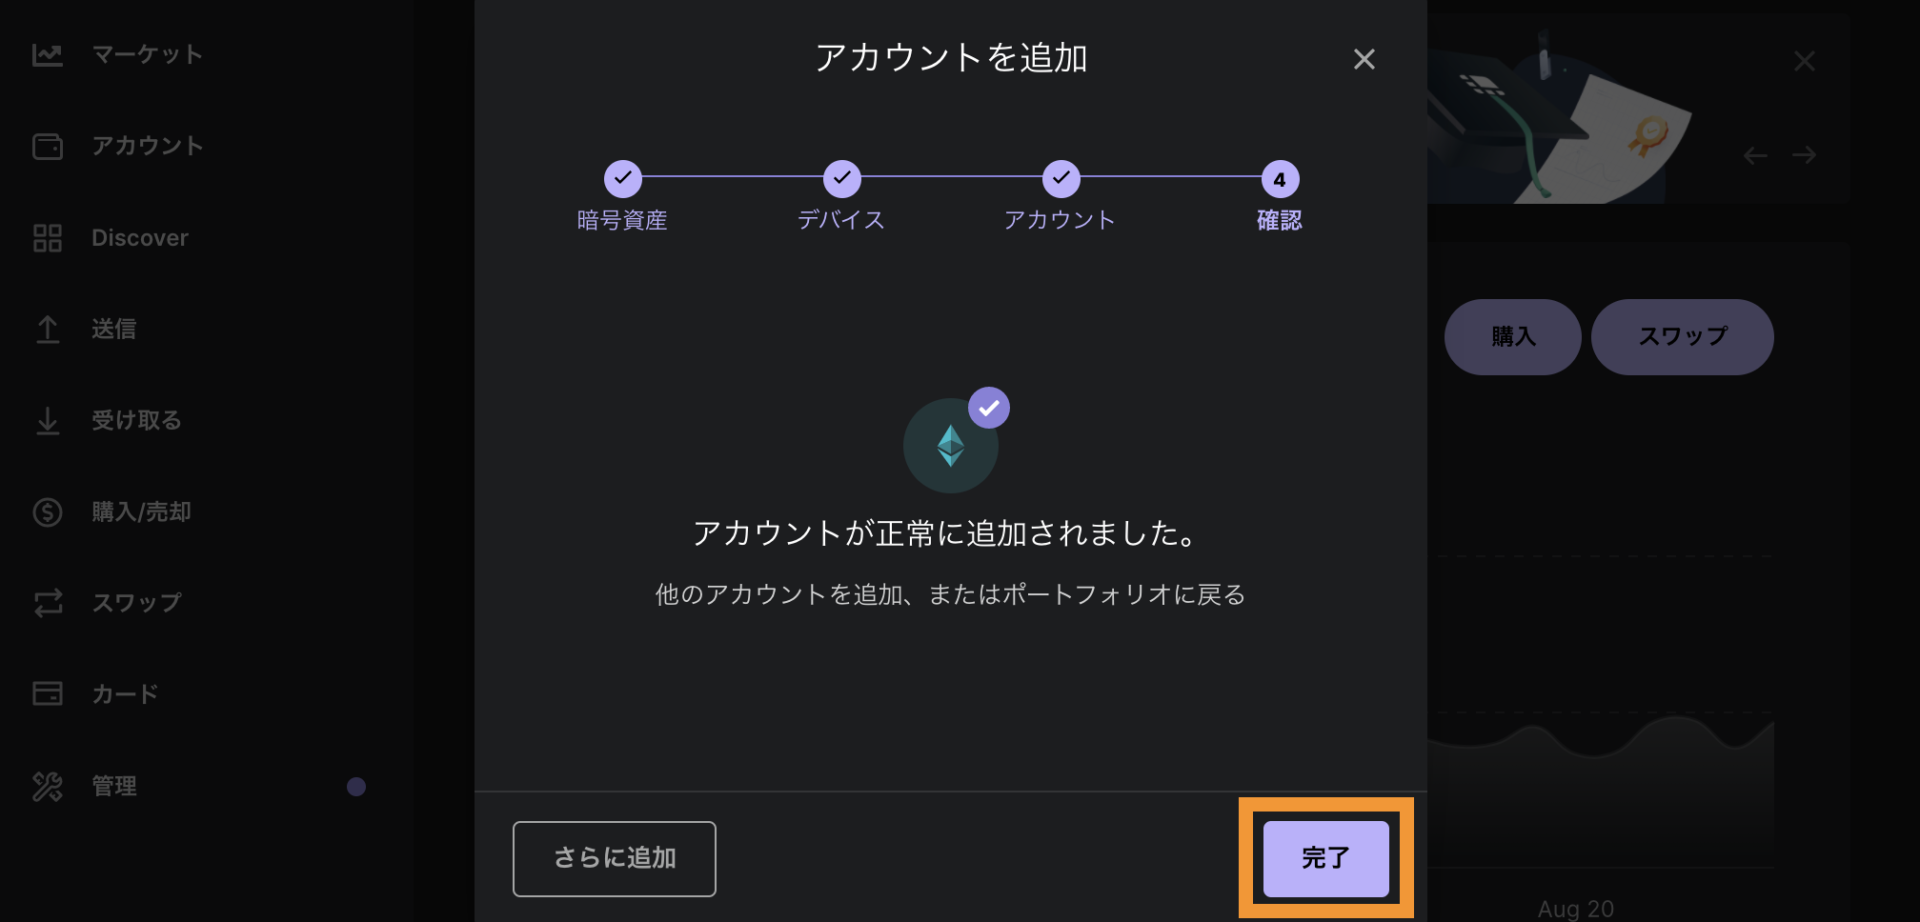
これで追加されましたが、一応確認しておきましょう。
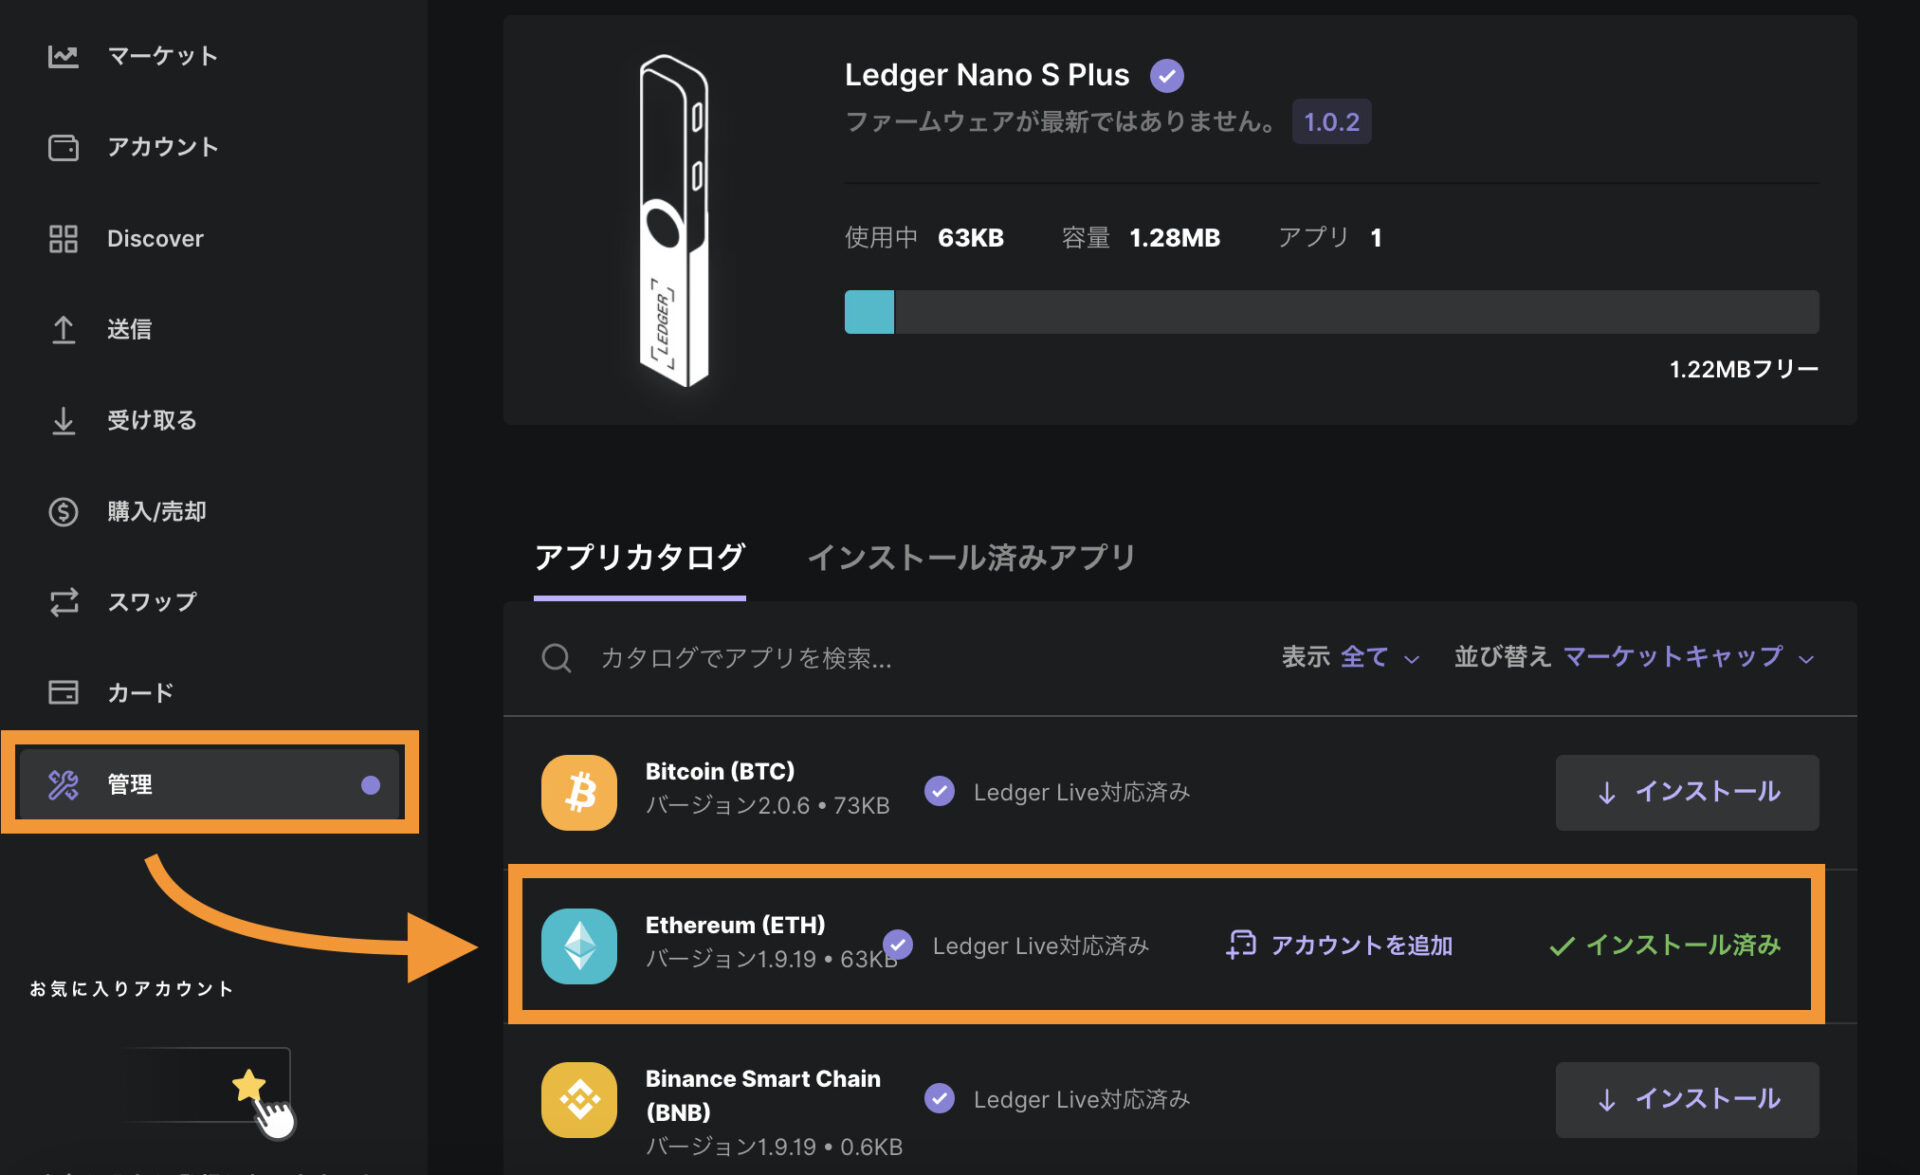
「管理」を見るとインストール済みとなってることが確認できます。
以上で初期設定が完了です!お疲れさまでした。
とはいえ、ボクがハードウェアウォレットを買った理由は、NFTを安全に保管するためです。
では引き続き、NFTの移行方法や、メタマスク・Openseaに連携させる方法を解説していきます。
ハードウェアウォレット使い方②|NFTの移行方法
まず、NFTをハードウェアウォレット(レジャーナノ)に移行していきます。
実際にNFTを一点送っていきますね。
STEP①移行先のアドレスを確認
まずは、レジャーナノのアドレスを確認していきます。

「アカウント」の欄から、送り先(イーサリアム)をクリック。
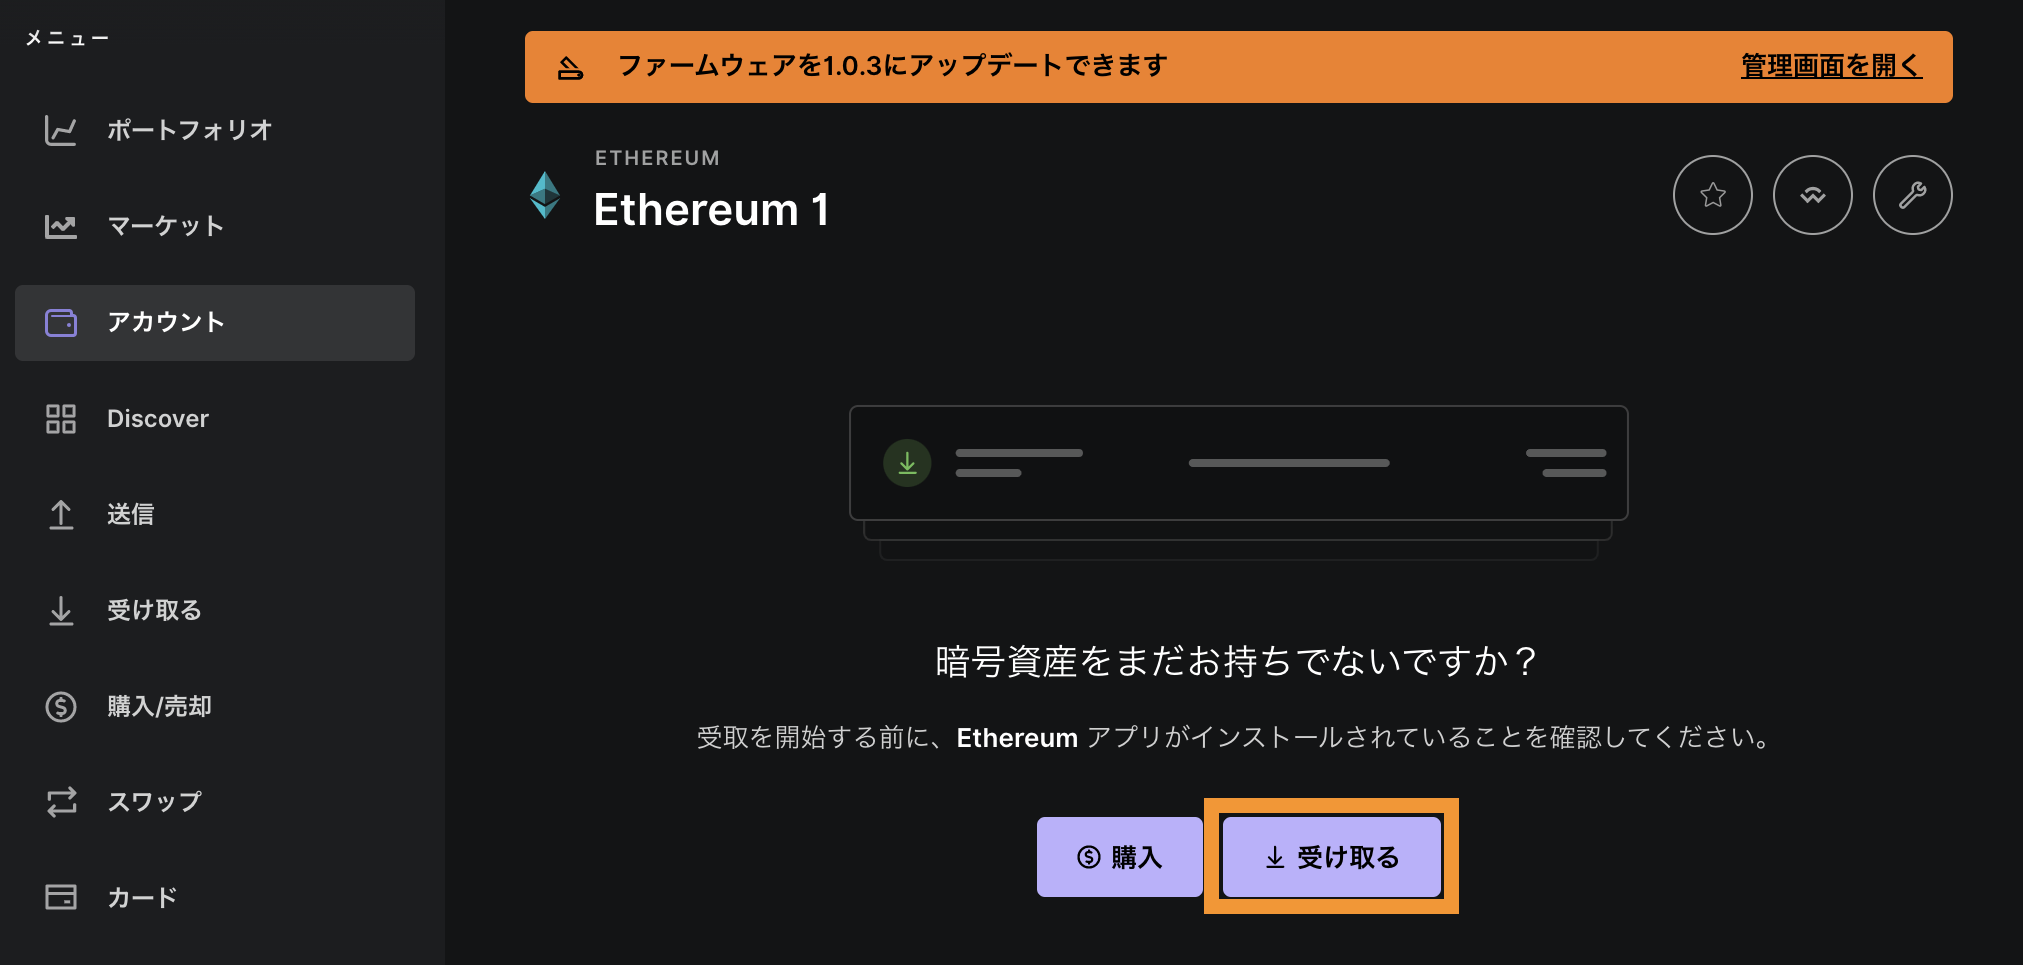
「受け取る」をクリック。
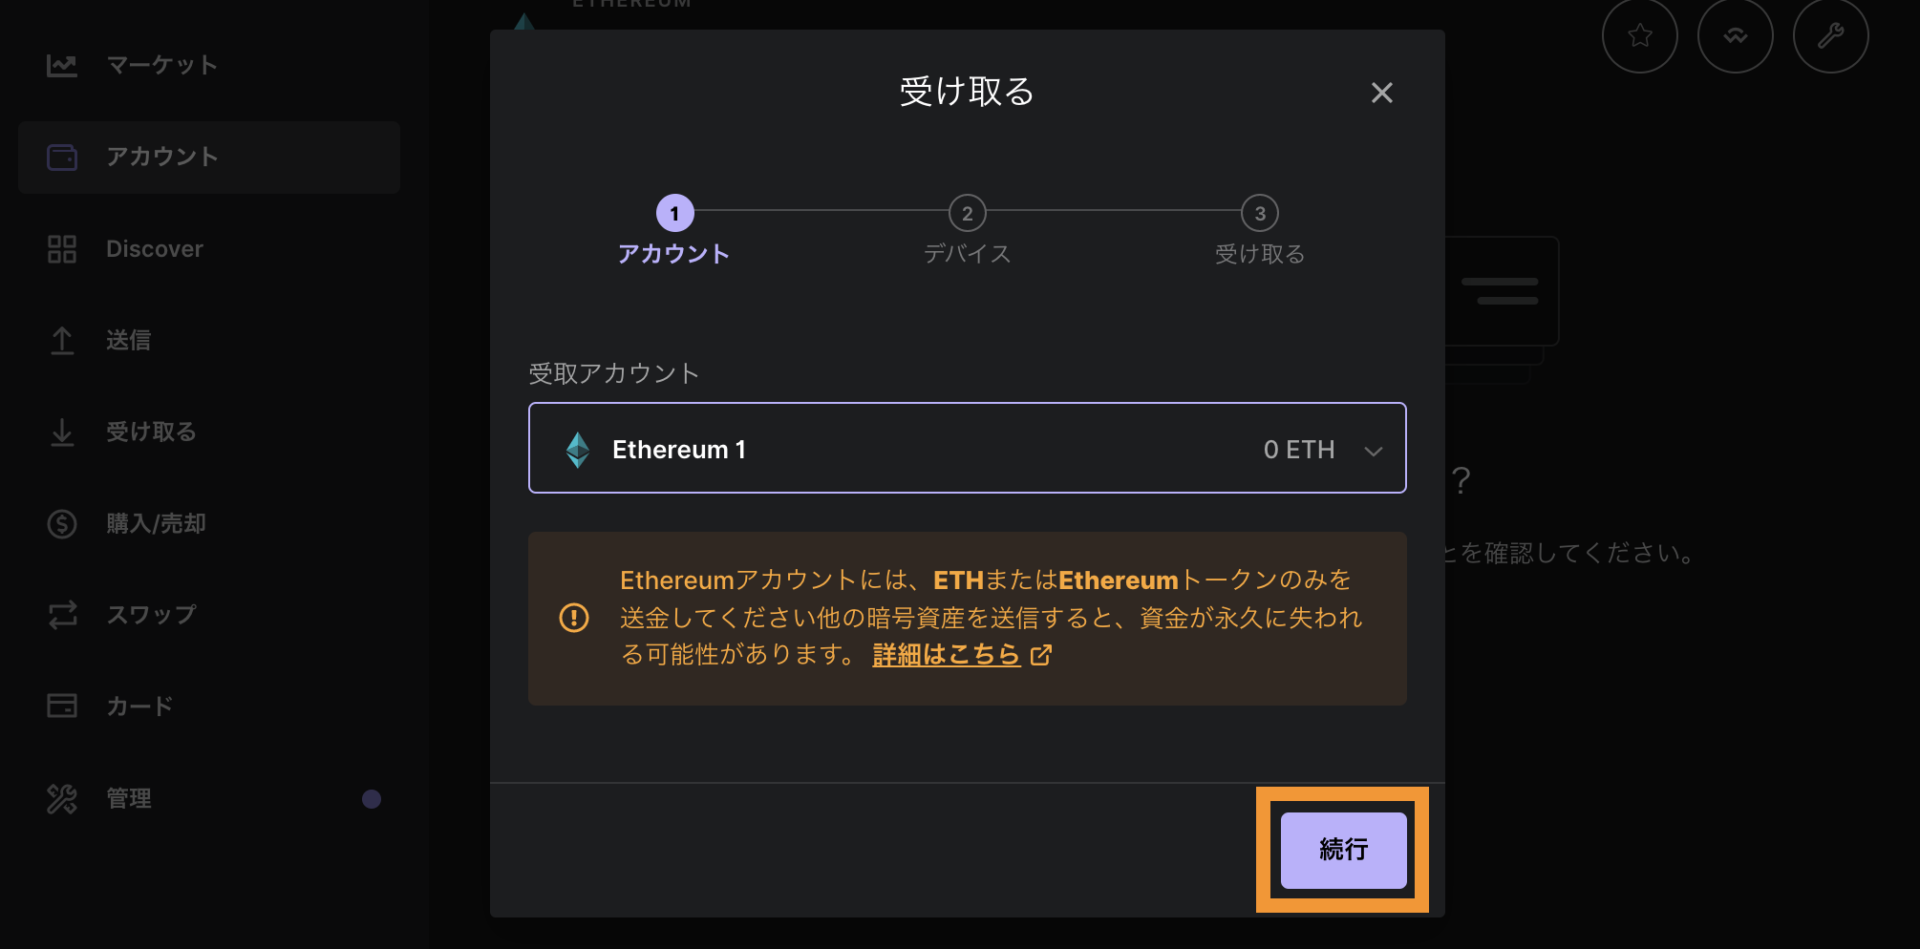
「続行」をクリック。
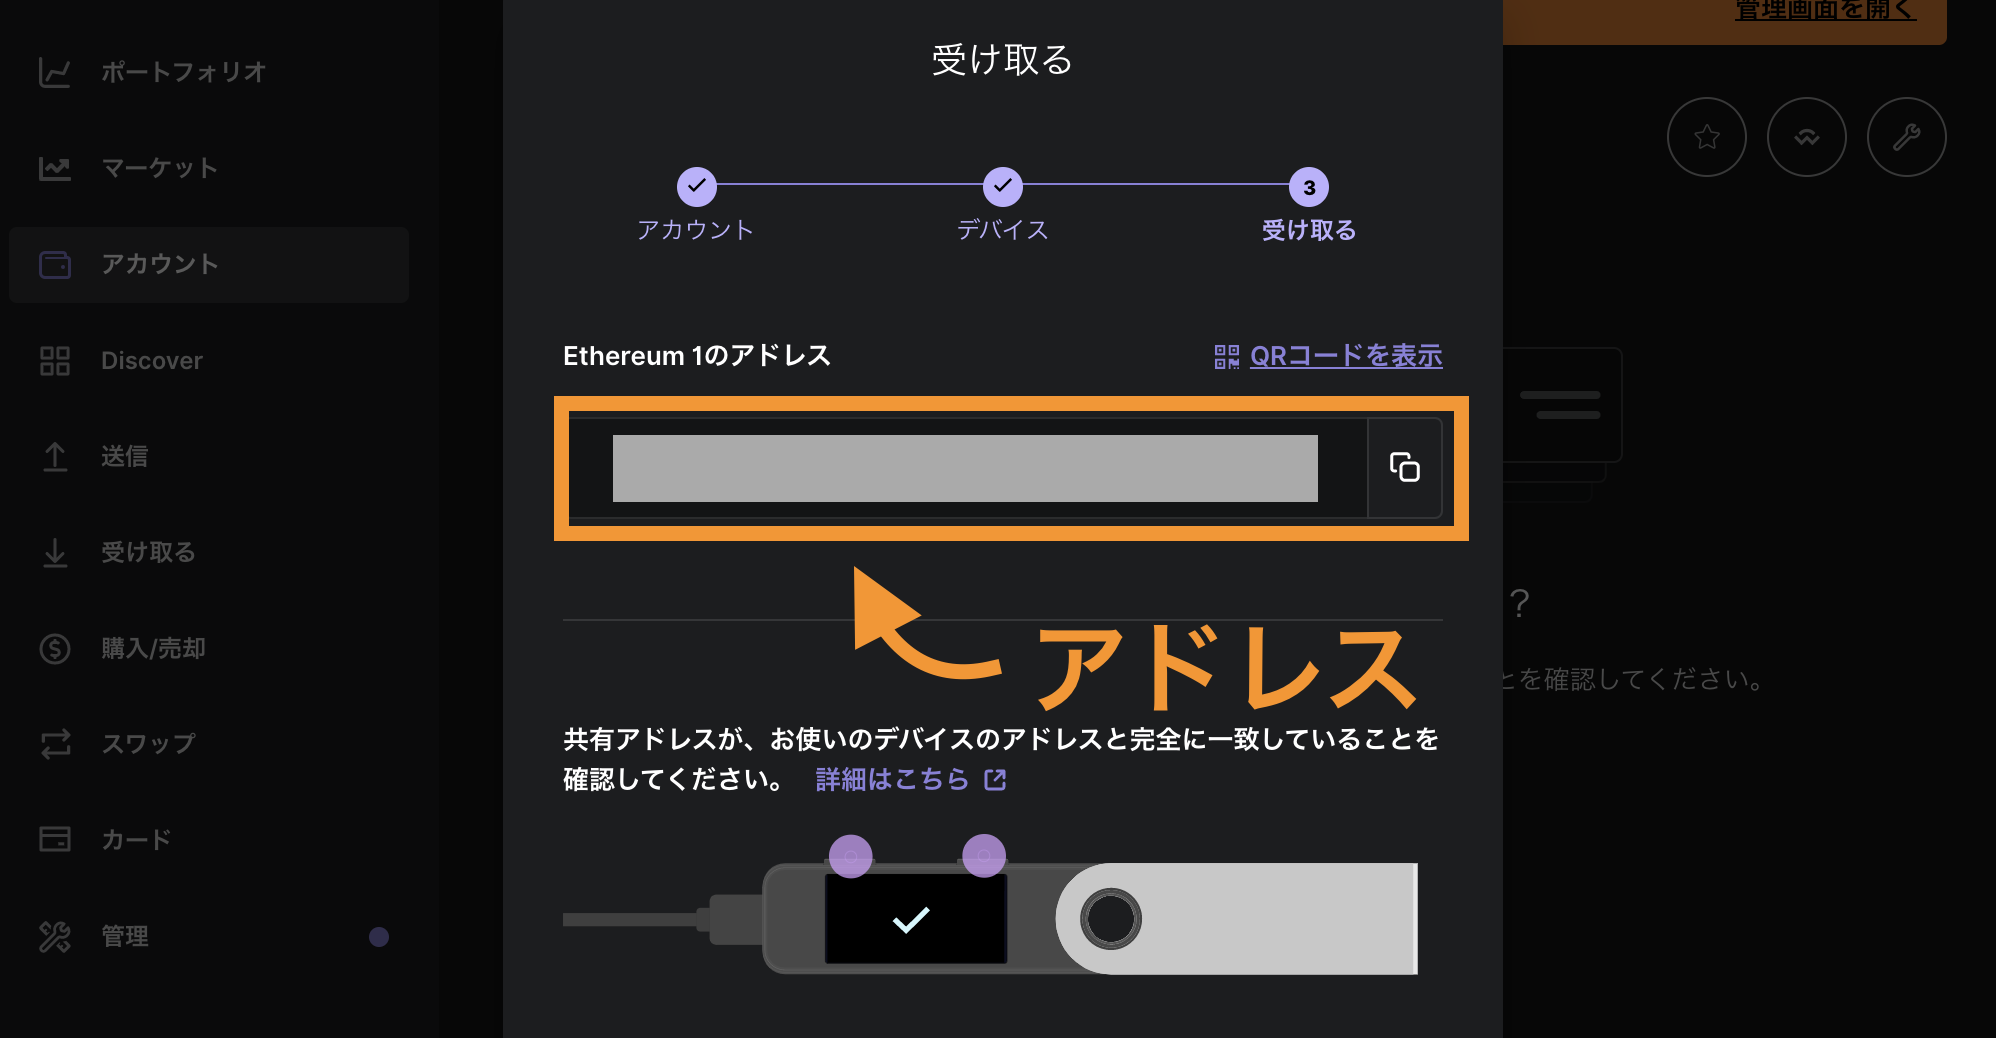
ここに表示されてるのが、アドレスになります。コピーしておきましょう。
STEP②トラストファーする
あとは、トラストファーで送るだけ。
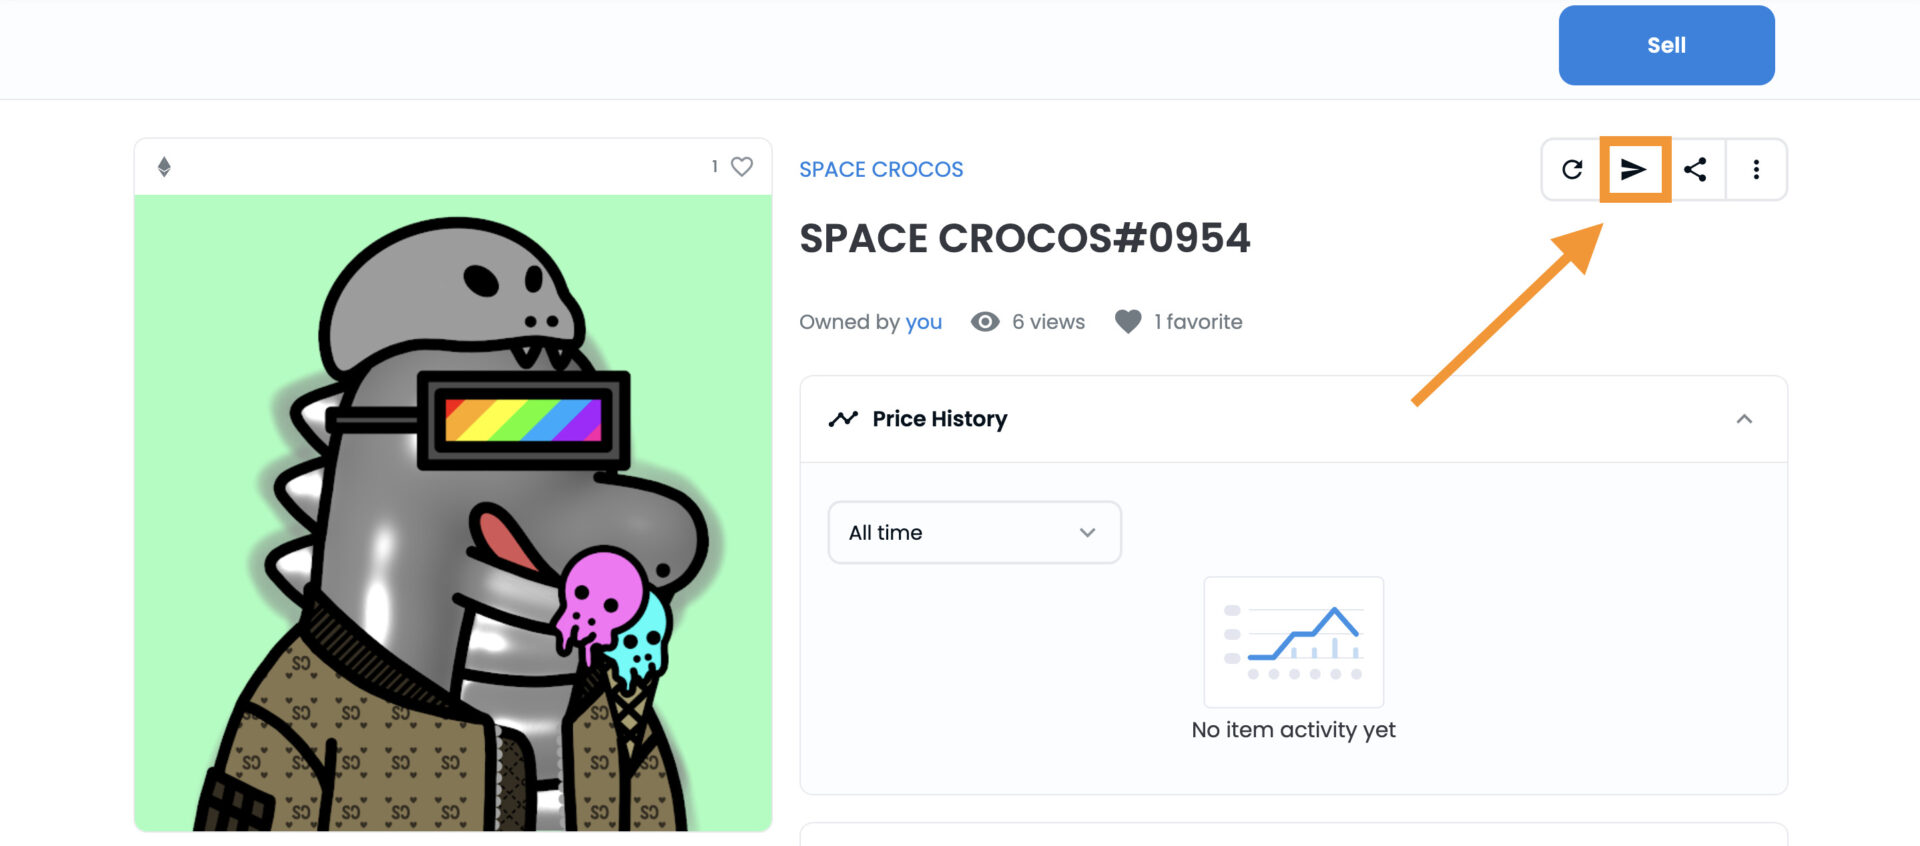
「紙飛行機マーク」をクリック。

先ほどコピーしたアドレスを貼り付ける。

ガス代を支払う。
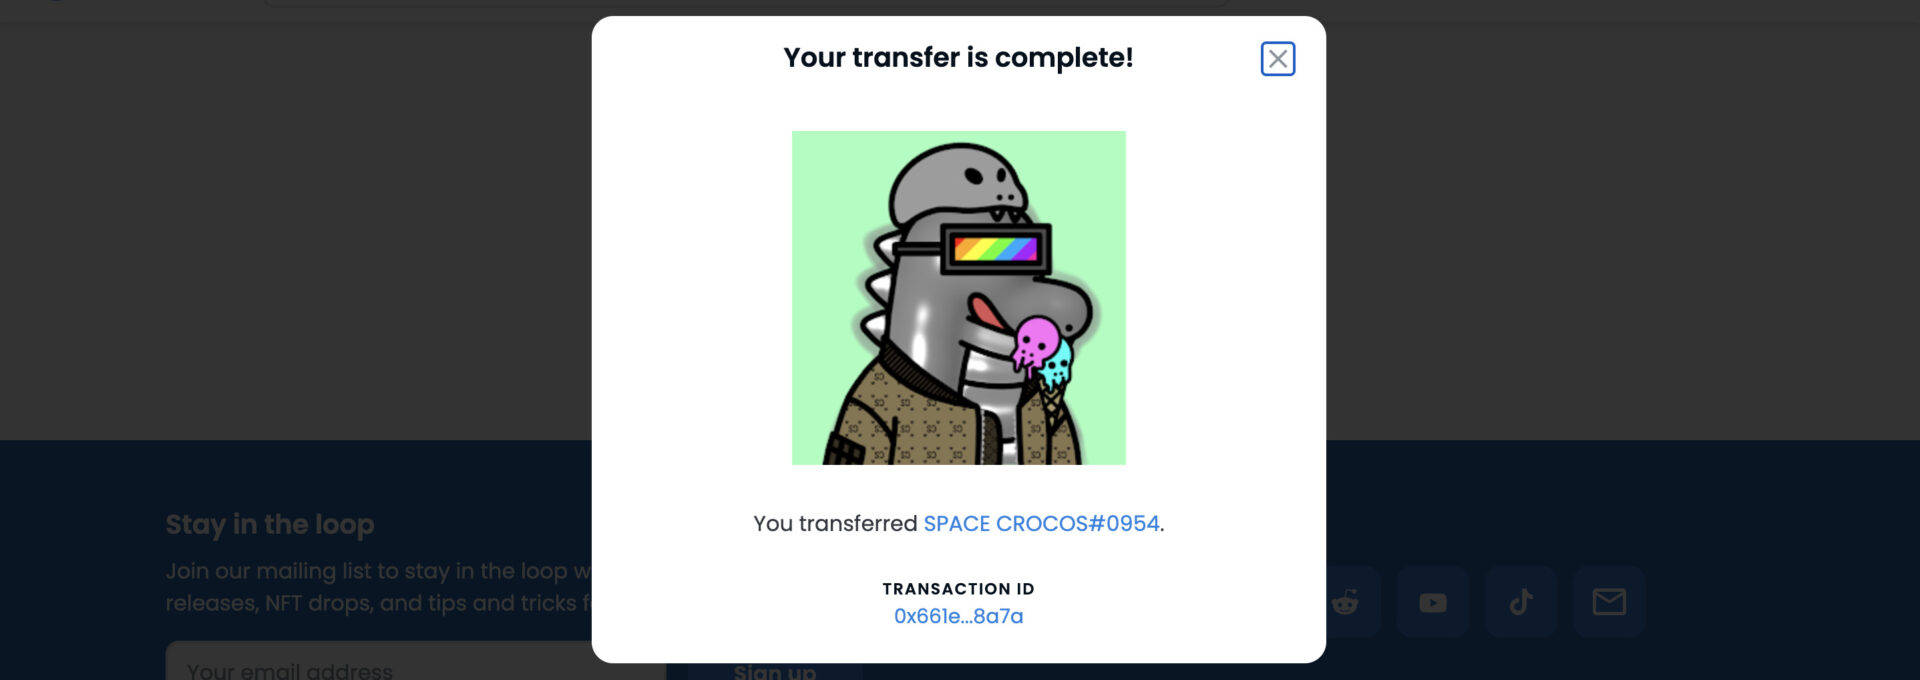
これでトラストファー完了です。
STEP②届いてるか確認する
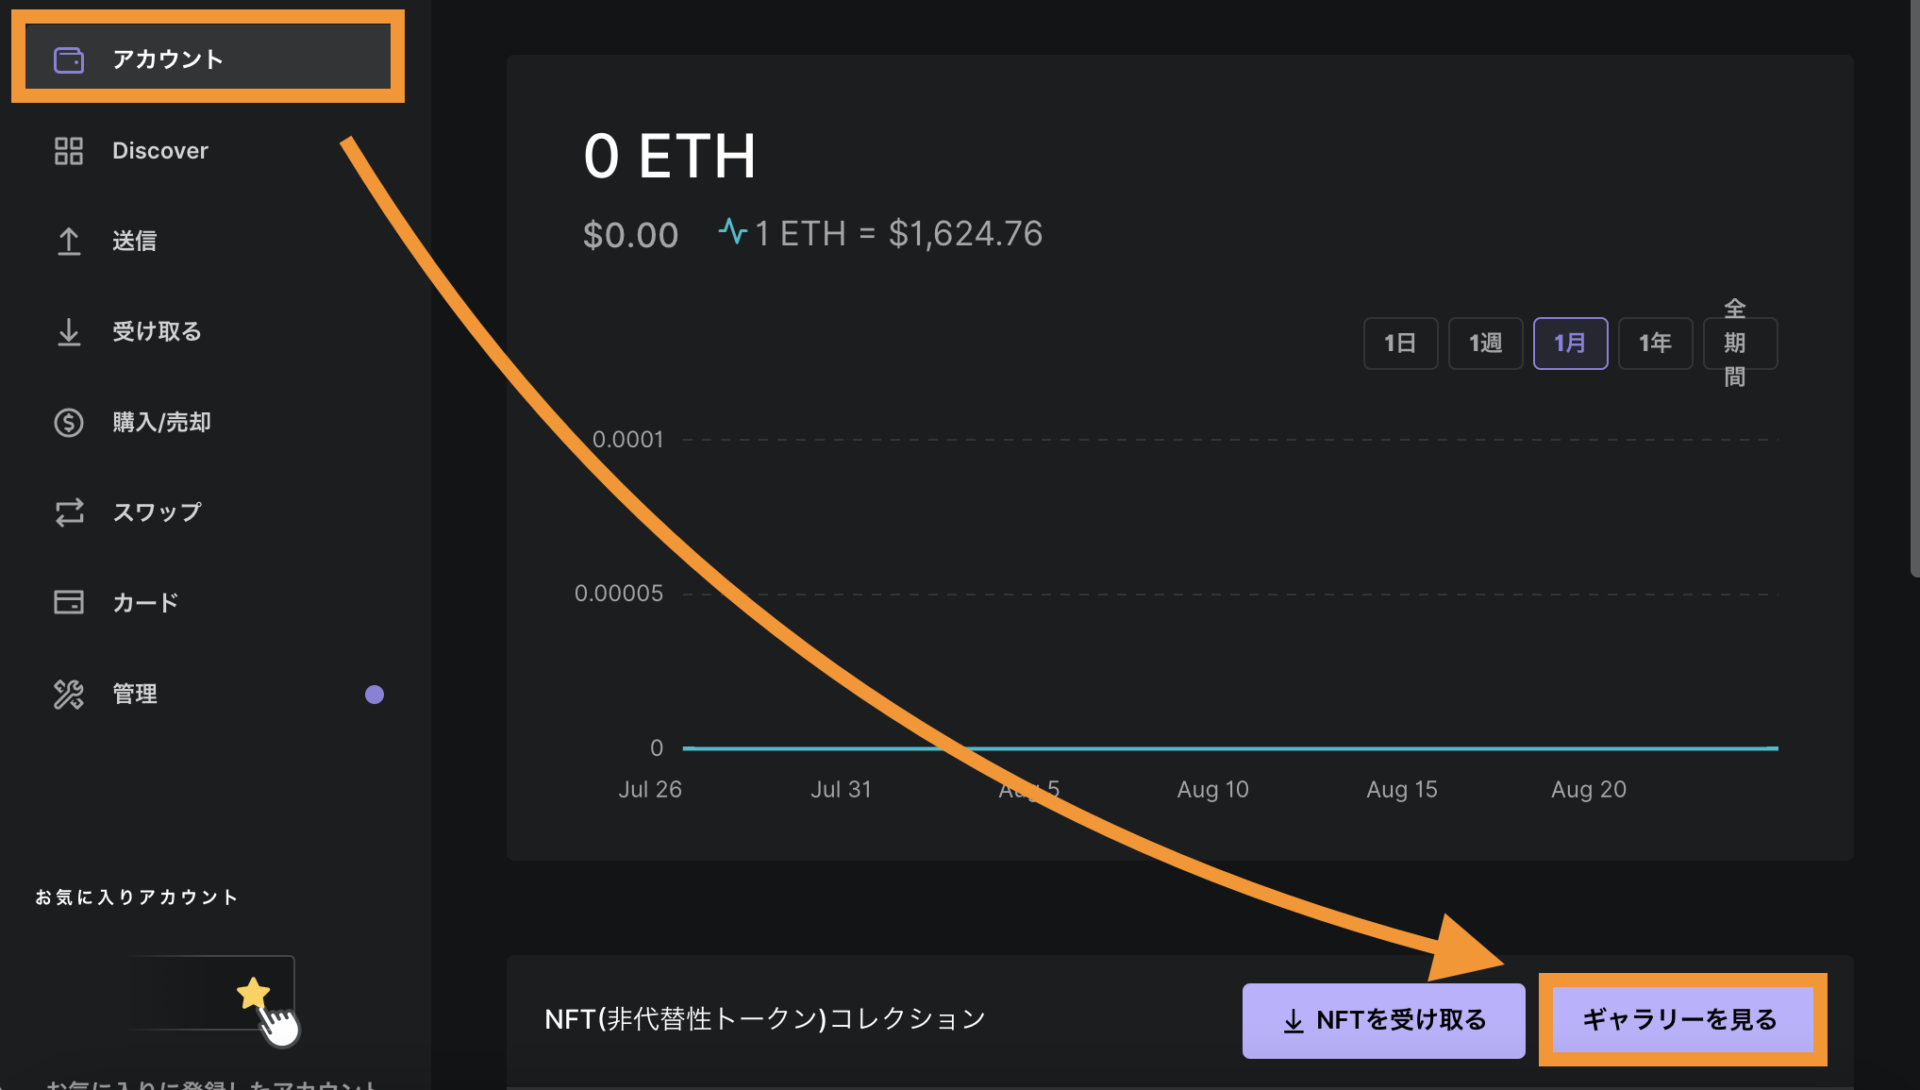
「アカウント」の欄から「ギャラリーを見る」をクリック。
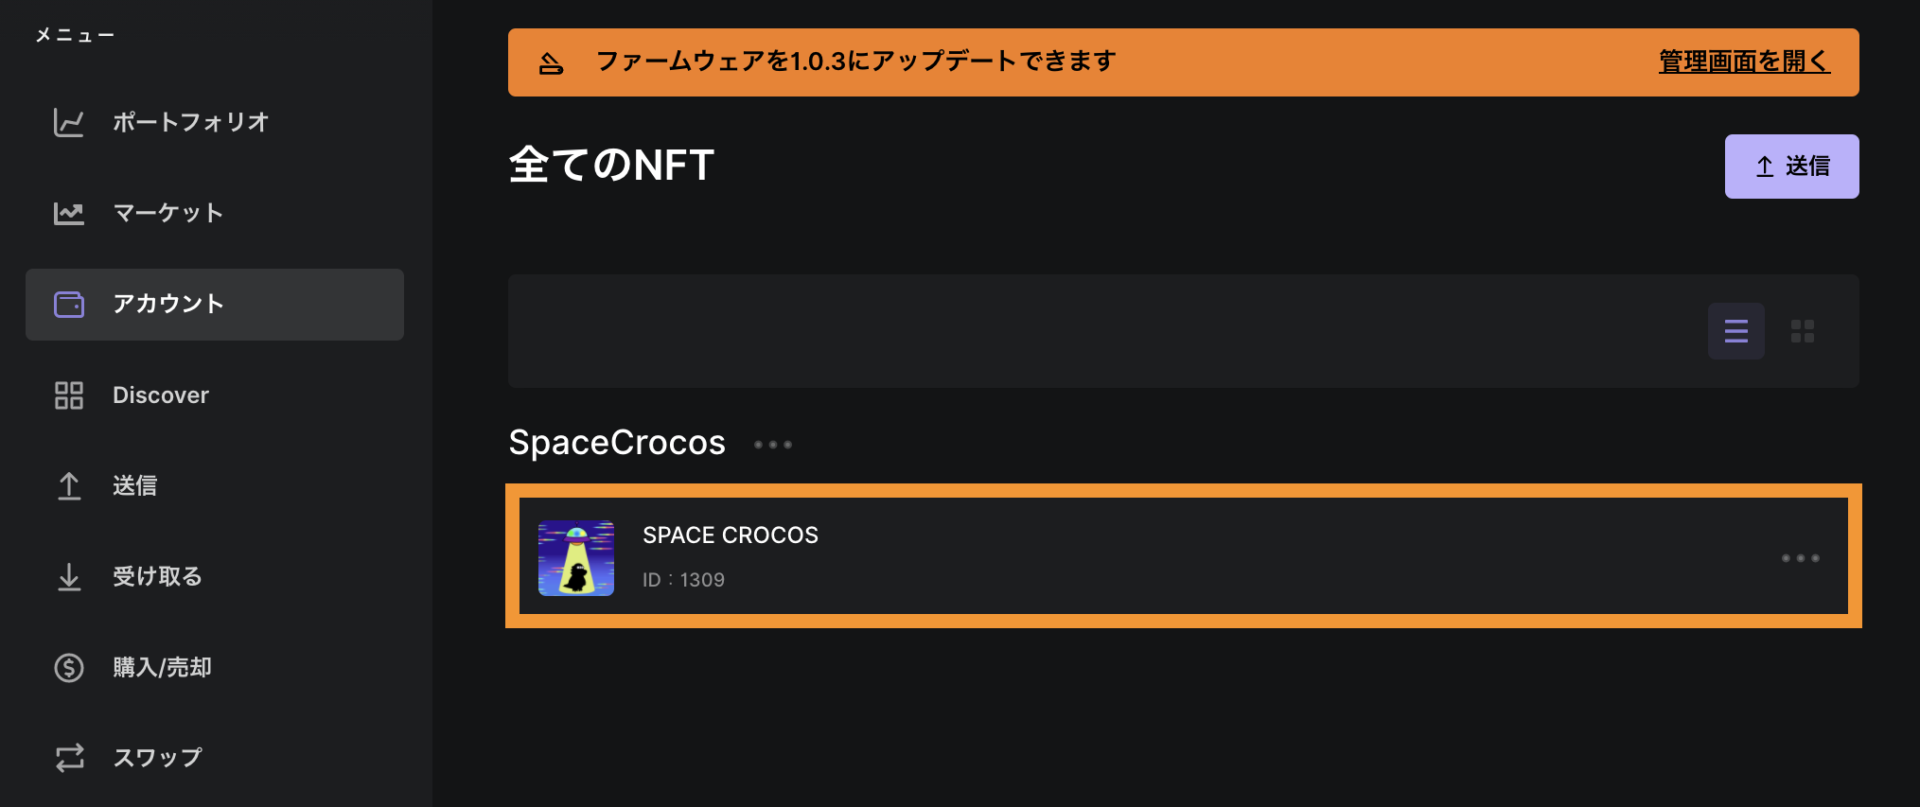
しっかり入ってますね。これでワニを安全に守ることに成功!
では、続いてメタマスクとハードウェアウォレットを接続させていきます。
ハードウェアウォレットの使い方③|メタマスクと接続する
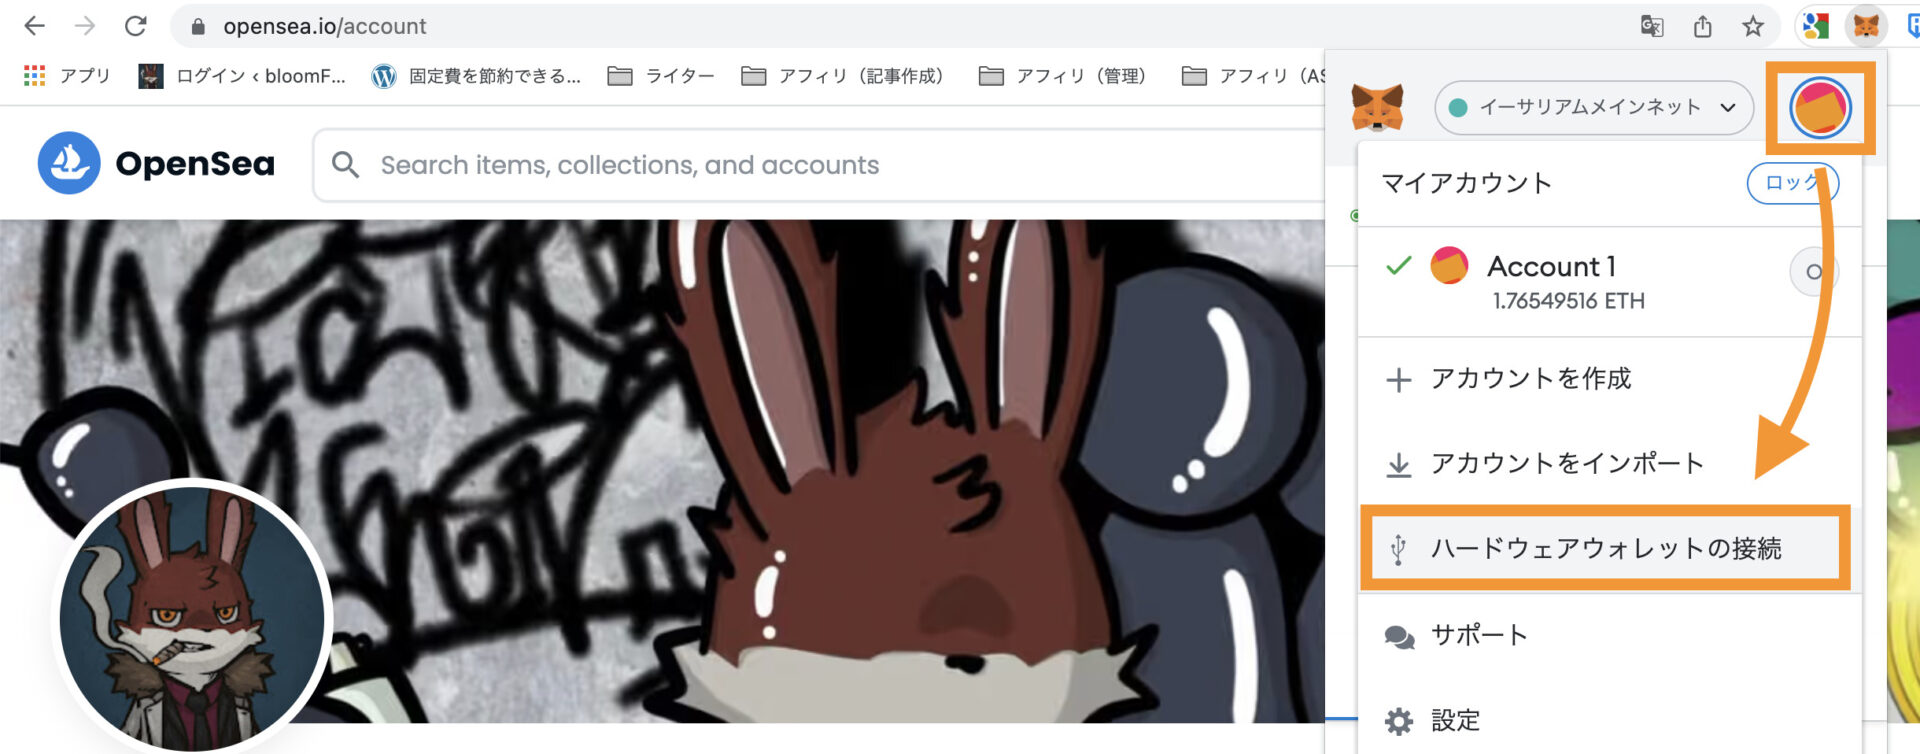
メタマスクを開いて、「ハードウェアウォレットの接続」をクリック。
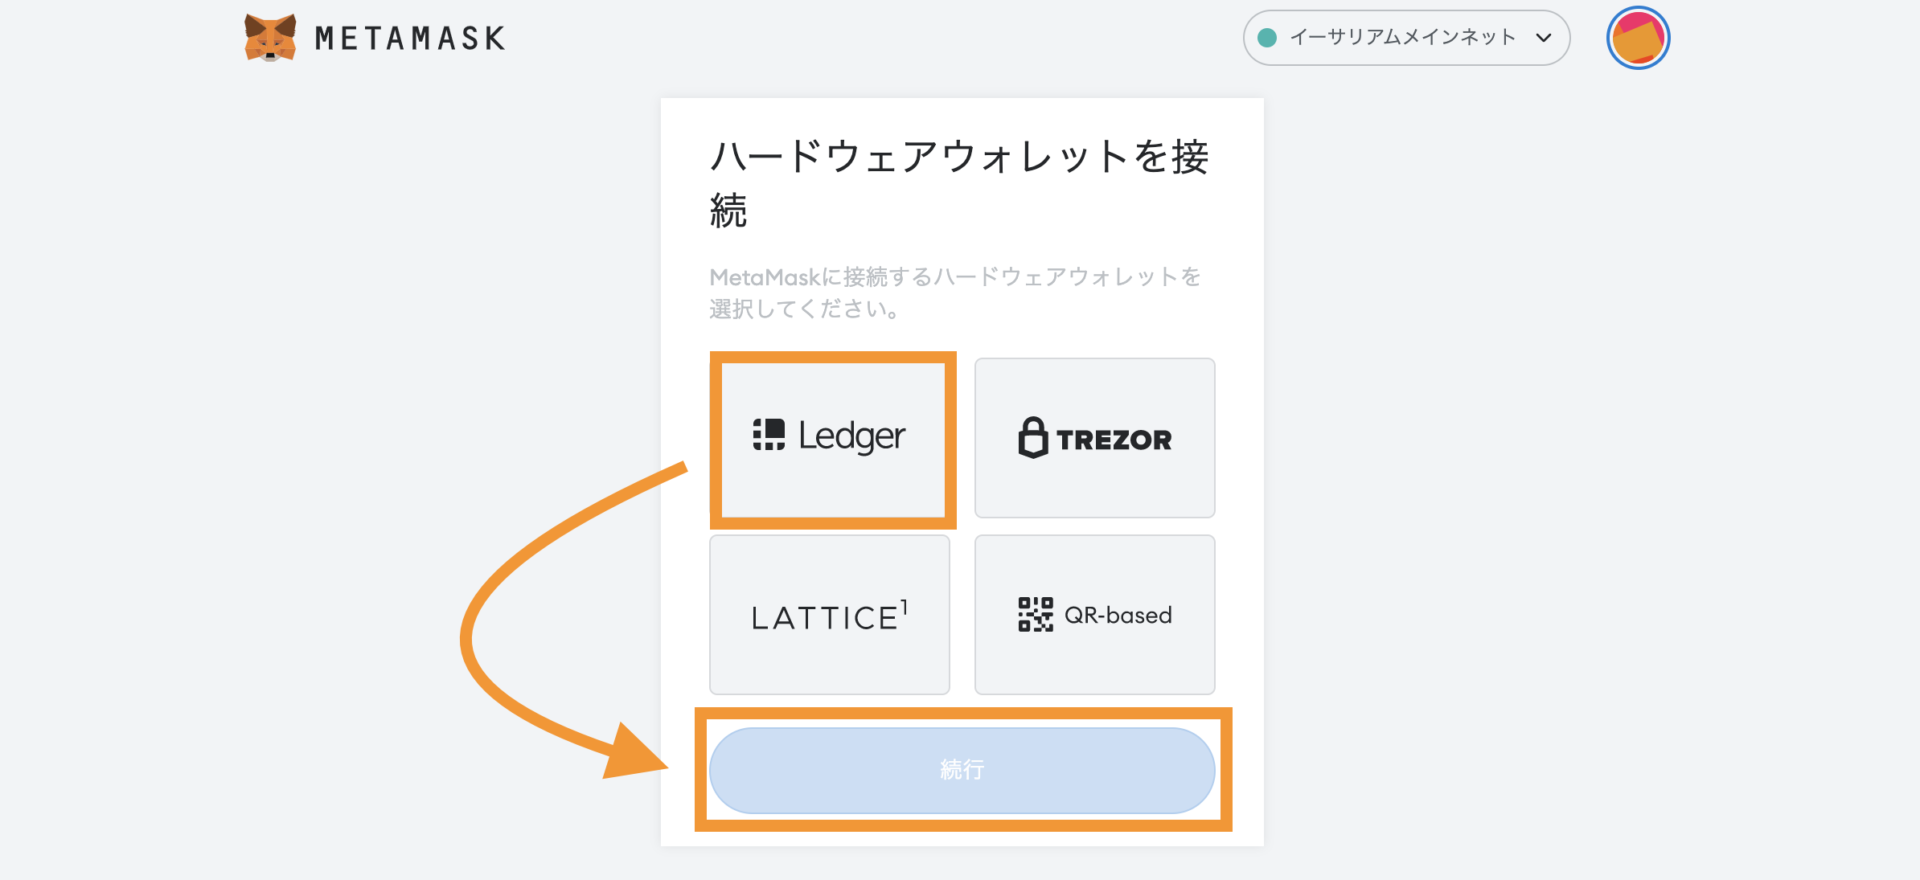
「Ledger」を選択して「続行」をクリック。
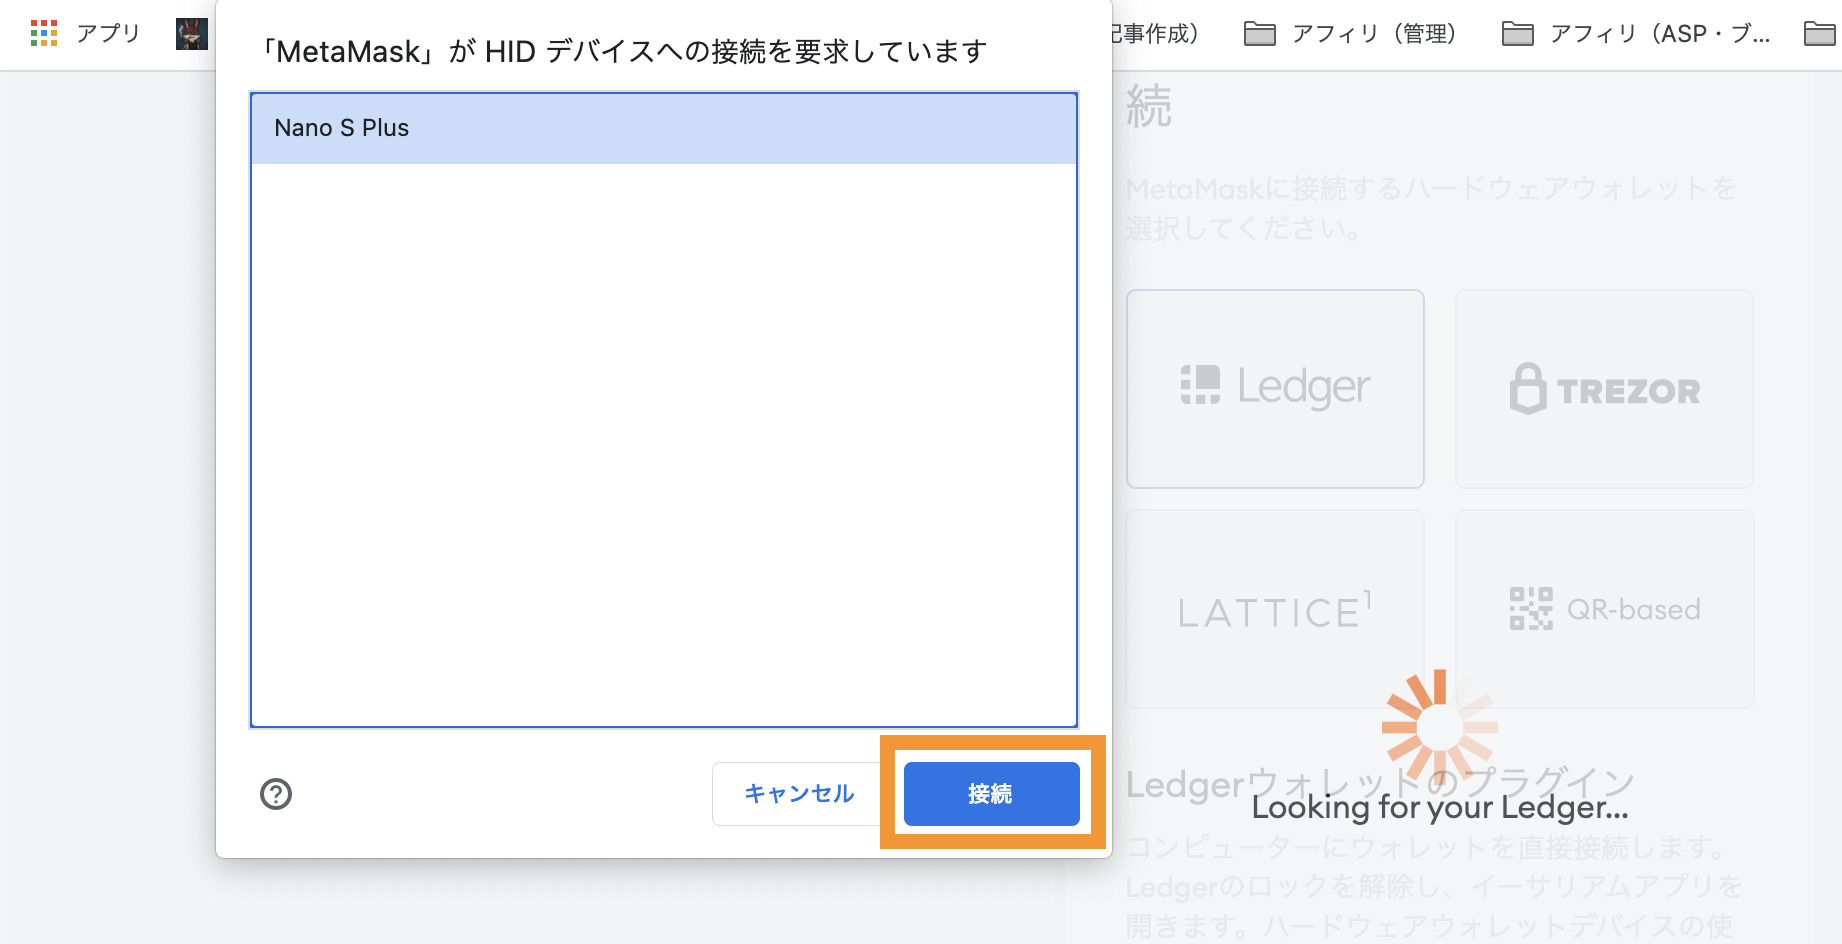
接続したいデバイスを選んで「接続」をクリック。
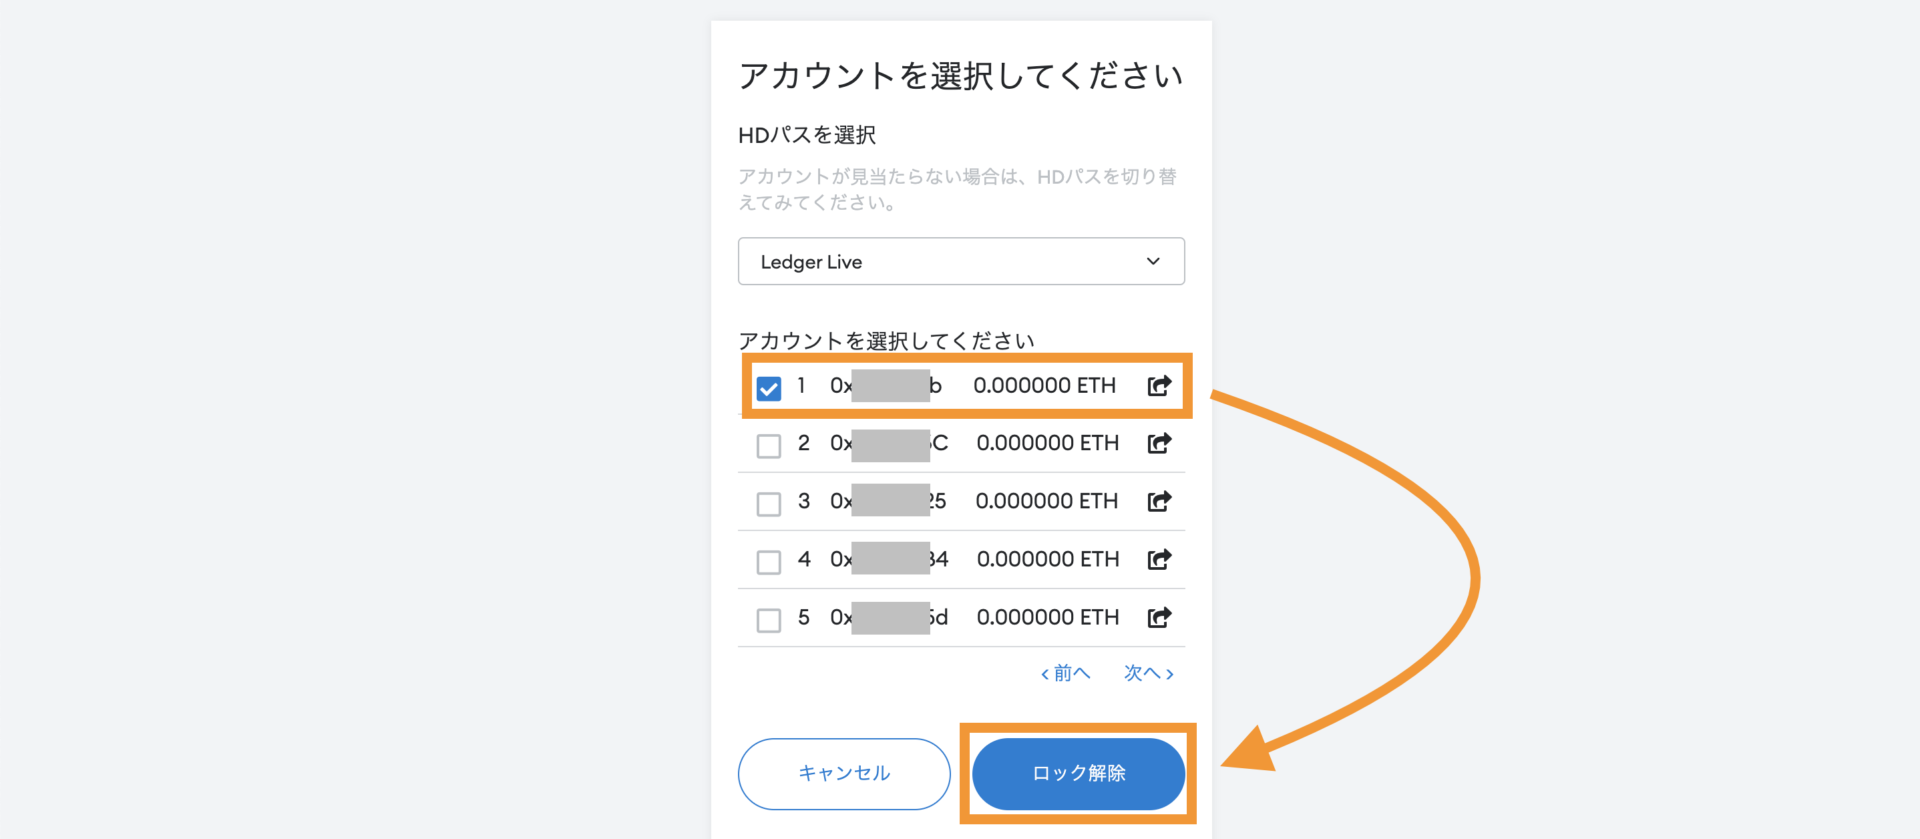
先ほど確認したのと同じアドレスのアカウントを選択して「ロック解除」をクリック。
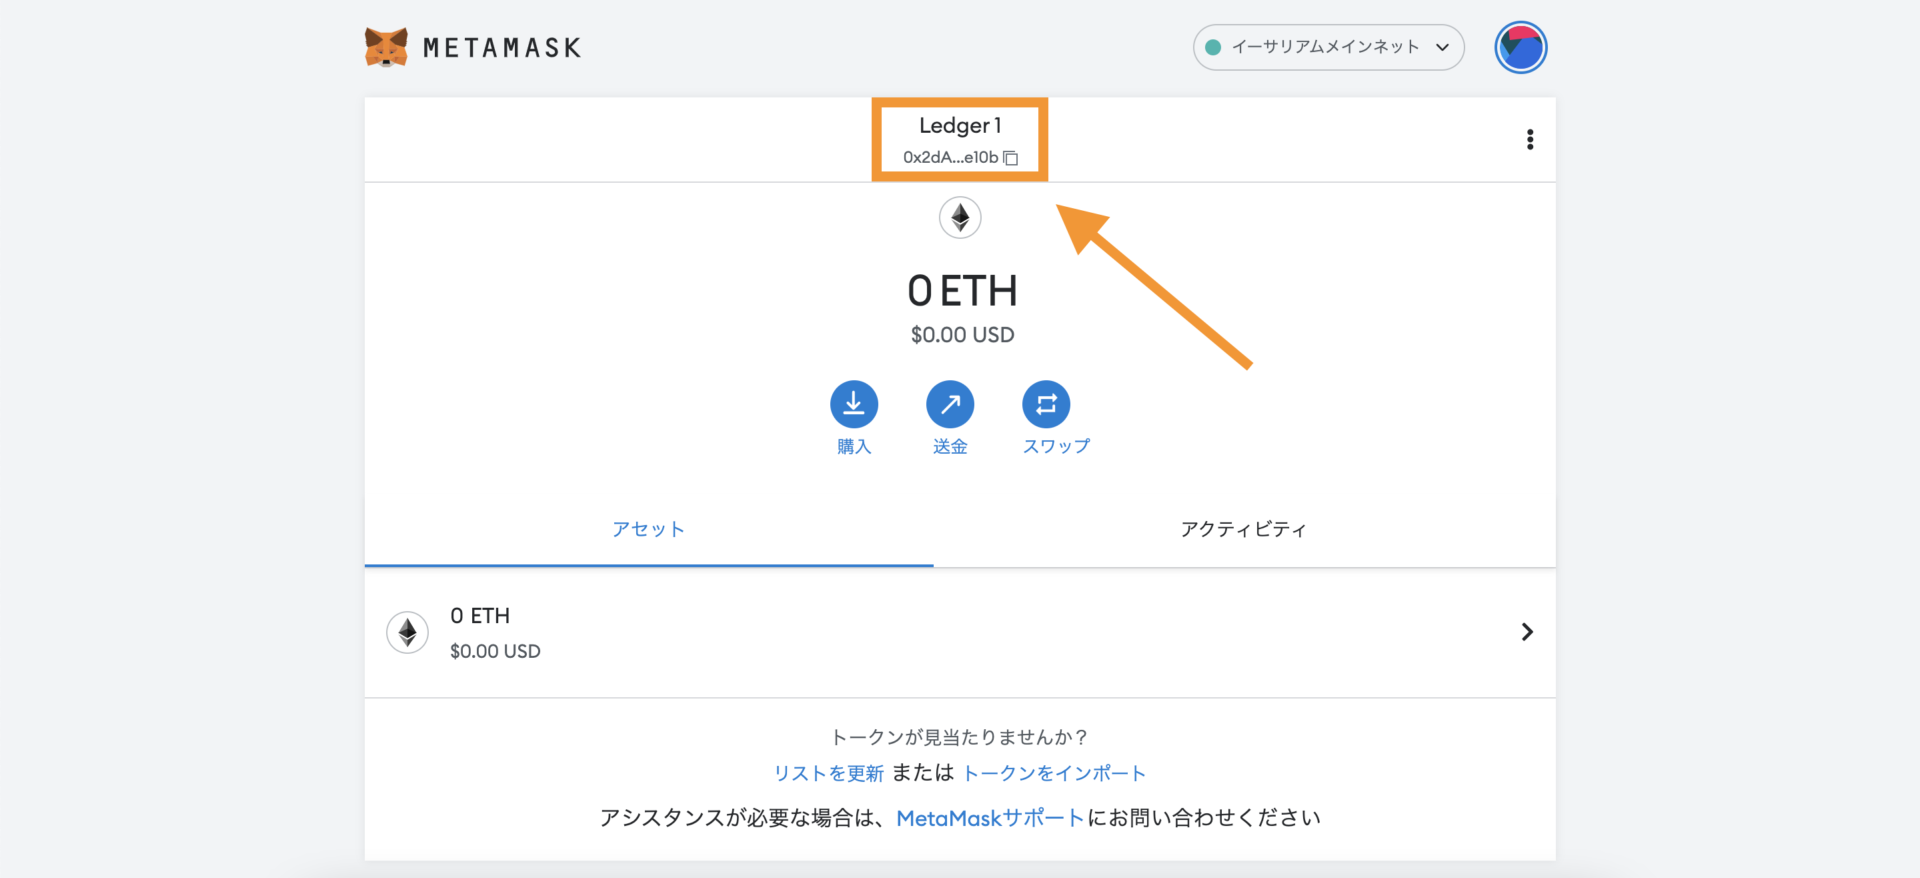
これでメタマスクと接続完了です。
最後にOpenseaでも見れるように連携しておきましょう。
ハードウェアウォレットの使い方④|Openseaへログイン
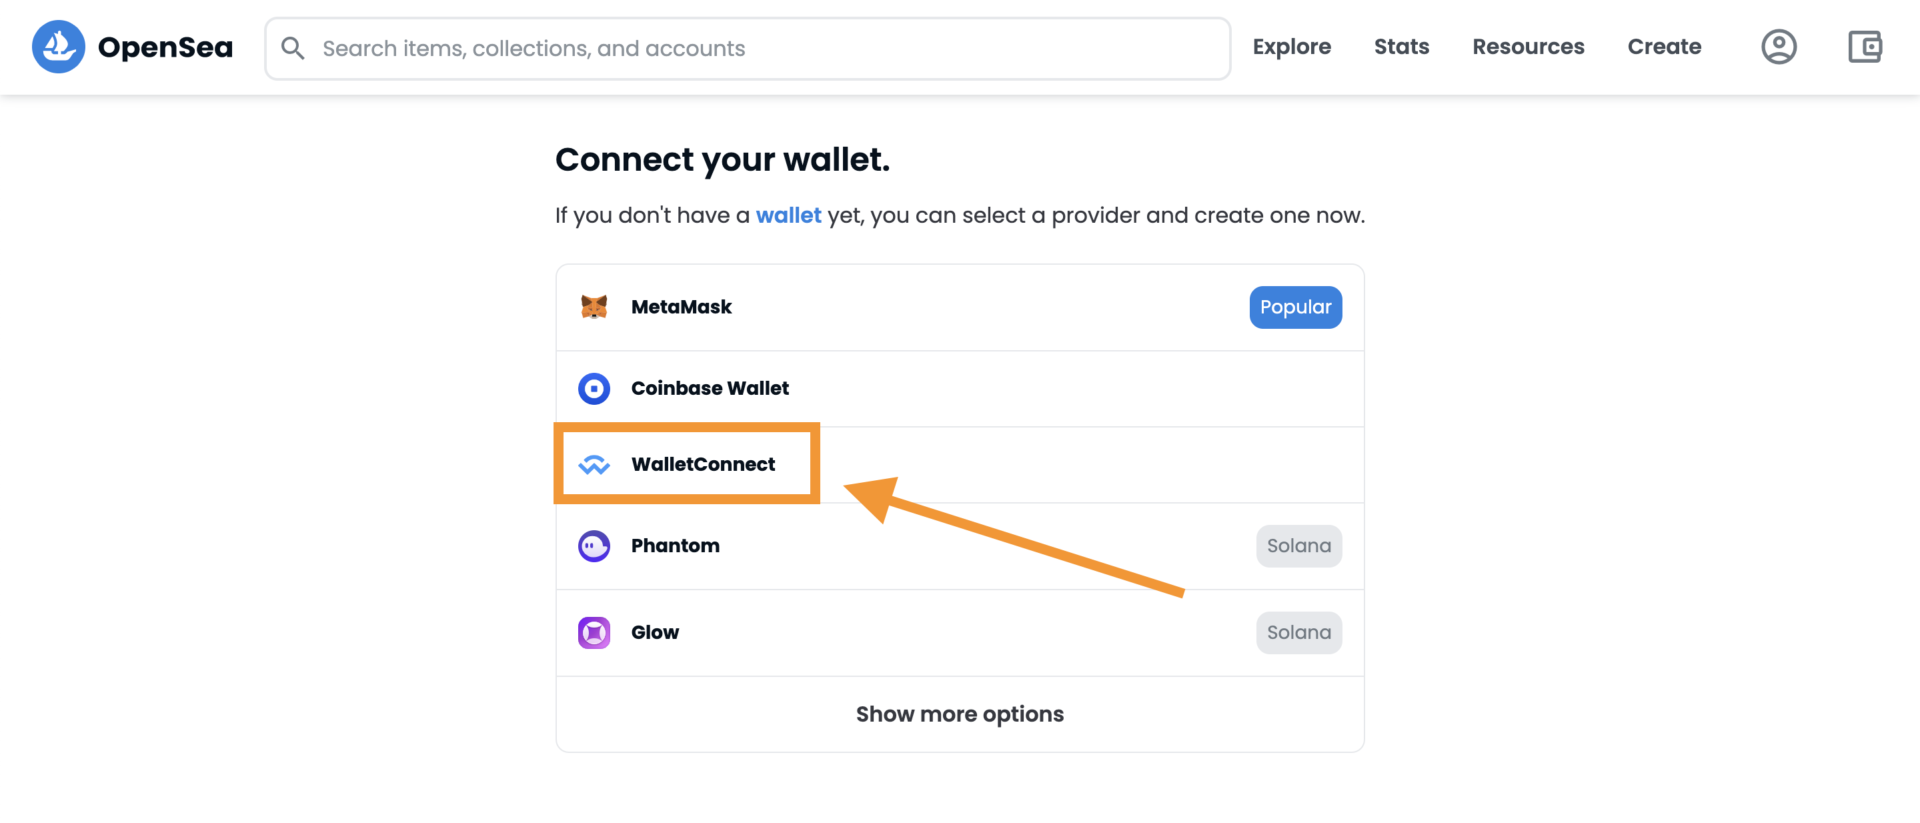
「WalletConnect」をクリック。
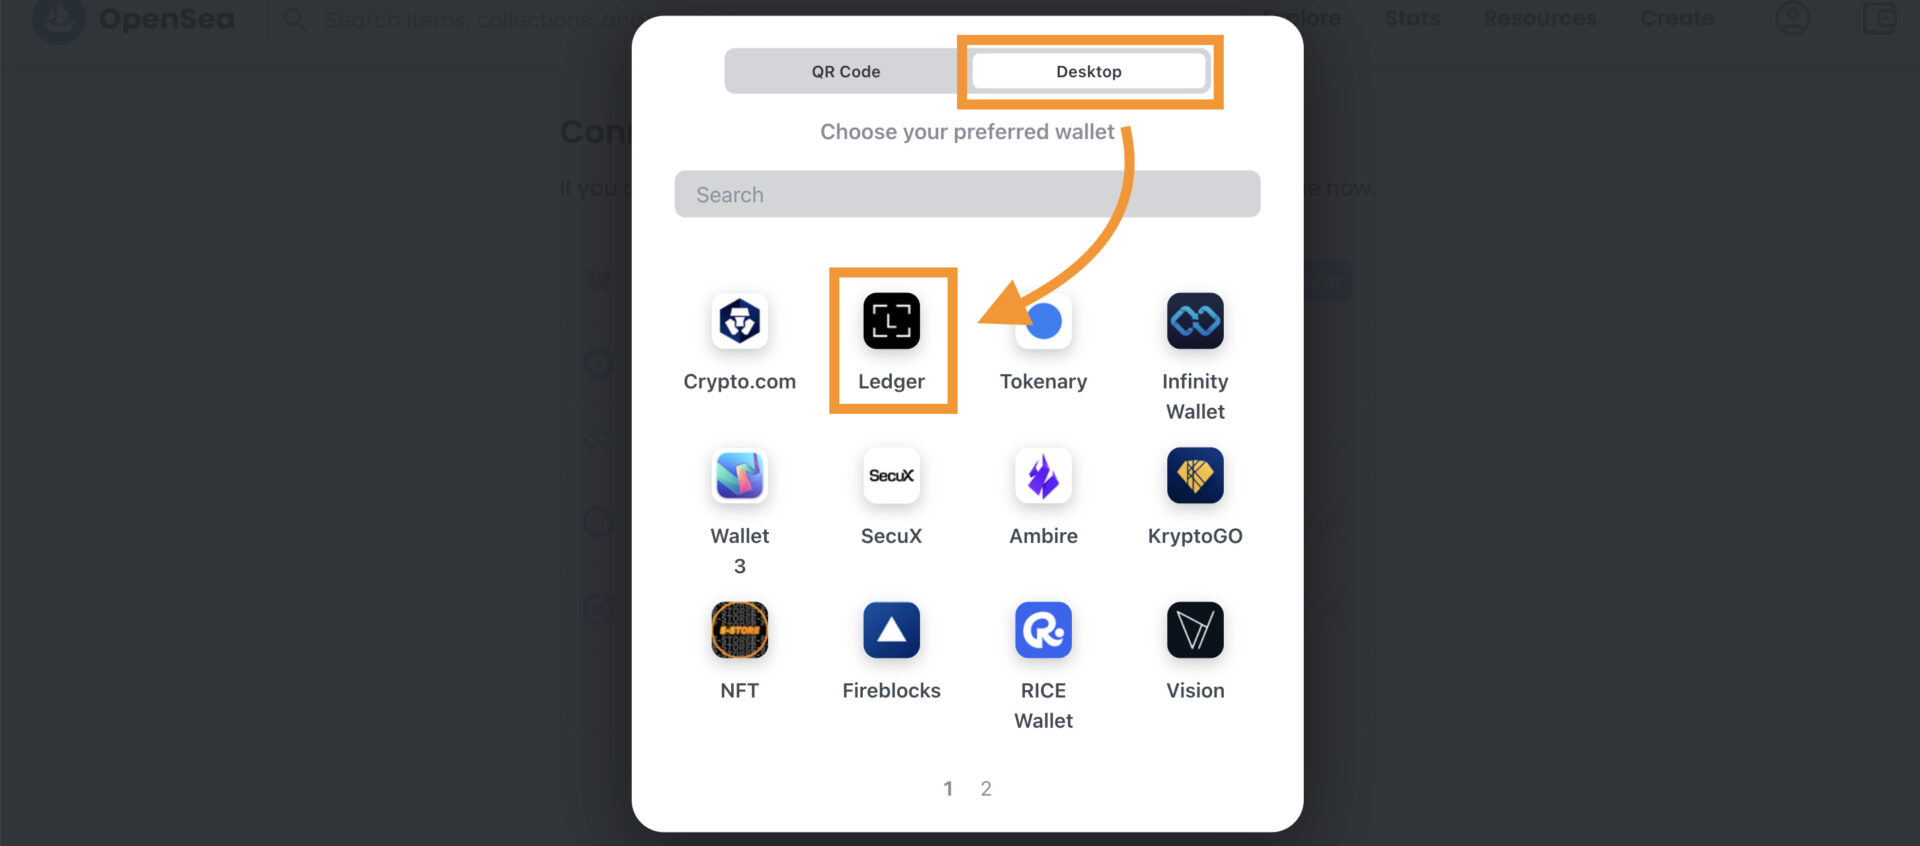
「Ledger」を選択。

「Ledger Live を開く」をクリック。
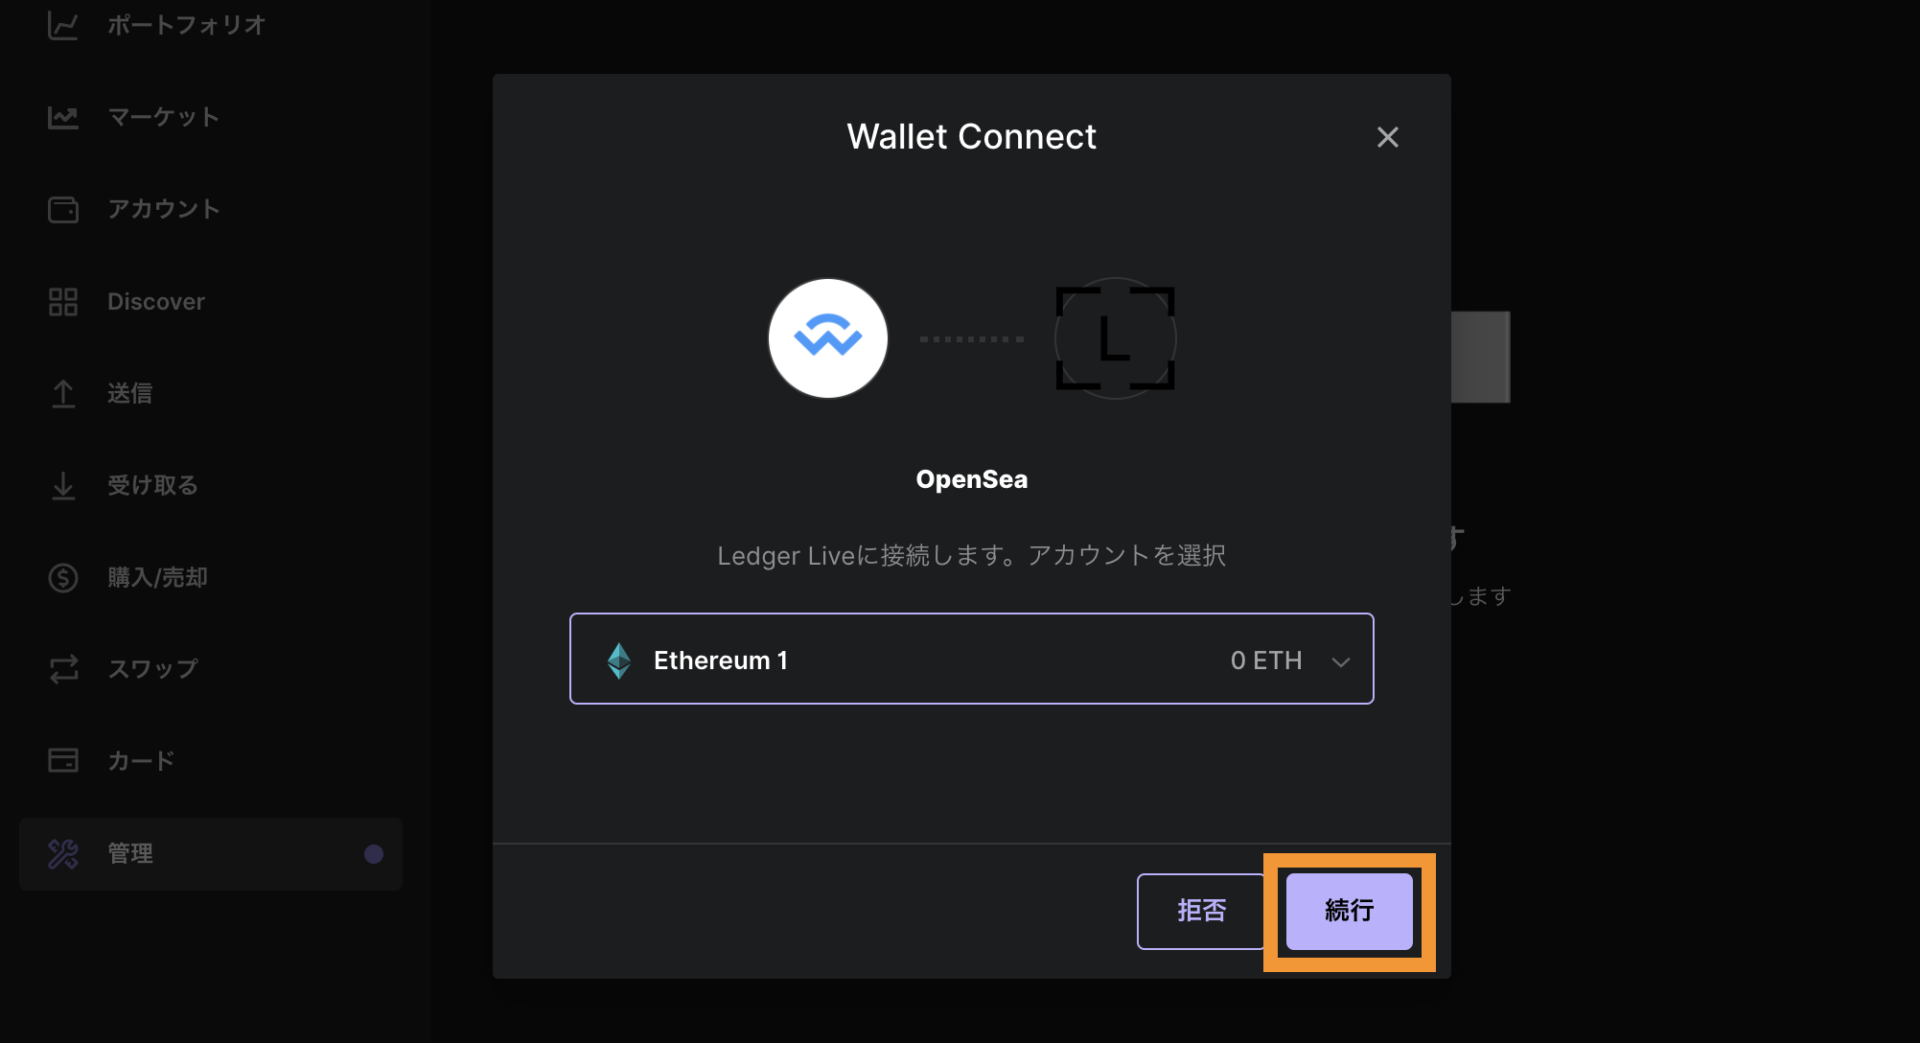
Ledgerアプリの「続行」をクリック。
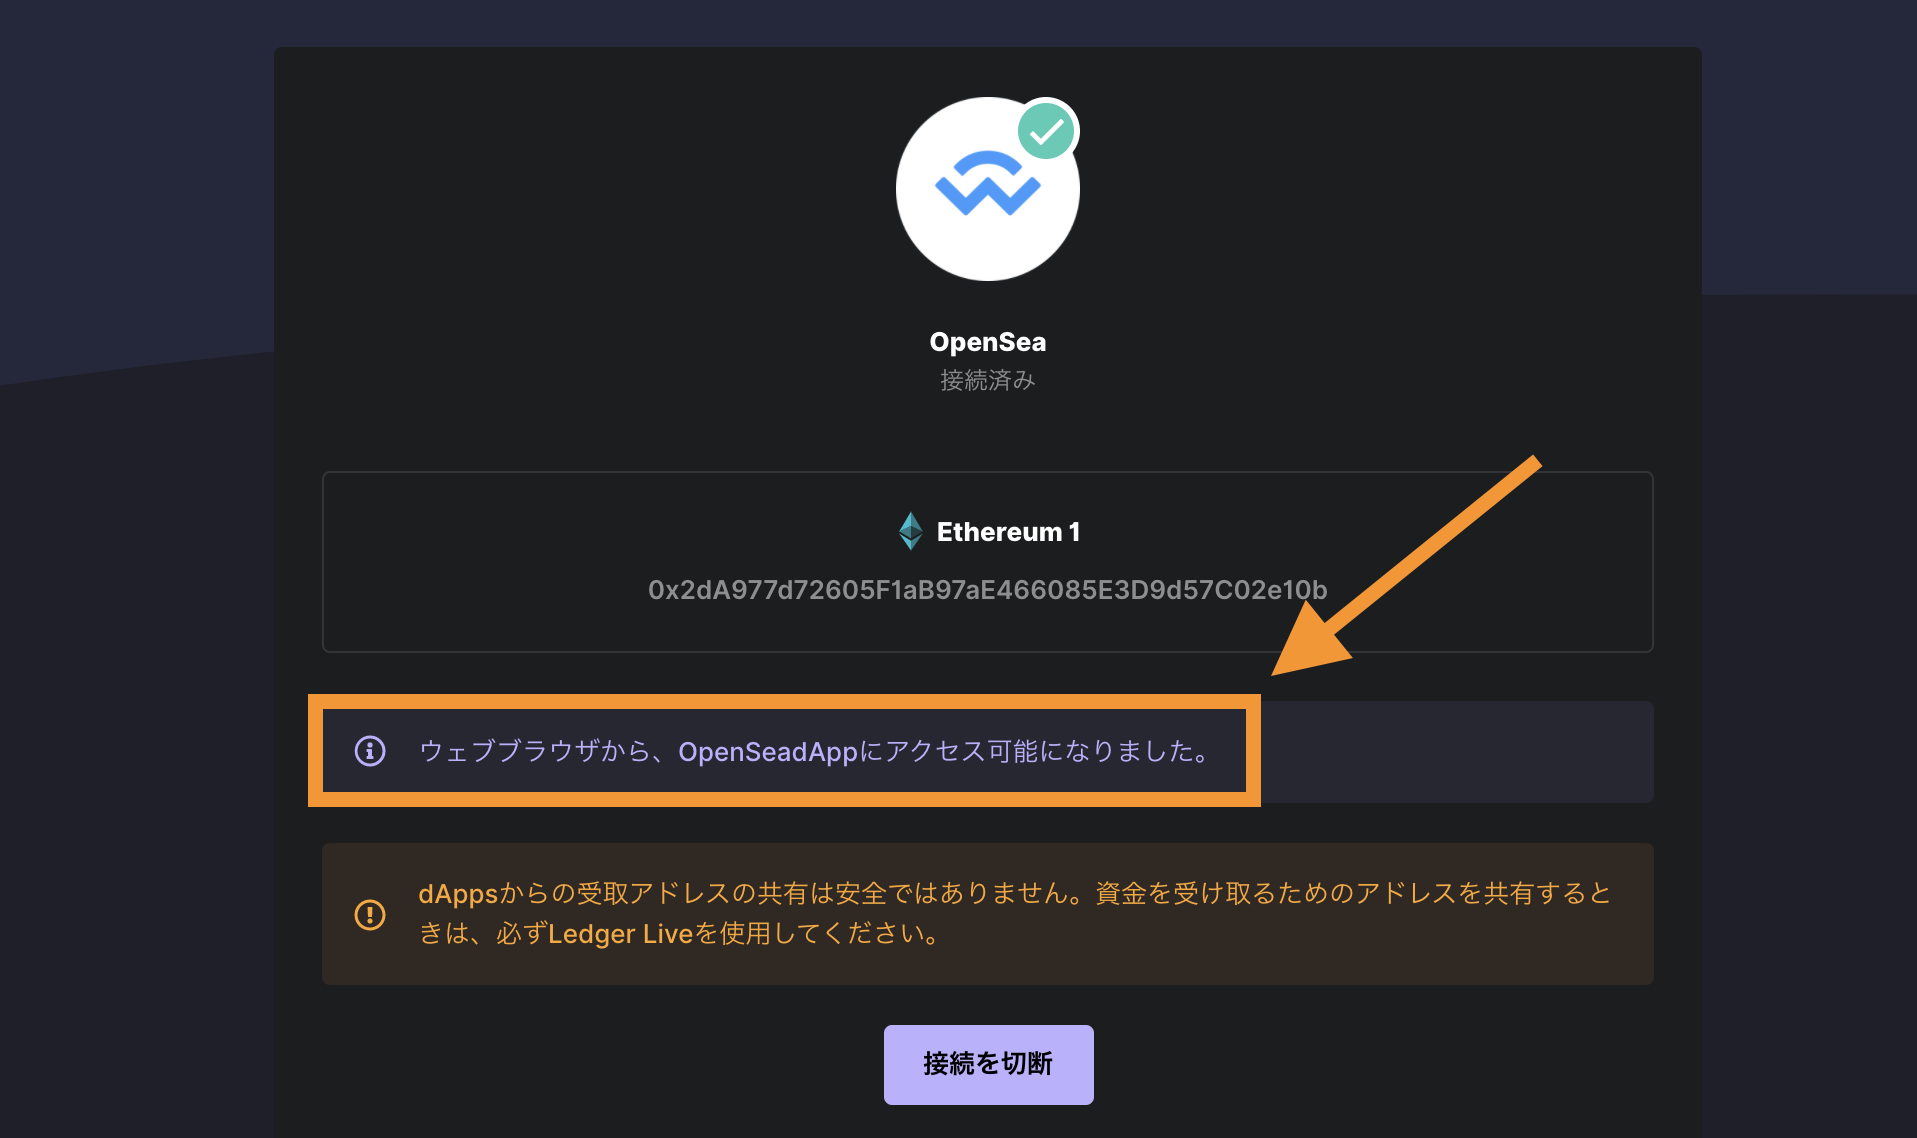
「ウェブブラウザから〜」が表示されるとOKなので、Openseaの画面に戻ります。
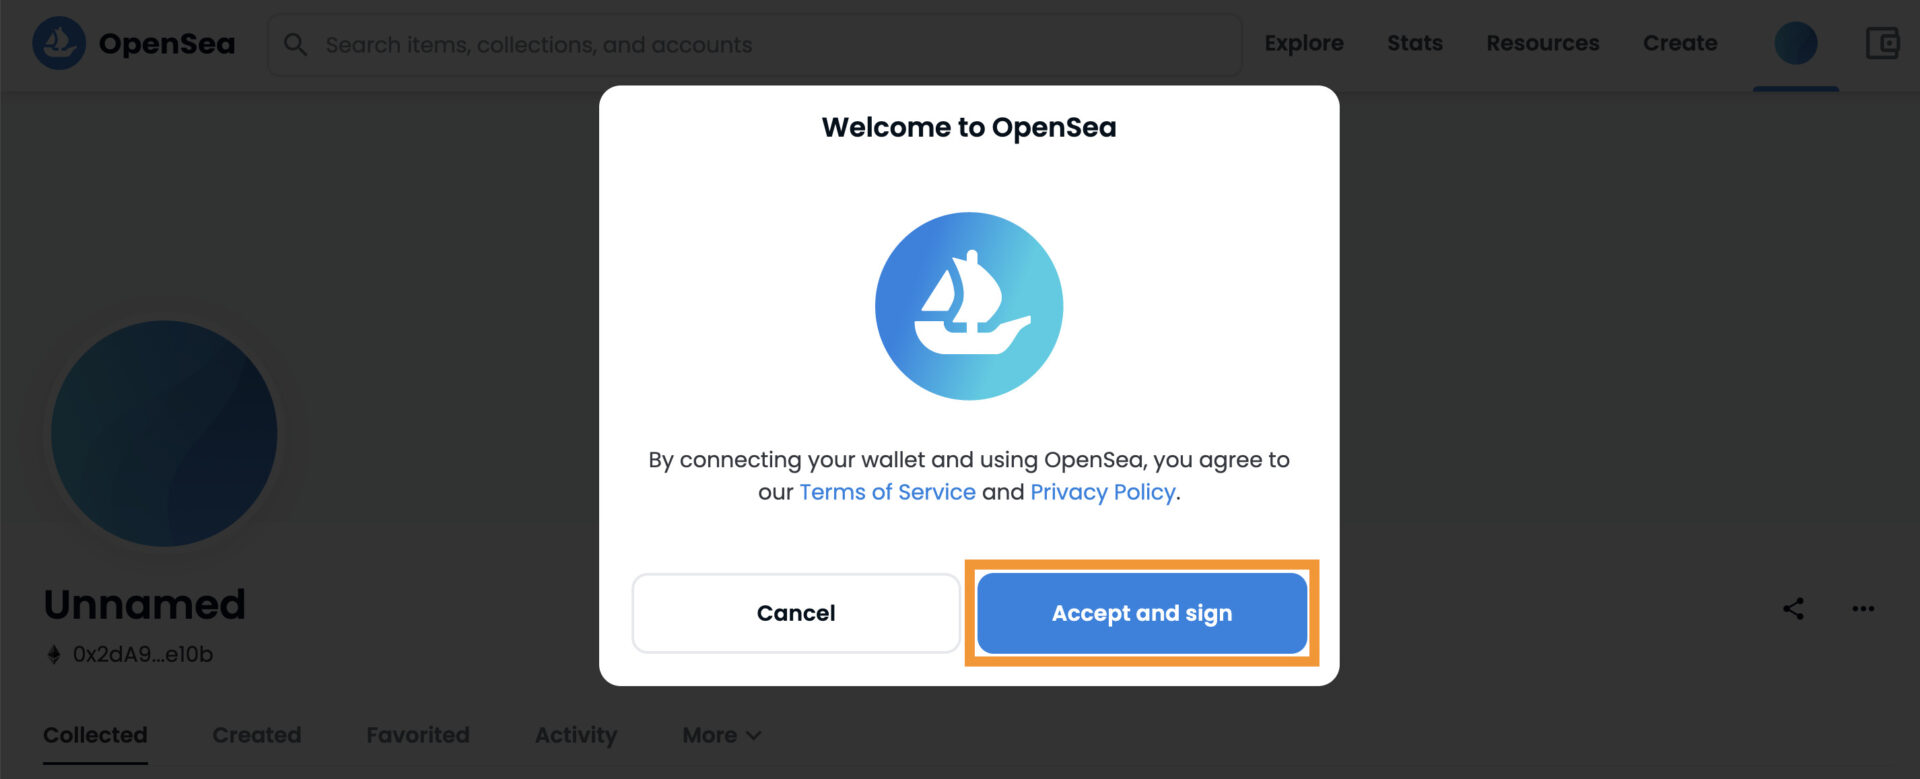
「Accept ANd sign」をクリック。

「続行」をクリック。
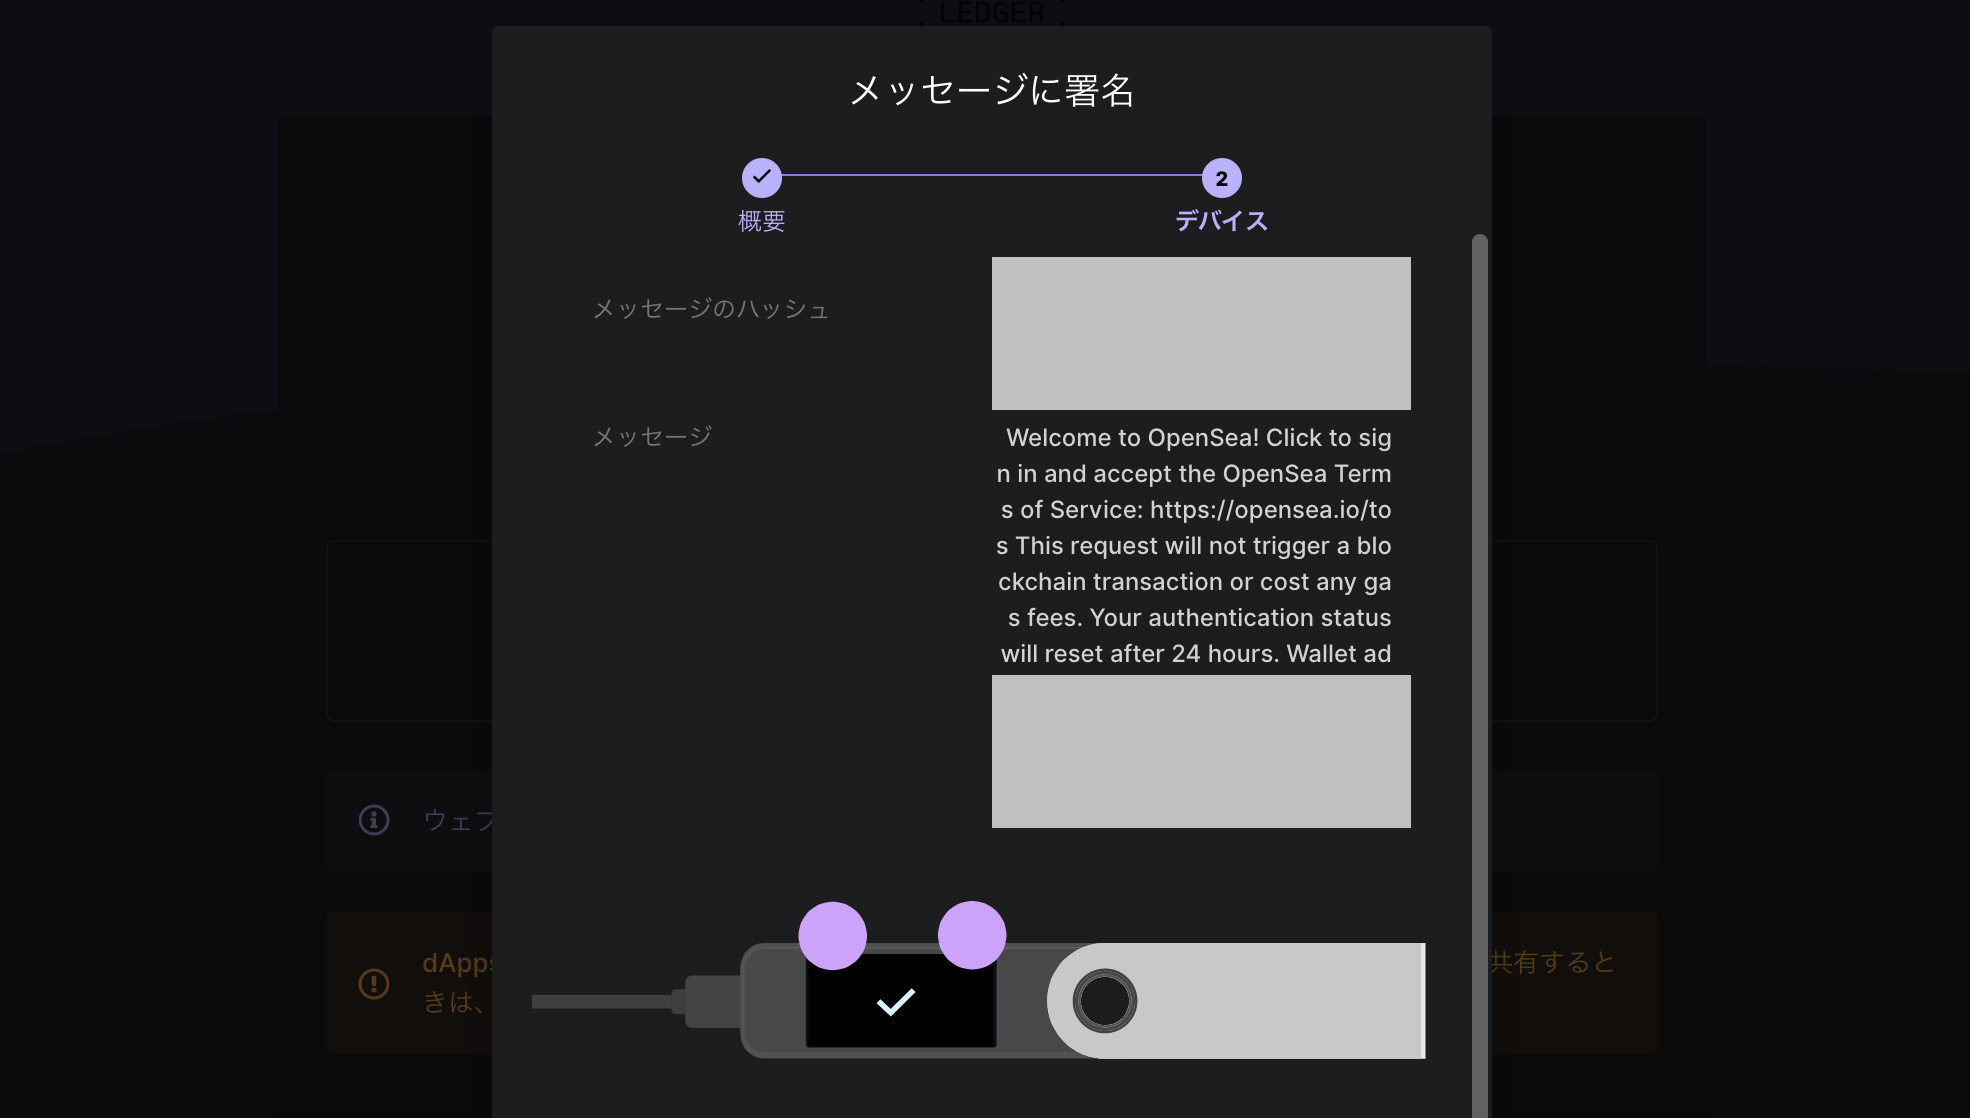
最後に、レジャーナノの両ボタンを押すと完了です。
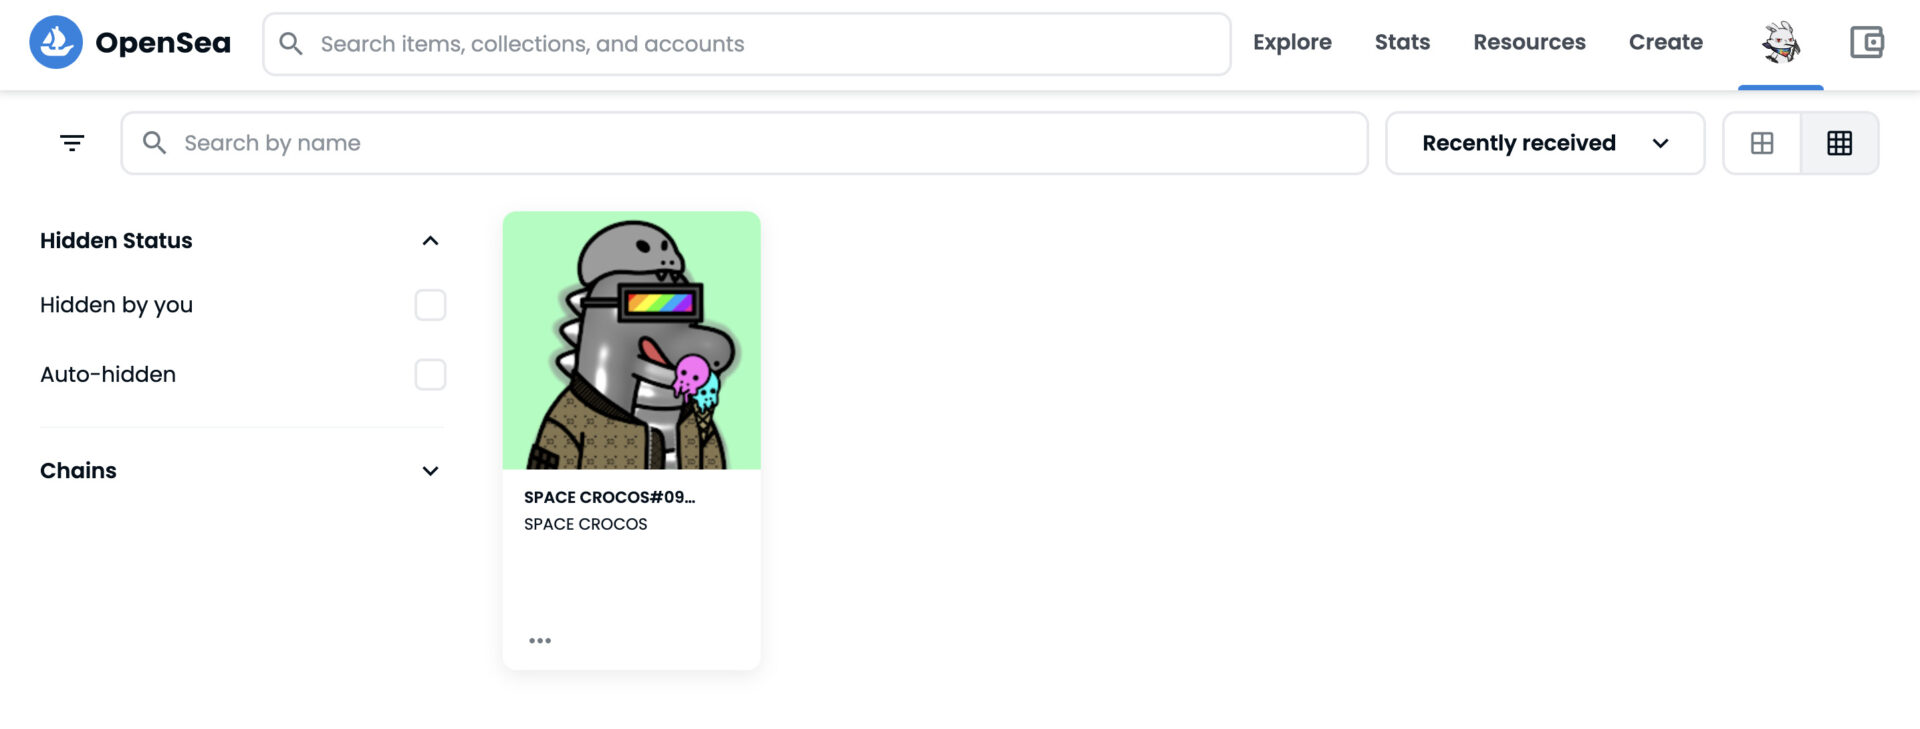
Openseaとしっかり連携できてます。
もちろん、ここにあるNFTもトラストファーすることで、別のウォレットへ移行できます。
ハードウェアウォレットの使い方|まとめ
NFTを保管する方法についての一連の流れは把握できたはずです。
いまだに詐欺が多発しているので、一刻も早く対策しておくことをおすすめします。
あとで後悔してほしくないのでww
自分の身(資産)は自分で守るというのを心がけて、日々NFTの活動に取り組んでください!
最後までありがとうございました。